Mediterranean Haddock

image image image

Hello Housewives!

Today’s recipe is for a very simple dish.  Simple does not mean tasteless.  This dish is perfect for Lenten Fridays.  It’s healthy and really very easy to make.  Stress free and quick cooking are things that put a smile on my face!  I made this with haddock but it will go great with any white fish you prefer such as cod or tilapia.

  • Haddock (The fish monger gave me a piece for 2-3 people)
  • capers (drained)
  • a jar of sun-dried tomatoes
  • minced fresh garlic
  • oregano a few shakes
  • extra-virgin olive oil
  • salt and pepper to taste

Place your fish in a large pyres and coat with a little olive oil on both sides.  In a bowl mix together your sun-dried tomatoes, capers, minced garlic, oregano and salt and pepper.  Depending on what you buy your sun dried tomatoes may have some olive oil on them but if not add a few tablespoon of your own.  When well mixed place on top and around your haddock.  Bake on 350 degrees covered for about 25-30 minutes.  Take the foil off the last 5 minutes of baking.  It is cooked when fish flakes easily with a fork.

Enjoy with a nice white wine.  I prefer a light Sauvignon Blanc with a dish like this!

RHC

Mom’s Tuna Casserole!

image image image image image image image image image

Hi Housewives!

Today’s recipe is for a tasty tuna casserole.  If you don’t love tuna then this dish may not be for you.  I, however, absolutely love tuna!  It is and has always been one of my favorite things to eat of all time, even as a kid.  For me there is nothing better than a good old tuna salad sandwich.  My childhood friend Gina and I would always eat tuna sandwiches topped with American cheese accompanied with a side of Doritos. Today, I also eat it on top of salads or mixed in with pasta.  If having sushi, tuna is what I order.  Ok…As you can see, I’m getting overly excited about this tuna talk and have to get back to my recipe here which is for – Tuna Casserole!

I remember my mother making this on Fridays during Lent as a child and my father and I used to go wild over it.  I loved it and have been trying to perfect it for some time now.  Although, it’ll never measure up to hers in my heart and mind, I do think I have come pretty close to getting it right this time.  The key I think here is making the soup first and then mixing it with the noodles which I had not done other times and I believe it really made all the difference.  This recipe is pretty simple and doesn’t call for many ingredients but you can add whatever else you like to it…remember I am trying to make it exactly the way my mother did but I’ve seen it with peas or even celery from time to time.

  • 1 bag of egg no yolk noodles
  • 2 large cans of Campbell’s cream of mushroom soup (22.4 ounces) or 4 cans of using the small size (14 ounce)
  • 3 cans of Bumble Bee tuna – solid in water
  • Bread Crumbs for topping (seasoned)
  • Shredded Cheddar (optional)
  • Salt and Pepper to taste

Boil a pot of salted water for your noodles and cook noodles until al dente.  Meanwhile in another pot make your cream of mushroom soup according to the cooking directions on the can – I used water not milk.

Drain your tuna and chop up tuna using a fork to make it a little less chunky.  You can add your cooked soup to this big bowl or add the tuna to the soup pot and mix all together.

When noodles are cooked and drained place them in a pyrex baking dish.  Add your soup and tuna and mix all together.  Add salt and pepper to taste.  Top with seasoned bread crumbs – the more the merrier.

Bake at 350 for about 30-45 minutes depending on how crispy you like the top.  When the top is golden and crispy it’s done.  You can also broil it for a few minutes to brown it further but watch it because it can burn quickly.

Serve and enjoy!  I like to at this point top it with shredded cheddar but that’s optional!

RHC


Pasta Bolognese!

imageimageimageimageimageimageimageimage

Hi Housewives!

Today’s recipe is for a delectable Bolognese sauce which is basically a ragu’ or Italian tomato meat sauce which originated in Bologna, Italy.  Kids tend to love this dish so if you have picky eaters this may be a good way to get some protein in with your little pasta lovers.  LOL  You can serve this with any pasta you like.  I tend to like it with a gnocchi which is a potato dumpling but you can also serve it over fettuccine or any pasta of your choice.  Cook the sauce on slow and low to let all the flavors come together in a hearty sauce.

  • package of chop meat (Ground beef, pork, veal or even turkey)
  • 1 small onion chopped
  • 1 stalk of celery sliced thin
  • 1 carrot cut very fine
  • 3 cloves of minced garlic
  • 4 tablespoons of butter
  • 1 can of crushed tomatoes
  • 1 can of whole peeled tomatoes
  • oregano
  • salt and pepper
  • 1 box of pasta

Heat a tablespoon of extra-virgin olive oil in a pot.  Add your garlic, onion and veggies and cook until soft.  Then add your chop meat of choice and cook until no longer pink.  Add your crushed and whole peeled tomatoes and simmer.  Season with oregano, salt and pepper.  Cook on low for at least an hour and serve over your favorite pasta!

Enjoy!

RHC

image

Chicken Bruschetta!

imageimage

Hi Housewives!

Sometimes I  just don’t have time to prepare a lavish meal as I’m sure the same applies to you.  I just want something quick and easy but without having to sacrifice taste.  That’s exactly what I’m bringing to you tonight – a dinner that’s quick, easy and delish!  Just remember that easy doesn’t mean tasteless though. Plus, you need minimal ingredients.  I made this last week and was pleasantly pleased with the results.  I hope you will be pleased with it too. :)

  • 1 package of chicken cutlets (I prefer thin sliced but any will do)
  • 1 jar of Bruschetta (I used Trader Joes brand)
  • 1 can of sliced black olives
  • couple of handfuls of shredded mozzarella
  • salt and pepper to taste

Place chicken is a glass pyrex.  Spoon the bruschetta on top of each cutlet,  use the entire jar.  Sprinkle the drained and rinsed olives over the top as well as the mozzarella.  Then Bake for 40 minutes at 400 degrees.  Serve with a salad if you choose.  Enjoy!

RHC

Chicken Pot Pie!

imageimg_6217img_6219img_6222img_6223img_6224

Hi Housewives!

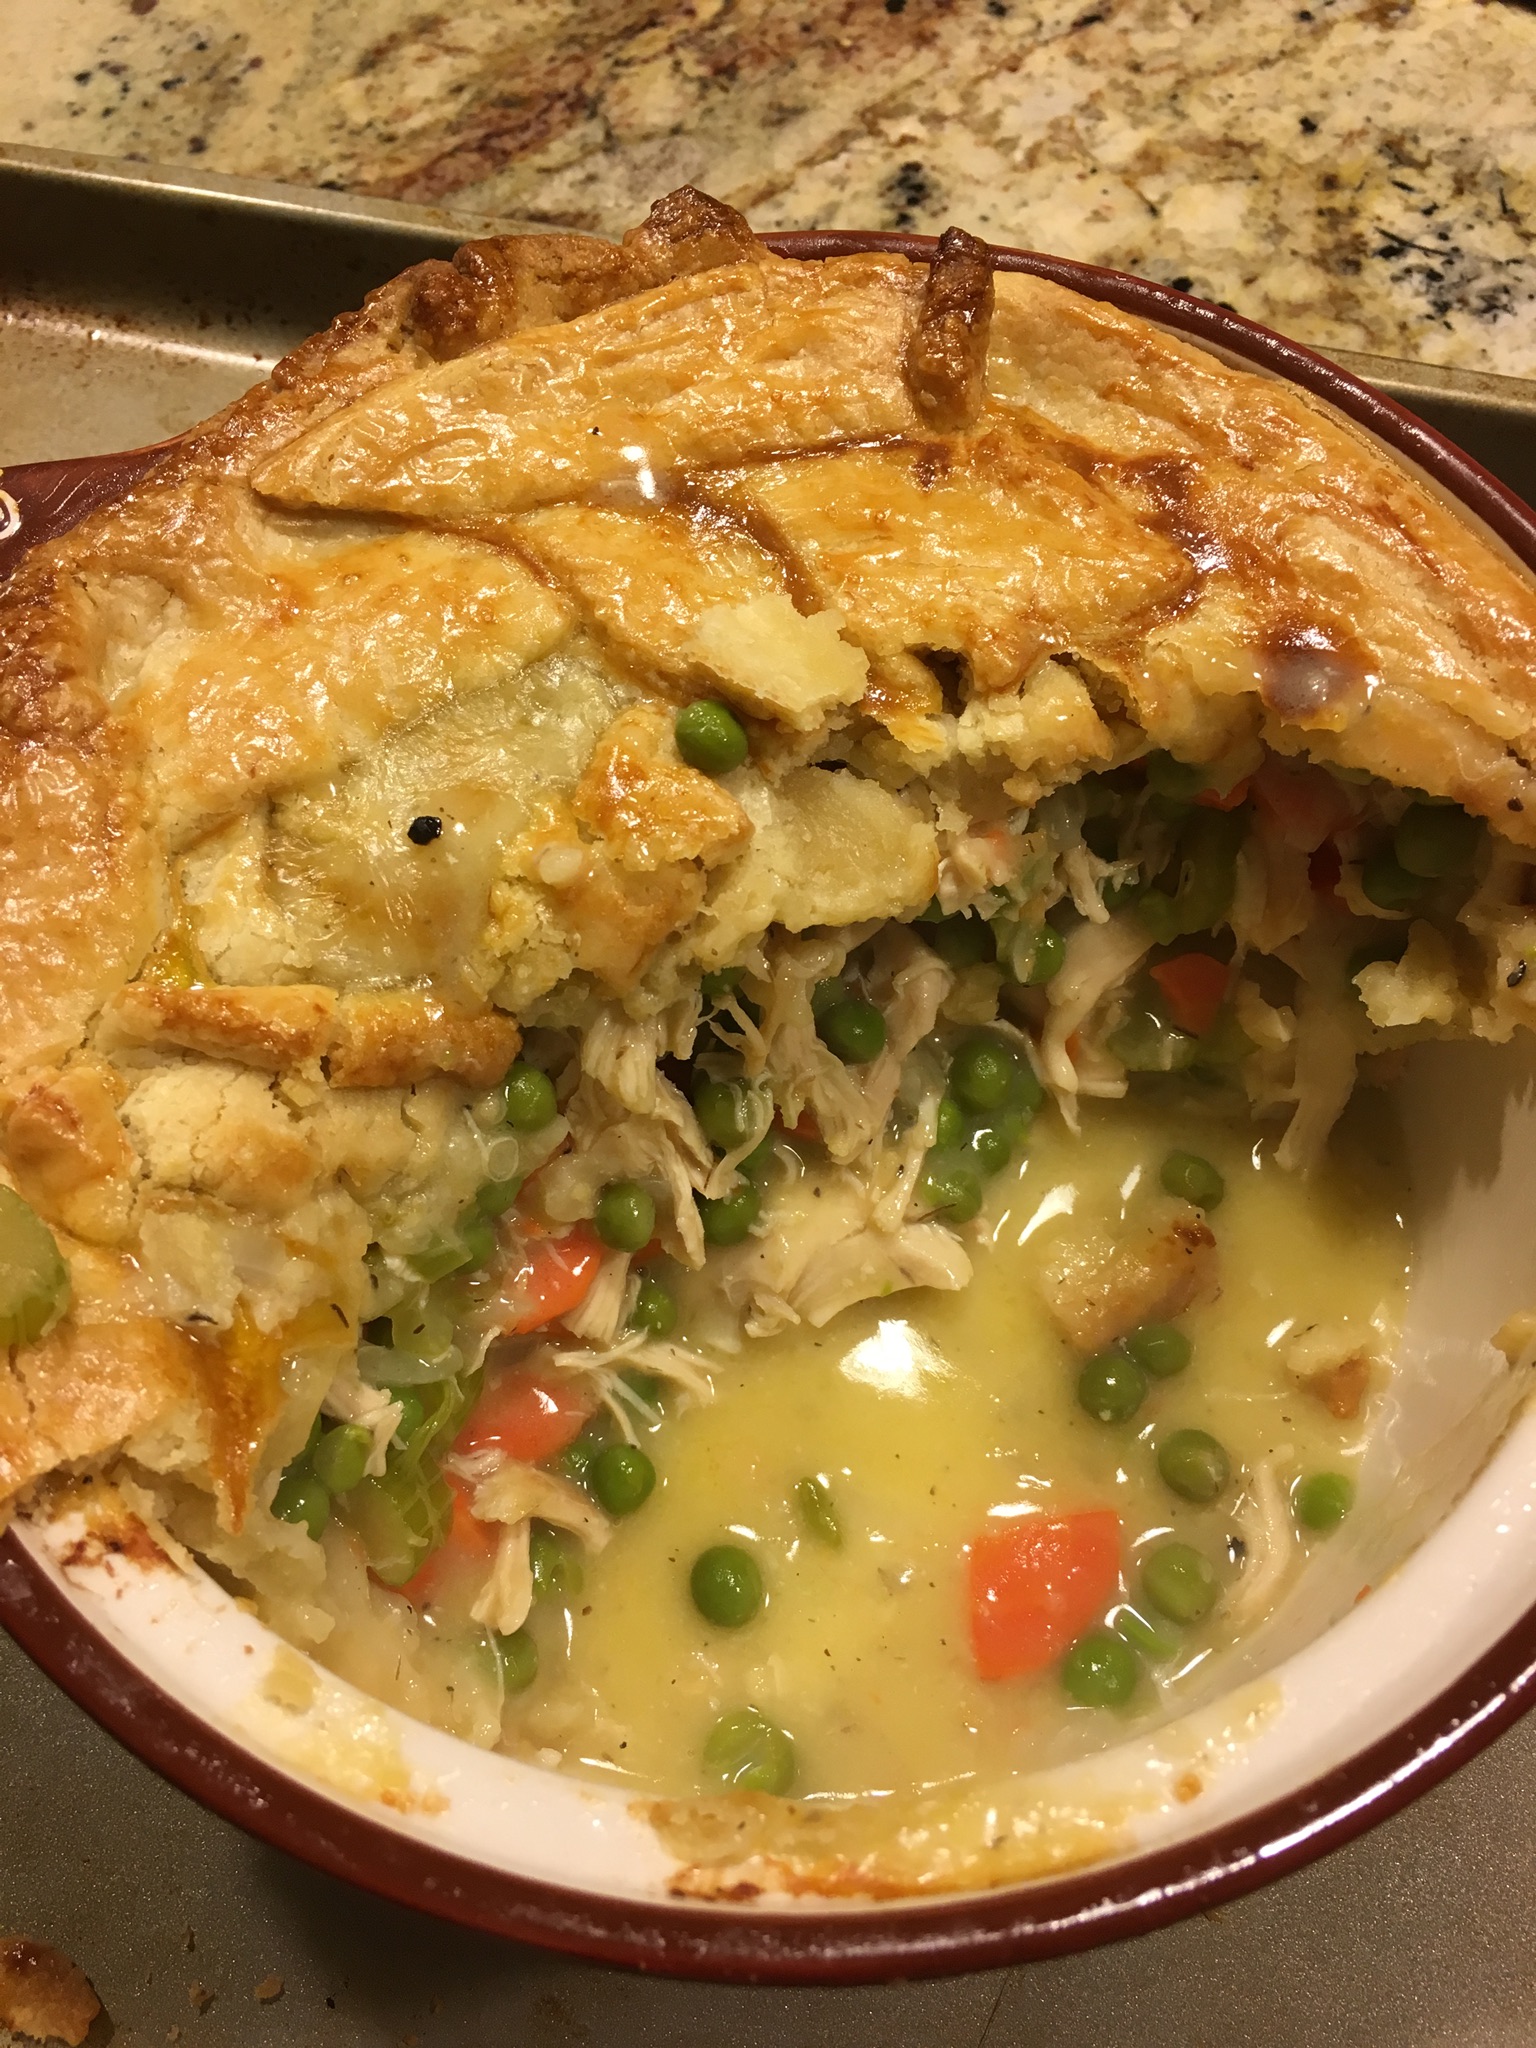
I hope those of you in the Northeast are safe and warm in your homes…what a storm that was!  If you’re like me a storm means one thing and one thing only – tons of cooking and ummm, EATING!  It’s a time to bake, make soups or stews and just veg out.  A time for comfort food.  So, this weekend I decided to make a chicken pot pie which I love but have never done before.  I’ll be honest the reason for me mostly wanting to attempt this dish was because I recently bought an adorable little casserole dish and I really wanted to use it, LOL.  So, with the impending storm,  all week I thought about what I would like to make in it and chicken pot pie won out.

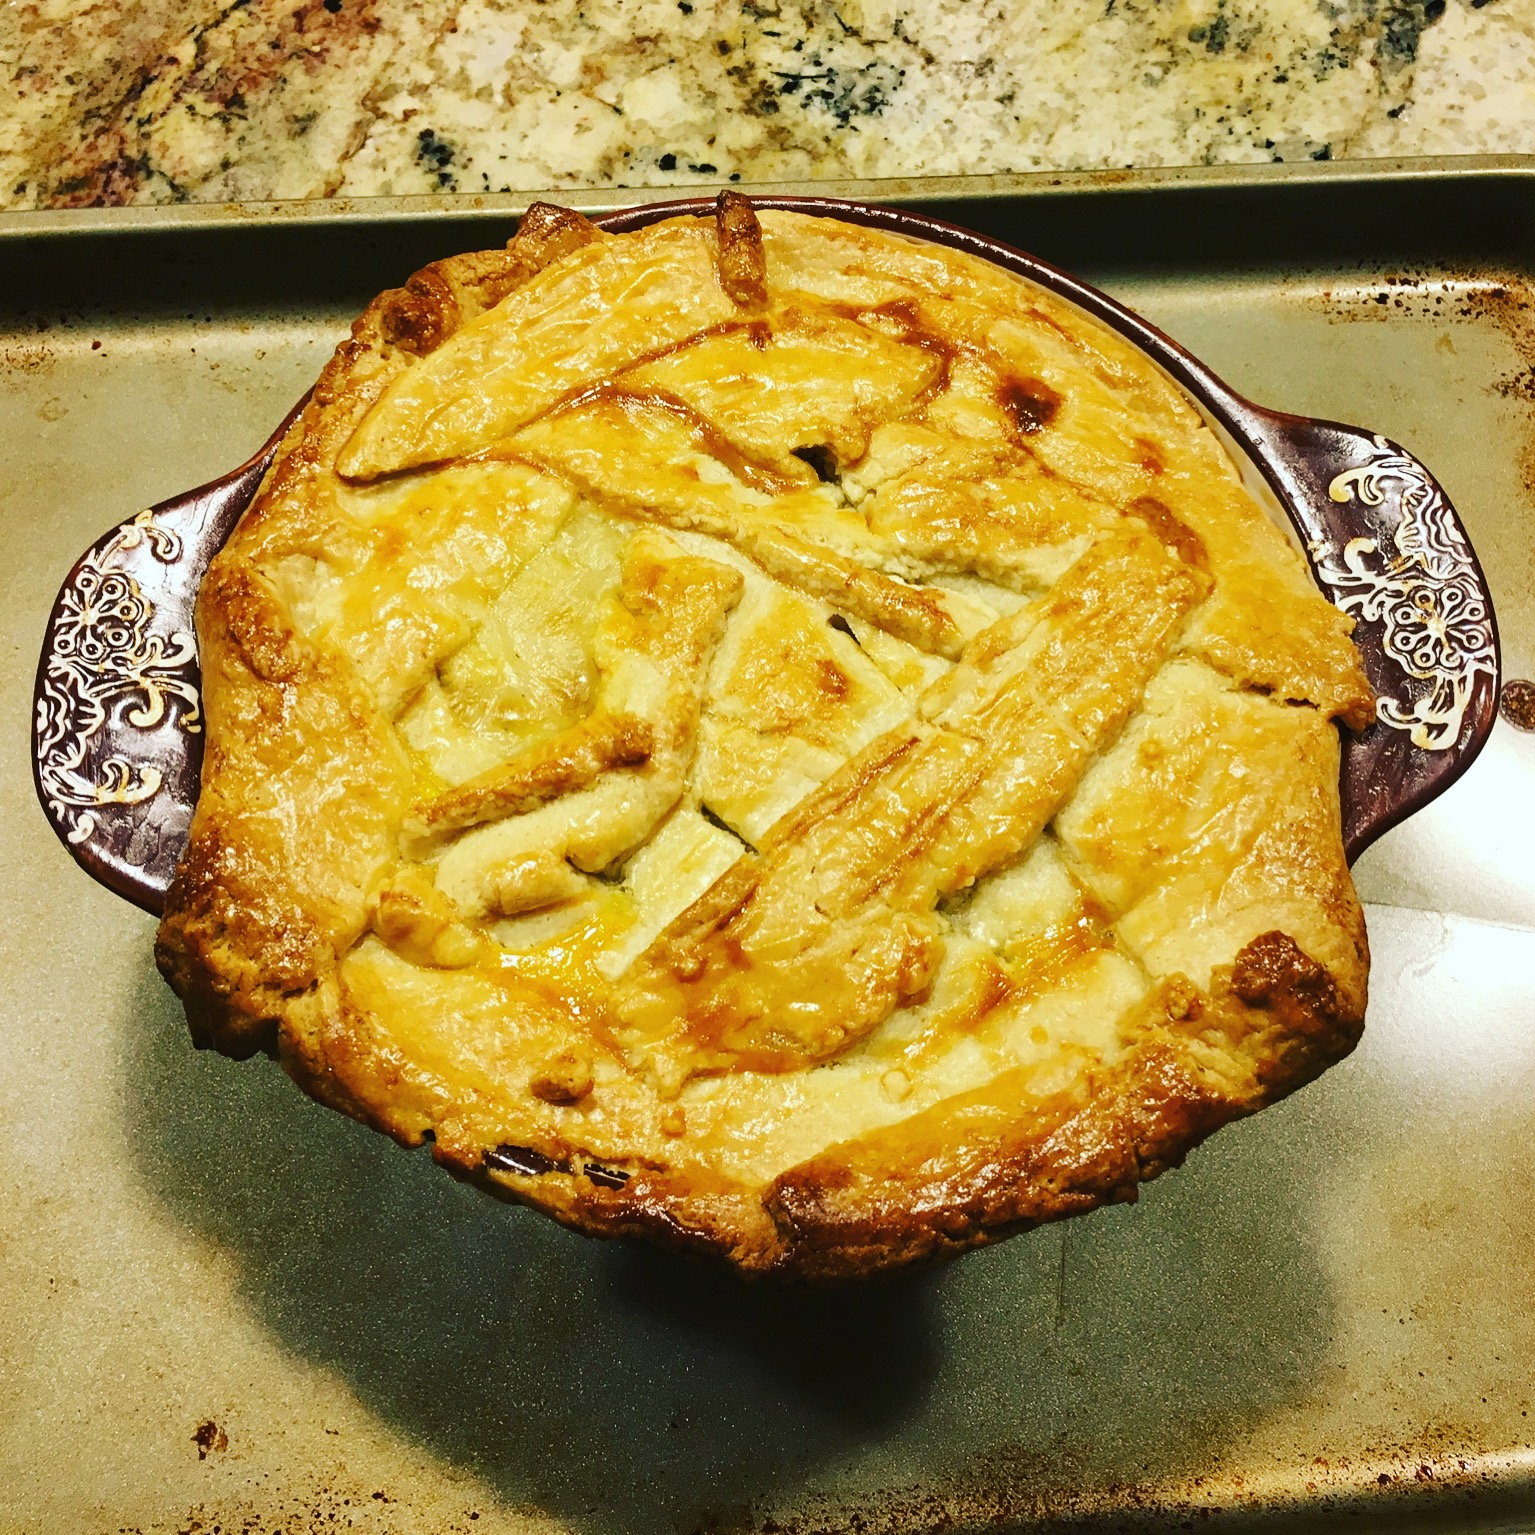
It wasn’t as hard as I had imagined it would be.  That being said it really all depends on whether or not you are making your own dough and cooking your own chicken.  I decided to go the semi-homemade route.  I had store bought pie crusts which I had all intentions on using for an apple pie but never quite got around to that so with their expiration date soon approaching I decided to not waste them and used that for my crust.  I also had every intention on making my own chicken and shredding it, however, when I braved the supermarket Friday night with the 1000’s of other blizzard shoppers I saw a beautiful rotisserie chicken already made and smelling quite alluring that I decided then that was what I would use for my chicken. I cooked the veggies and added my seasonings and the end result was tasty, pleasing and comforting.  So, here is my recipe for chicken pot pie.

  • 5 Tablespoons of butter
  • 1/2 cup finely chopped onion
  • 1 cup of finely chopped celery
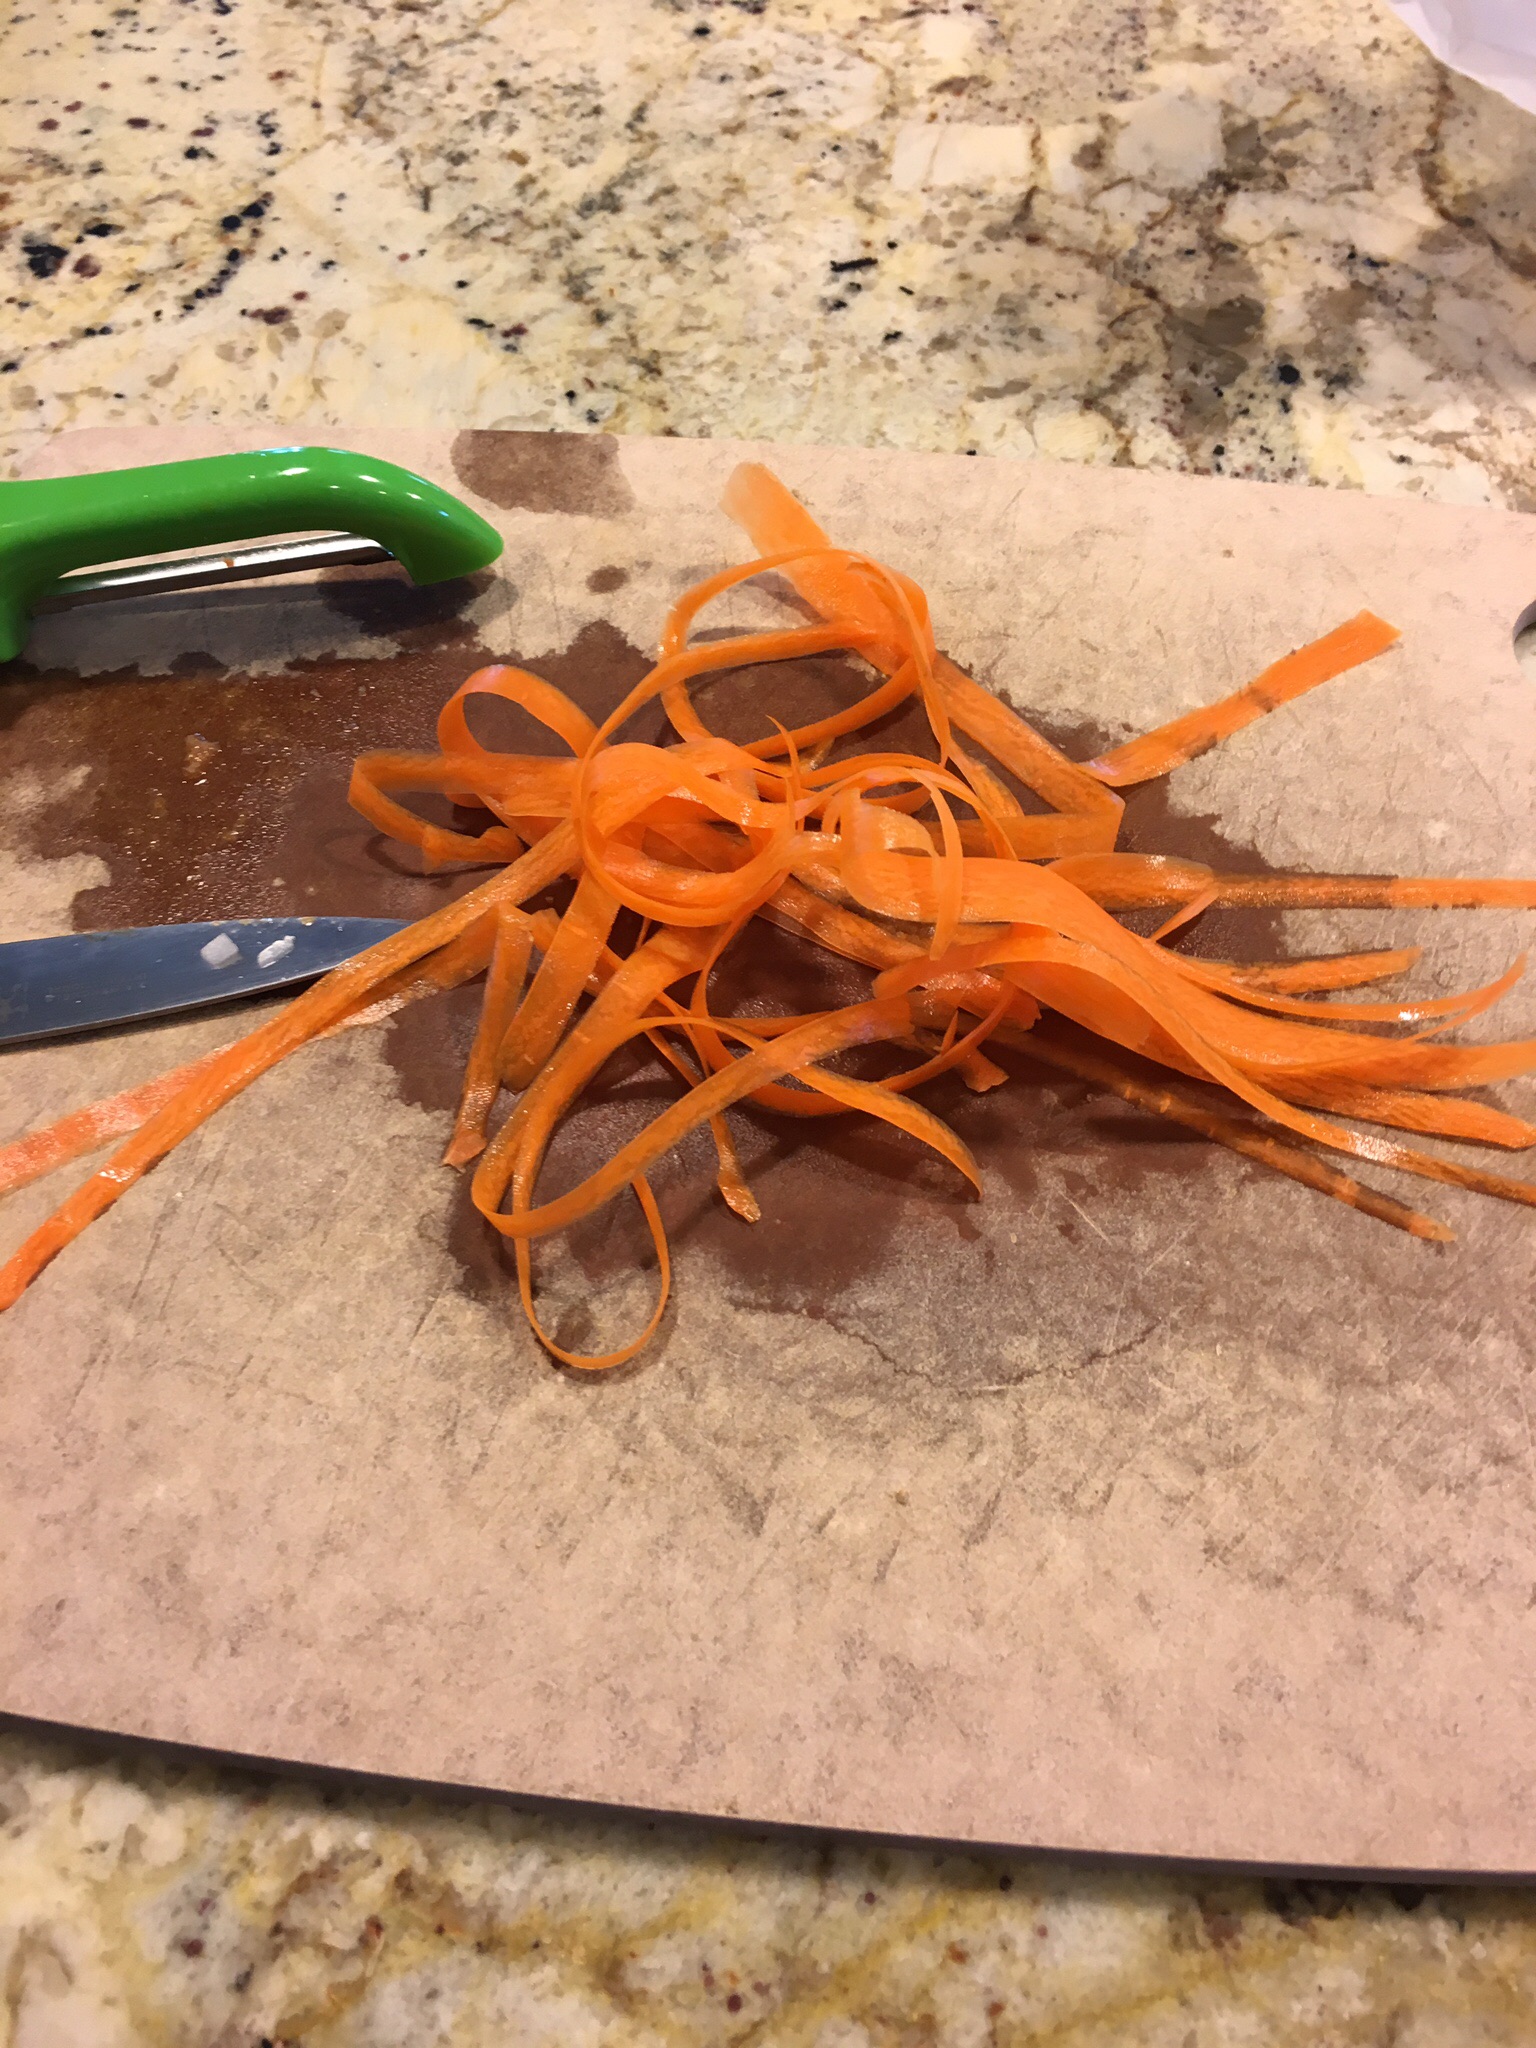
  • 1 cup of chopped carrots
  • 1 can of chicken broth
  • splash of white wine
  • 1/2 bag of frozen peas rinsed
  • 1/4 cup of low fat milk (you can use whole if you prefer)
  • 3 cups of shredded cooked chicken or turkey
  • 1/4 cup of flour
  • 2 refrigerated pie crusts ( a box usually comes with 2)
  • a shake or 2 of thyme (fresh or dried)
  • 1 egg
  • Salt and pepper to taste

Preheat your oven to 375 degrees and take your unbaked pie crusts out of the refrigerator to thaw/soften.

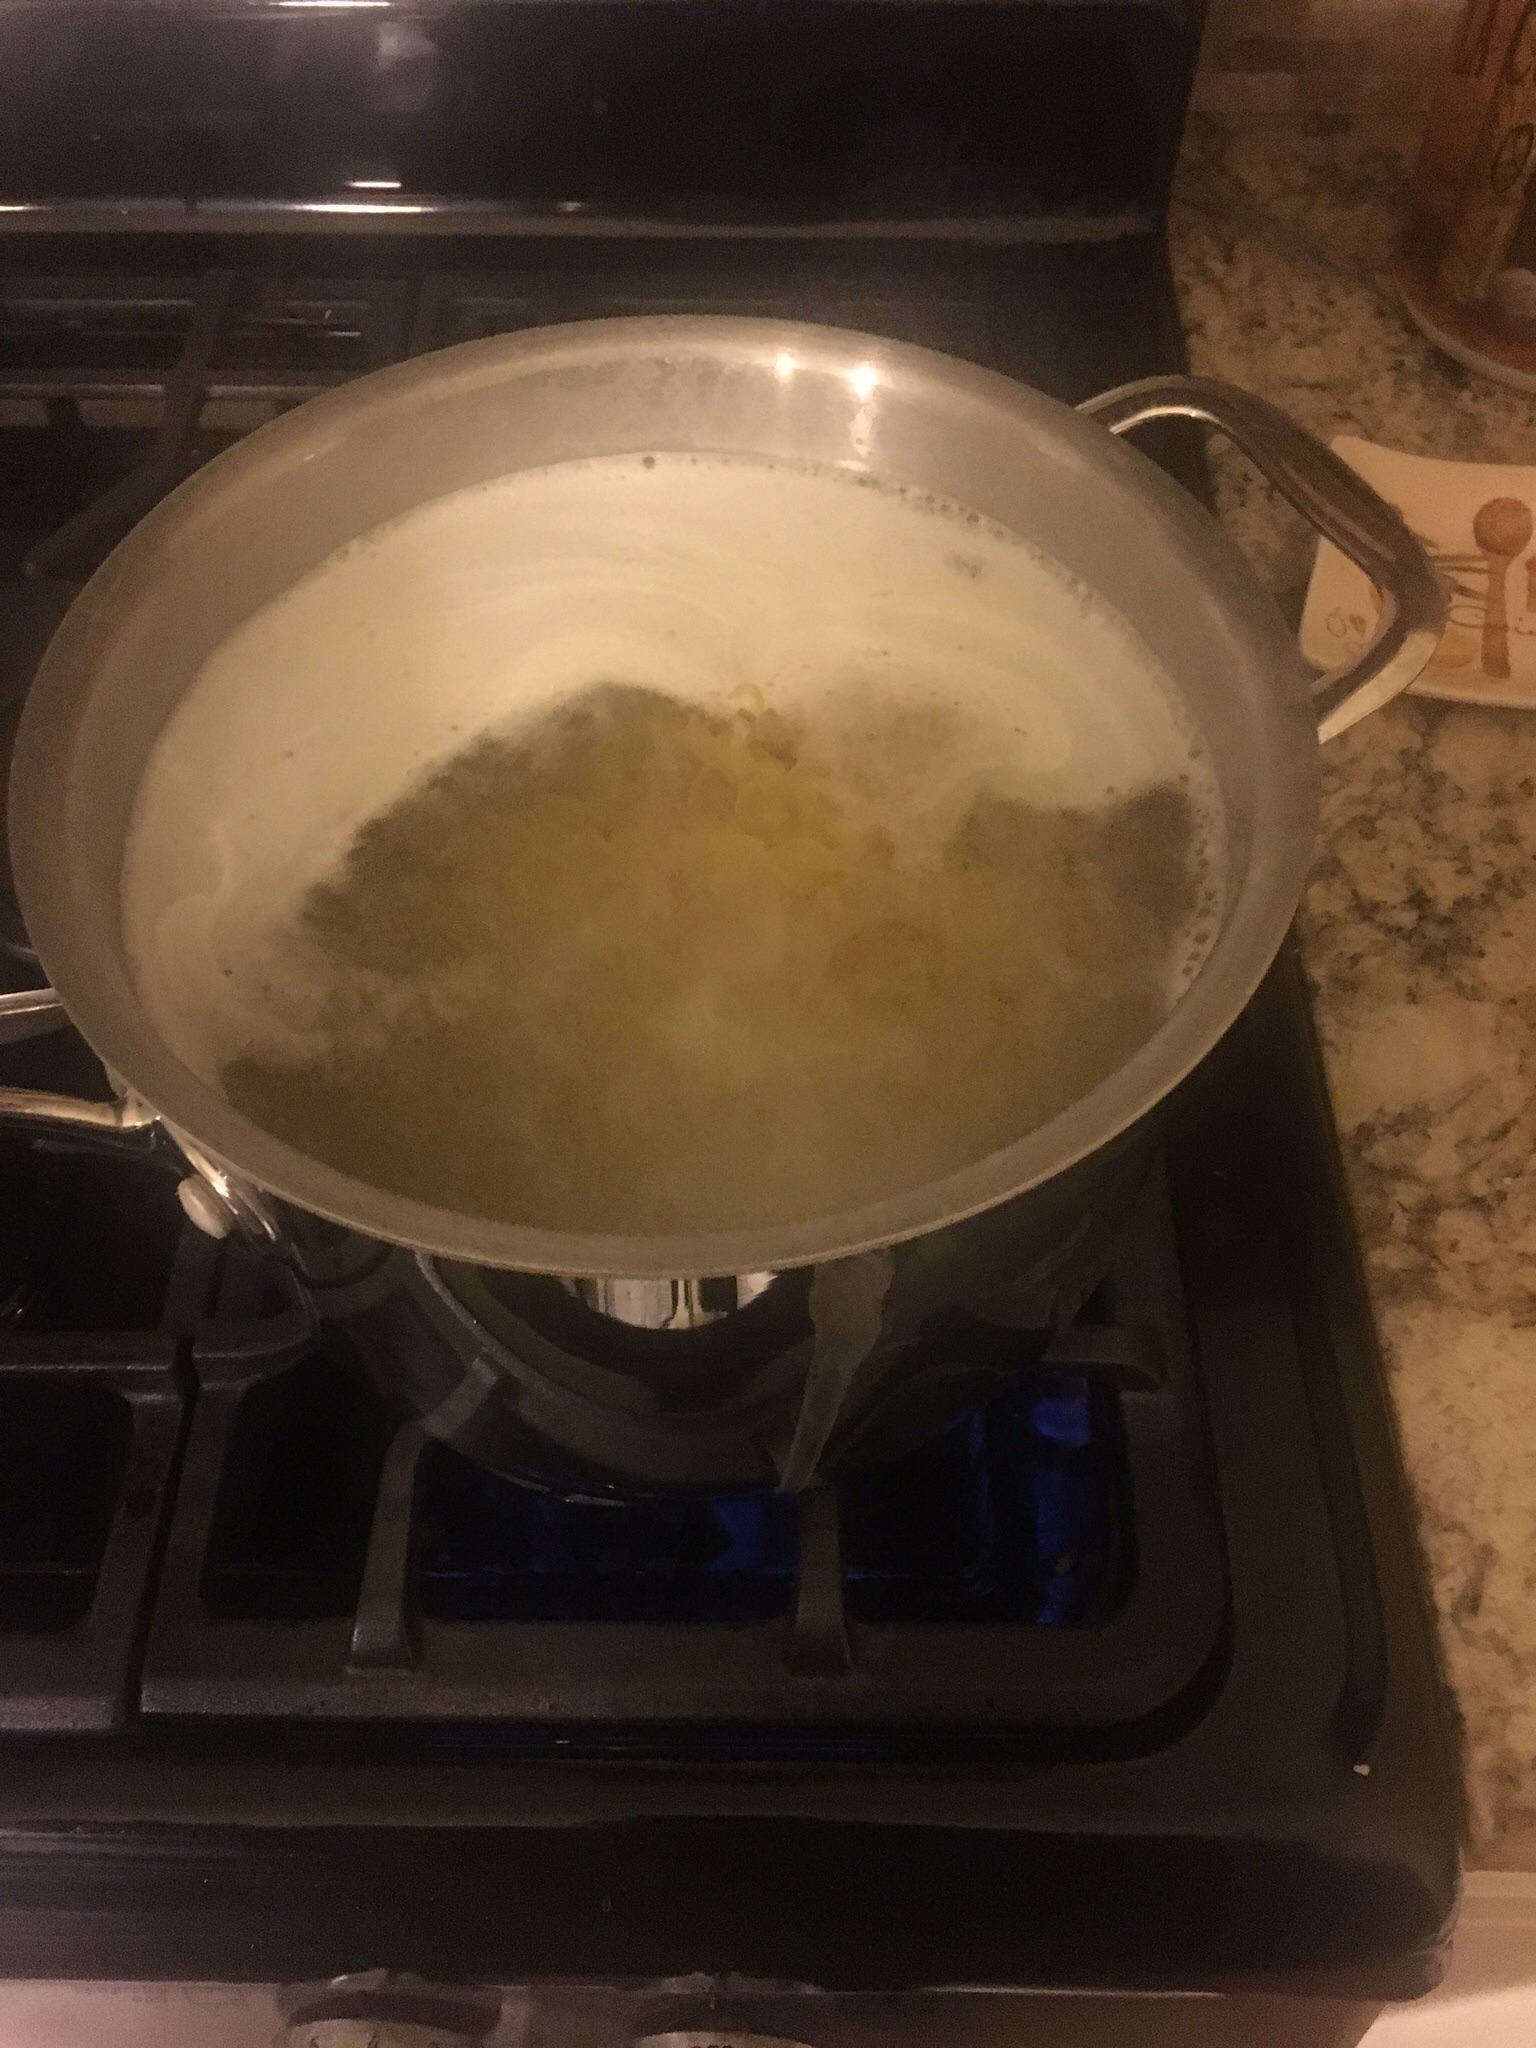
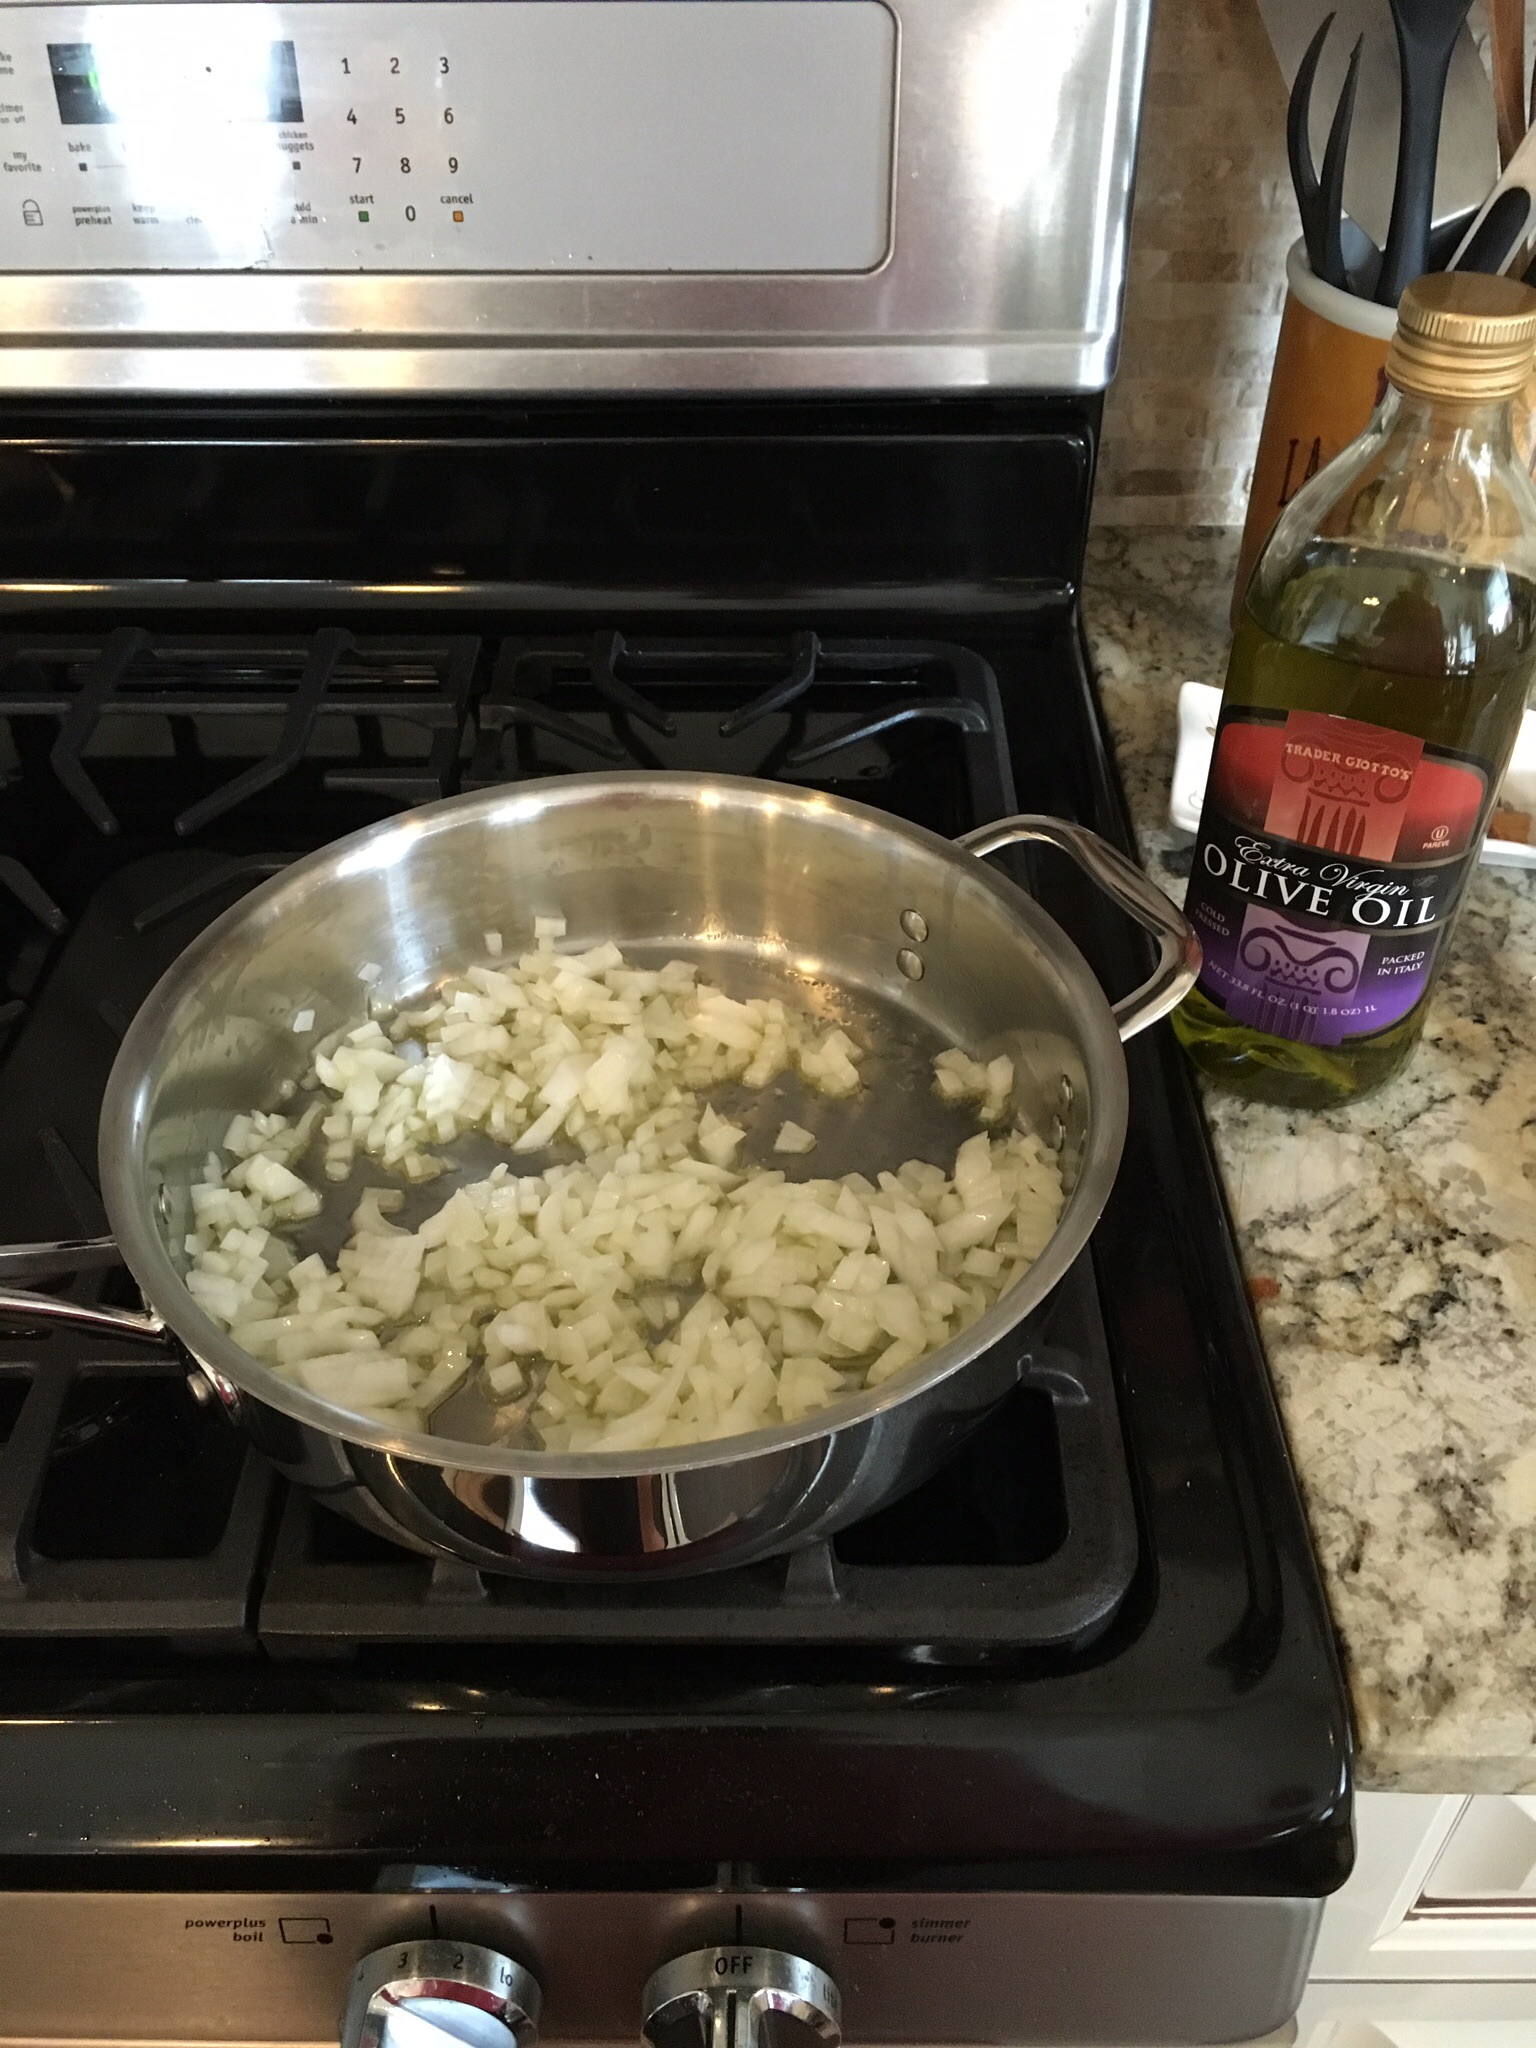
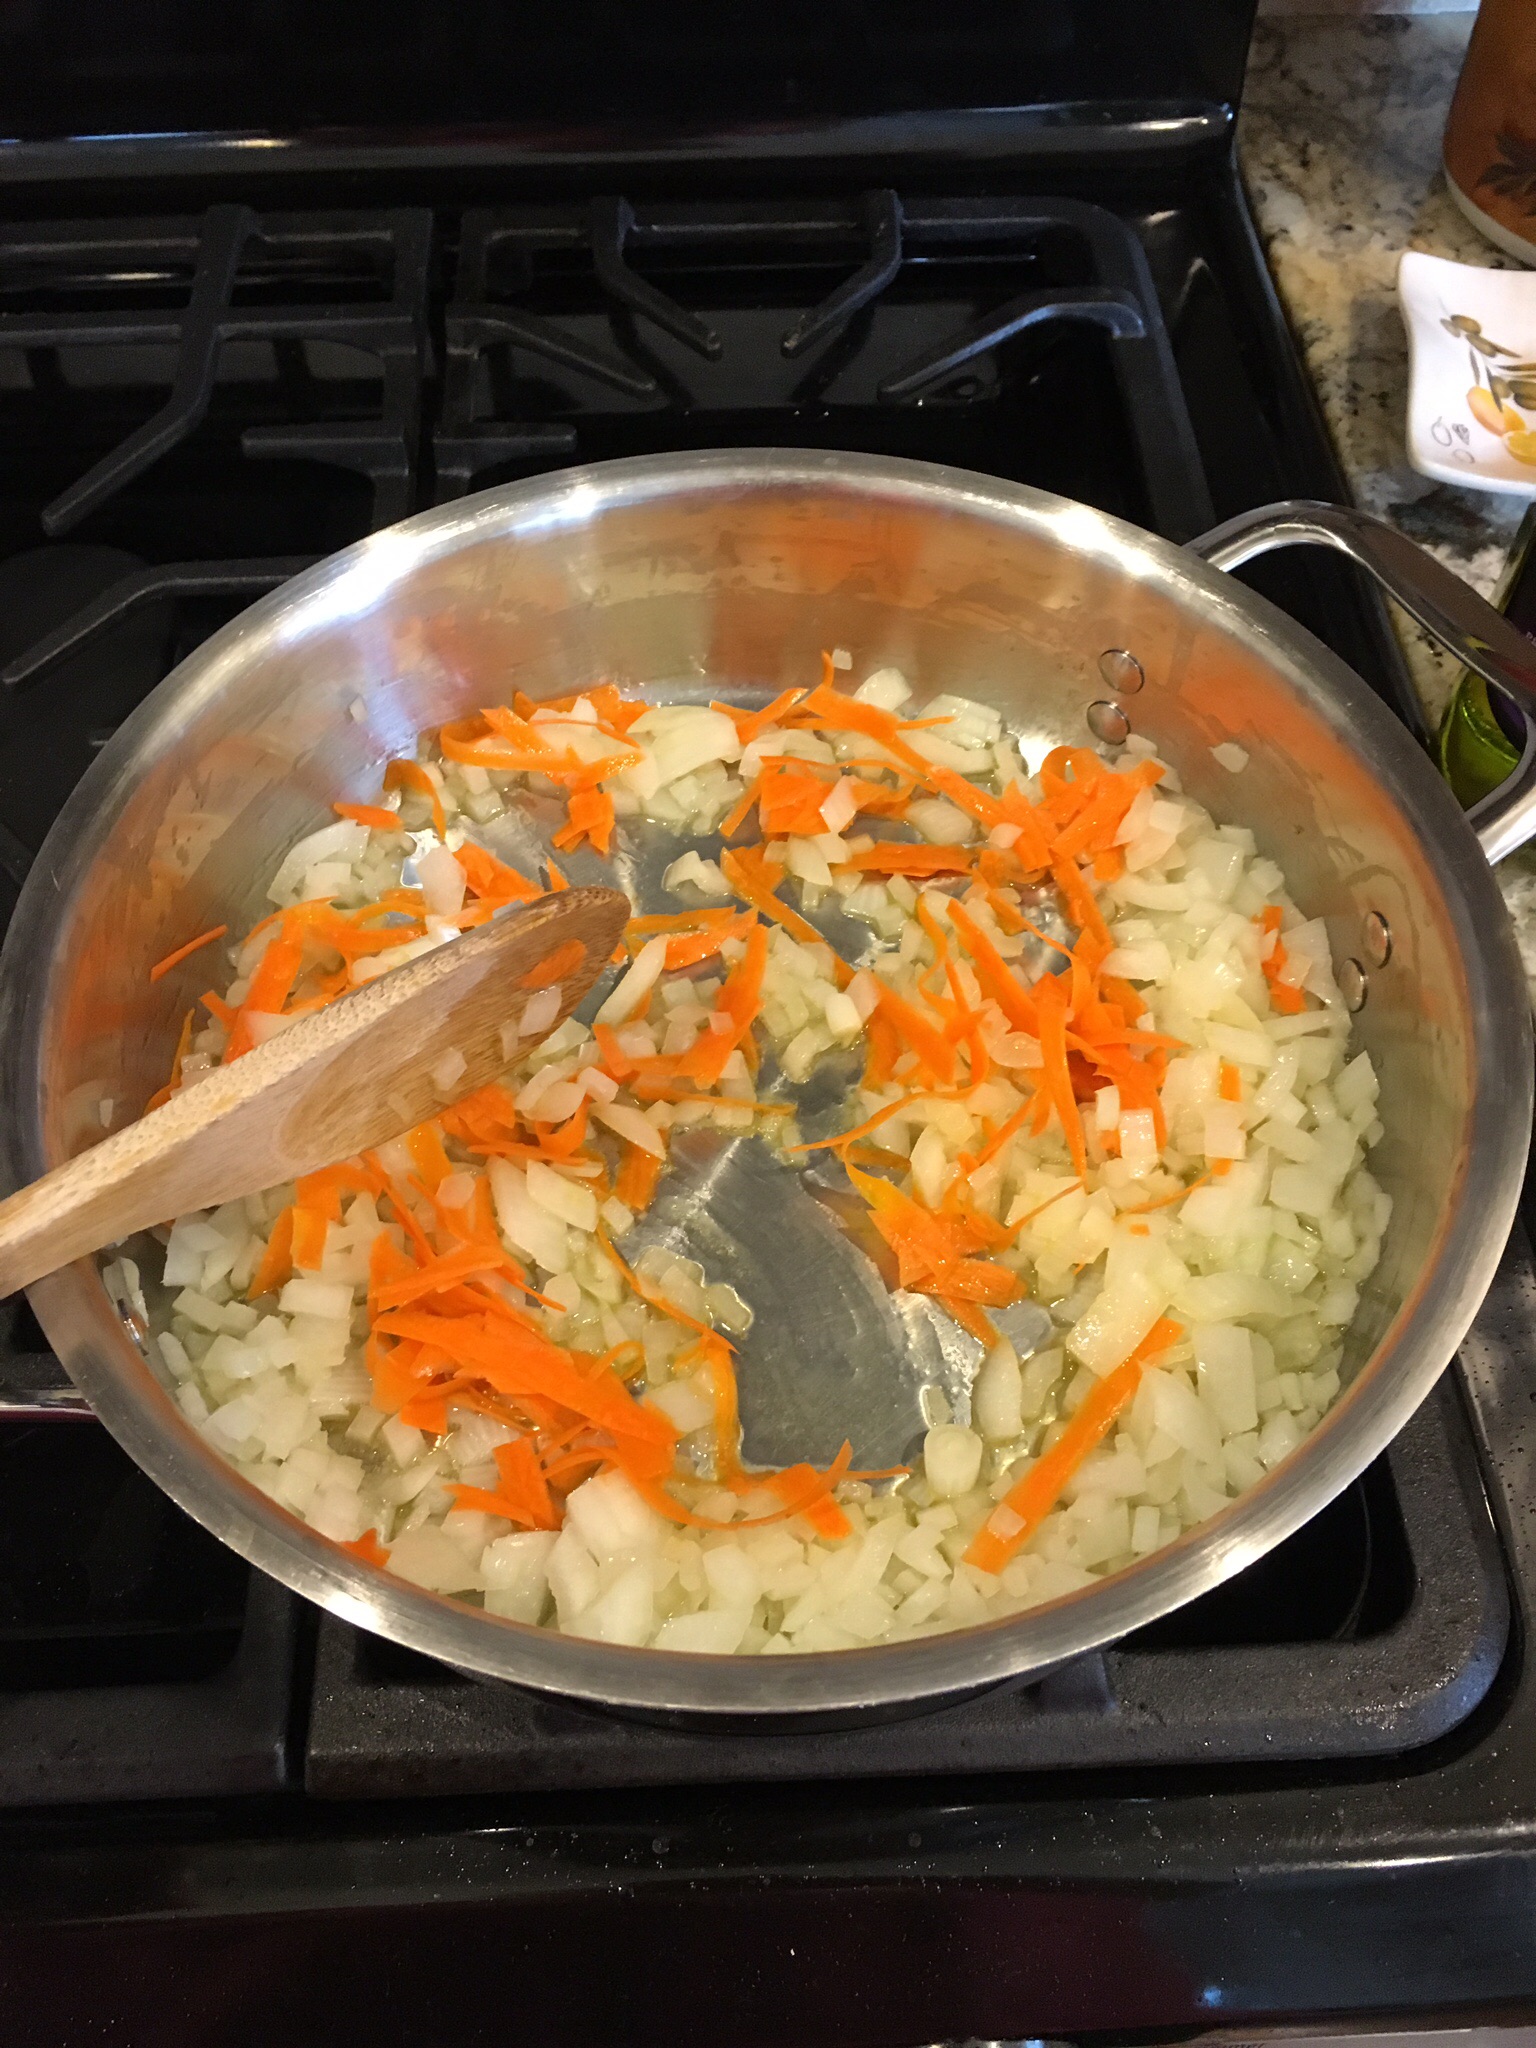
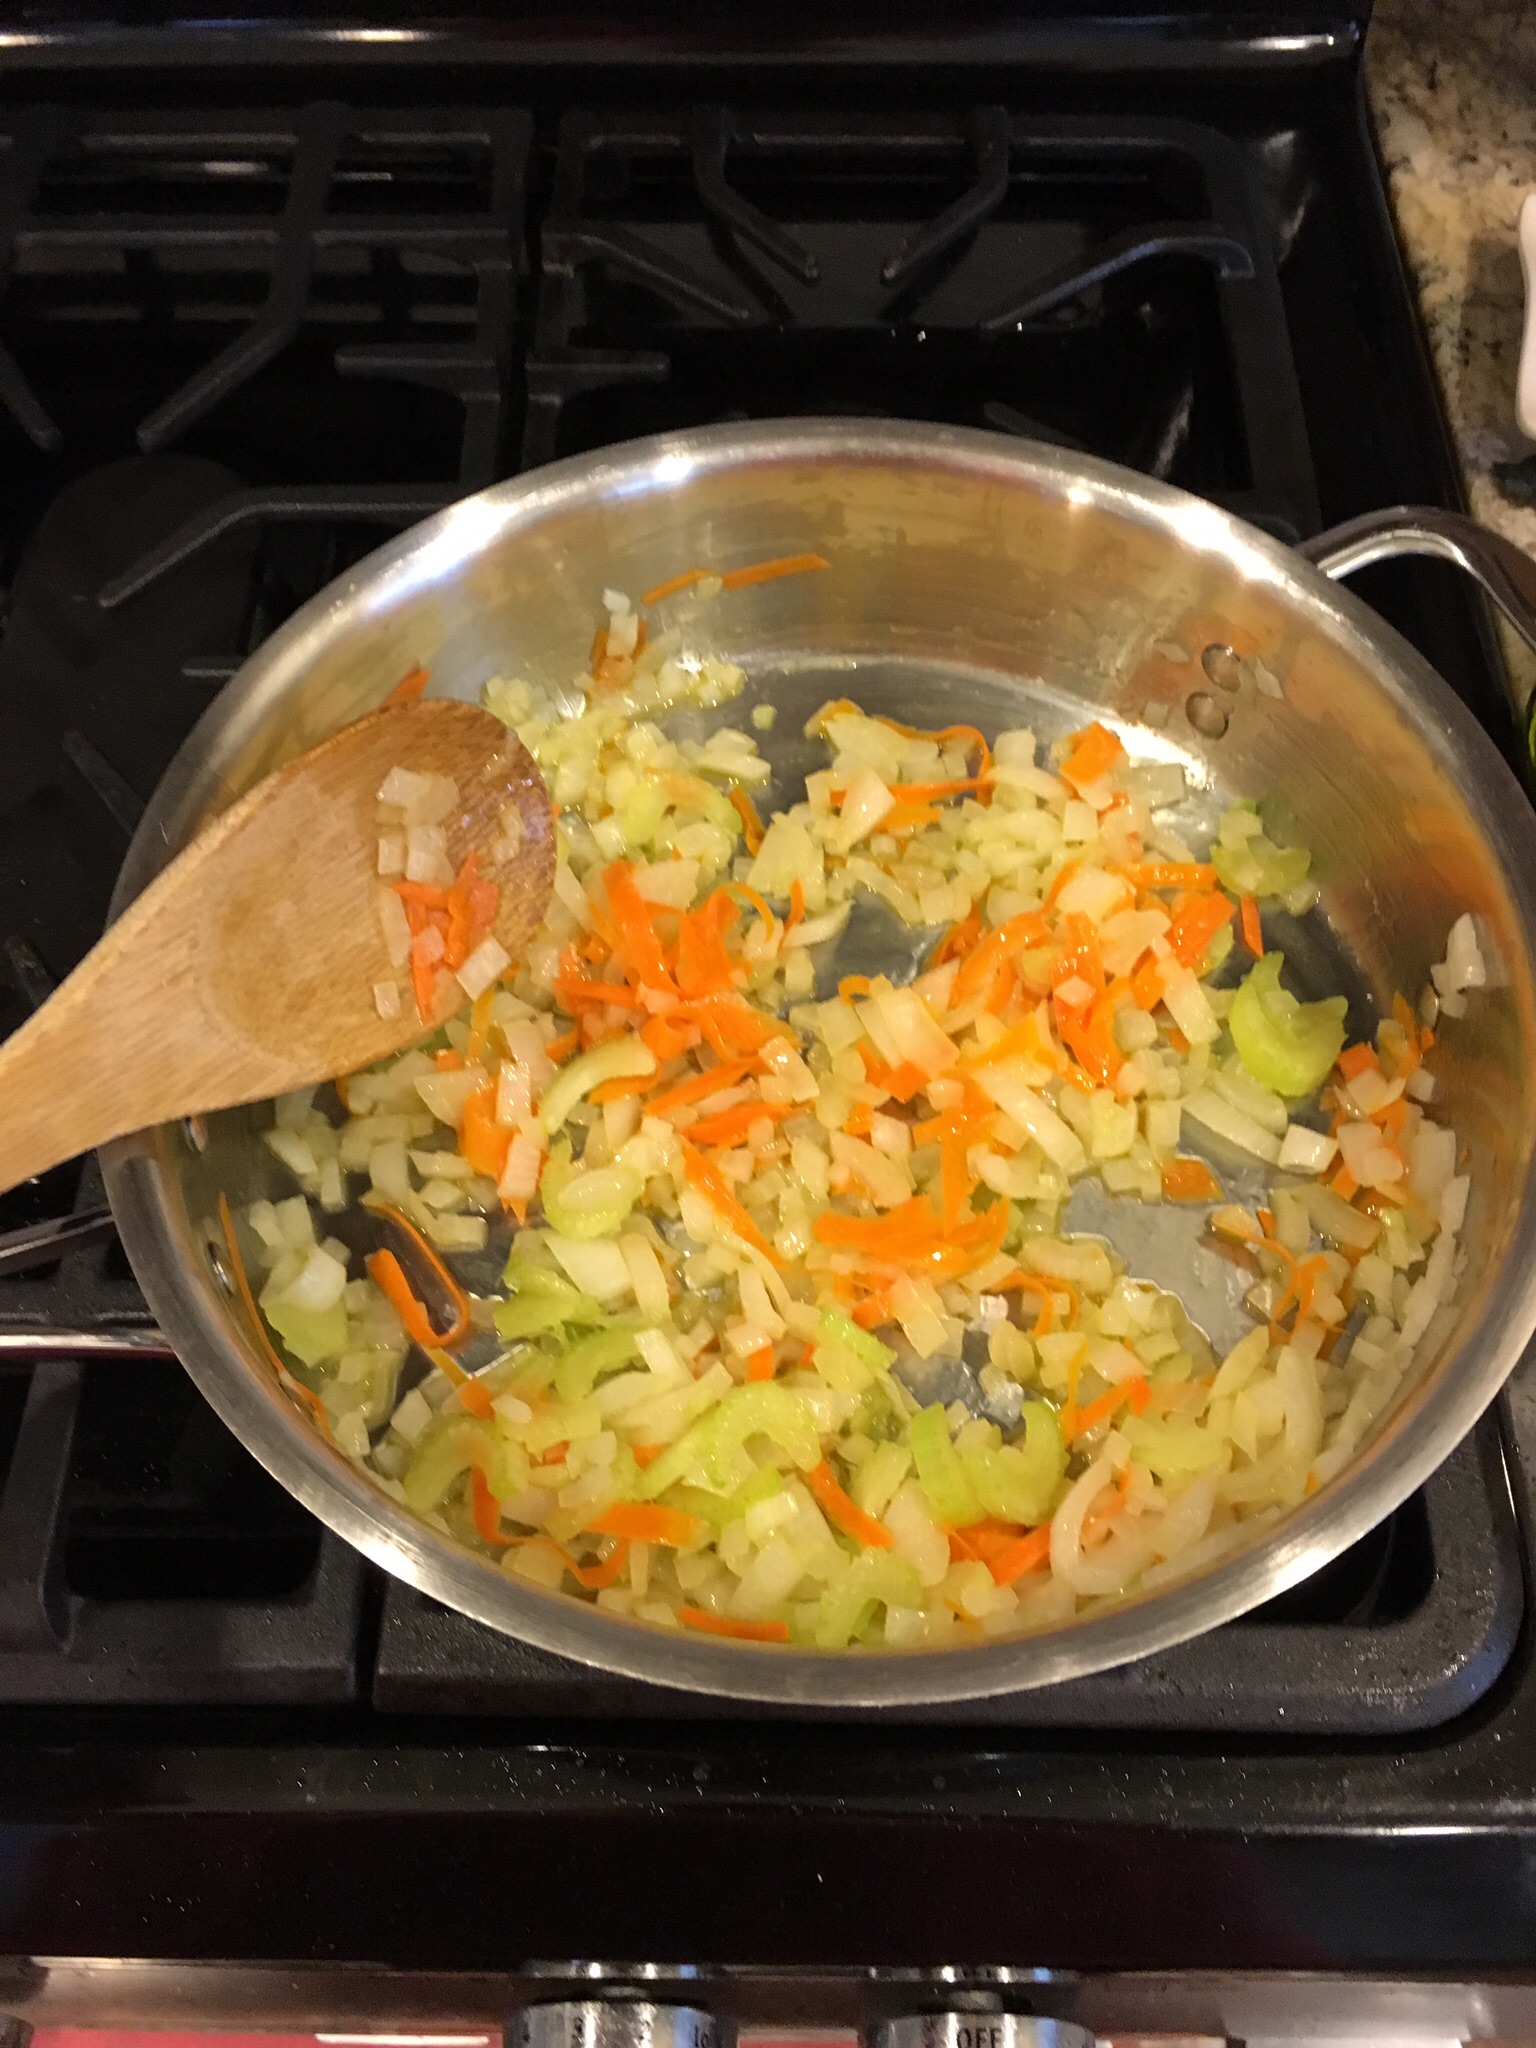
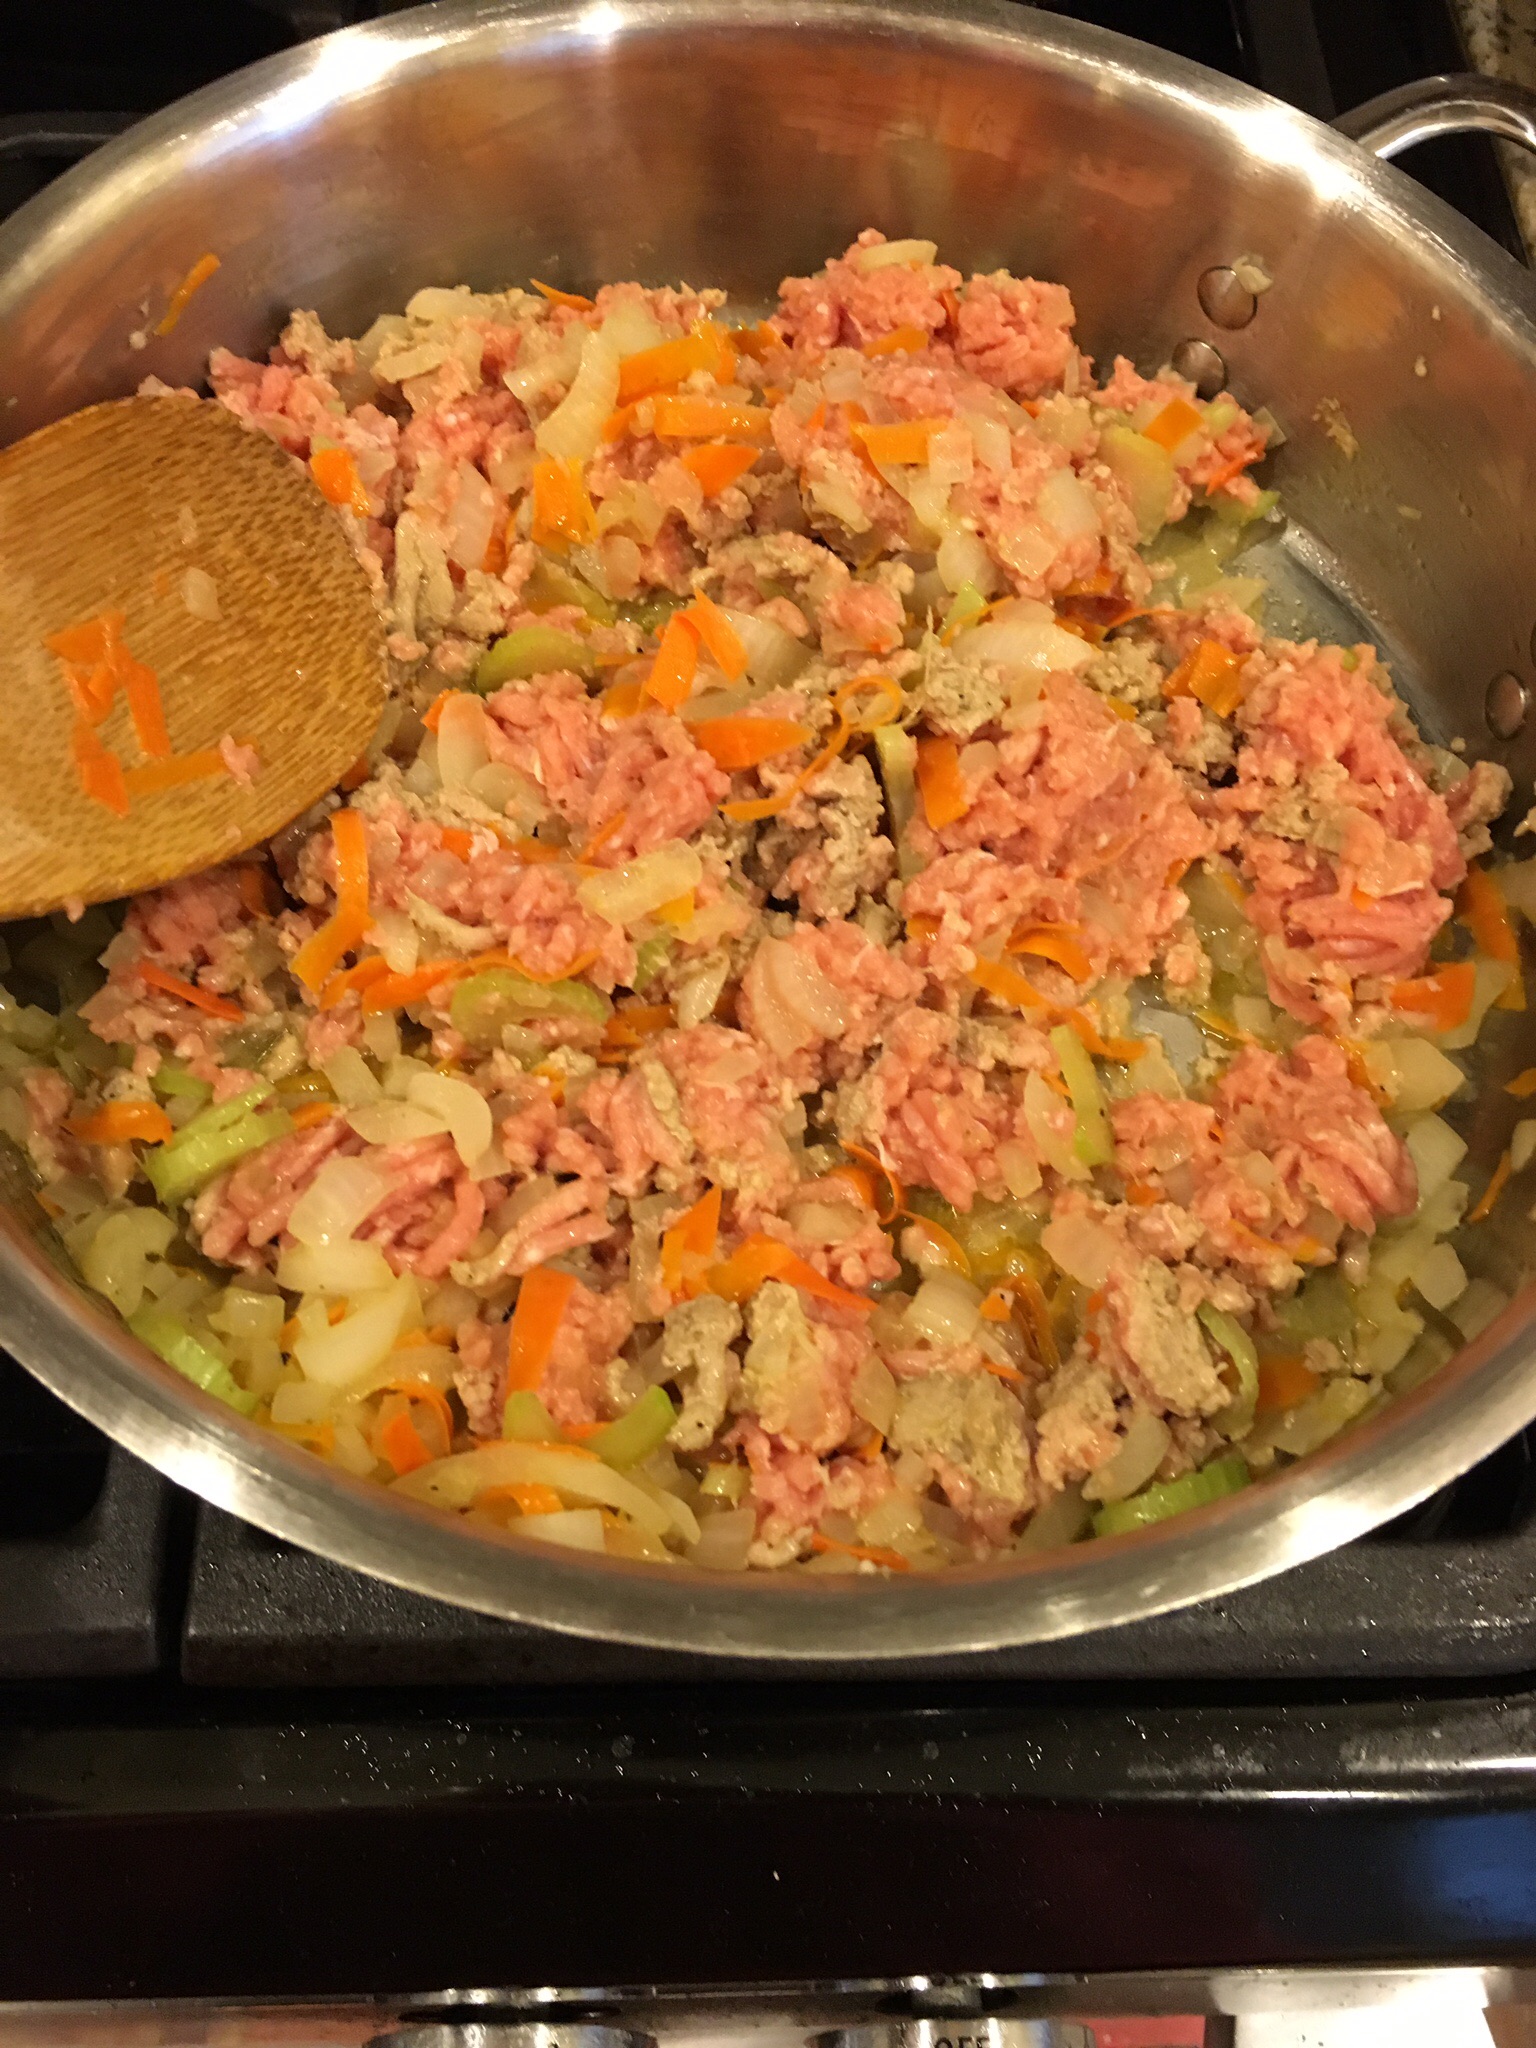
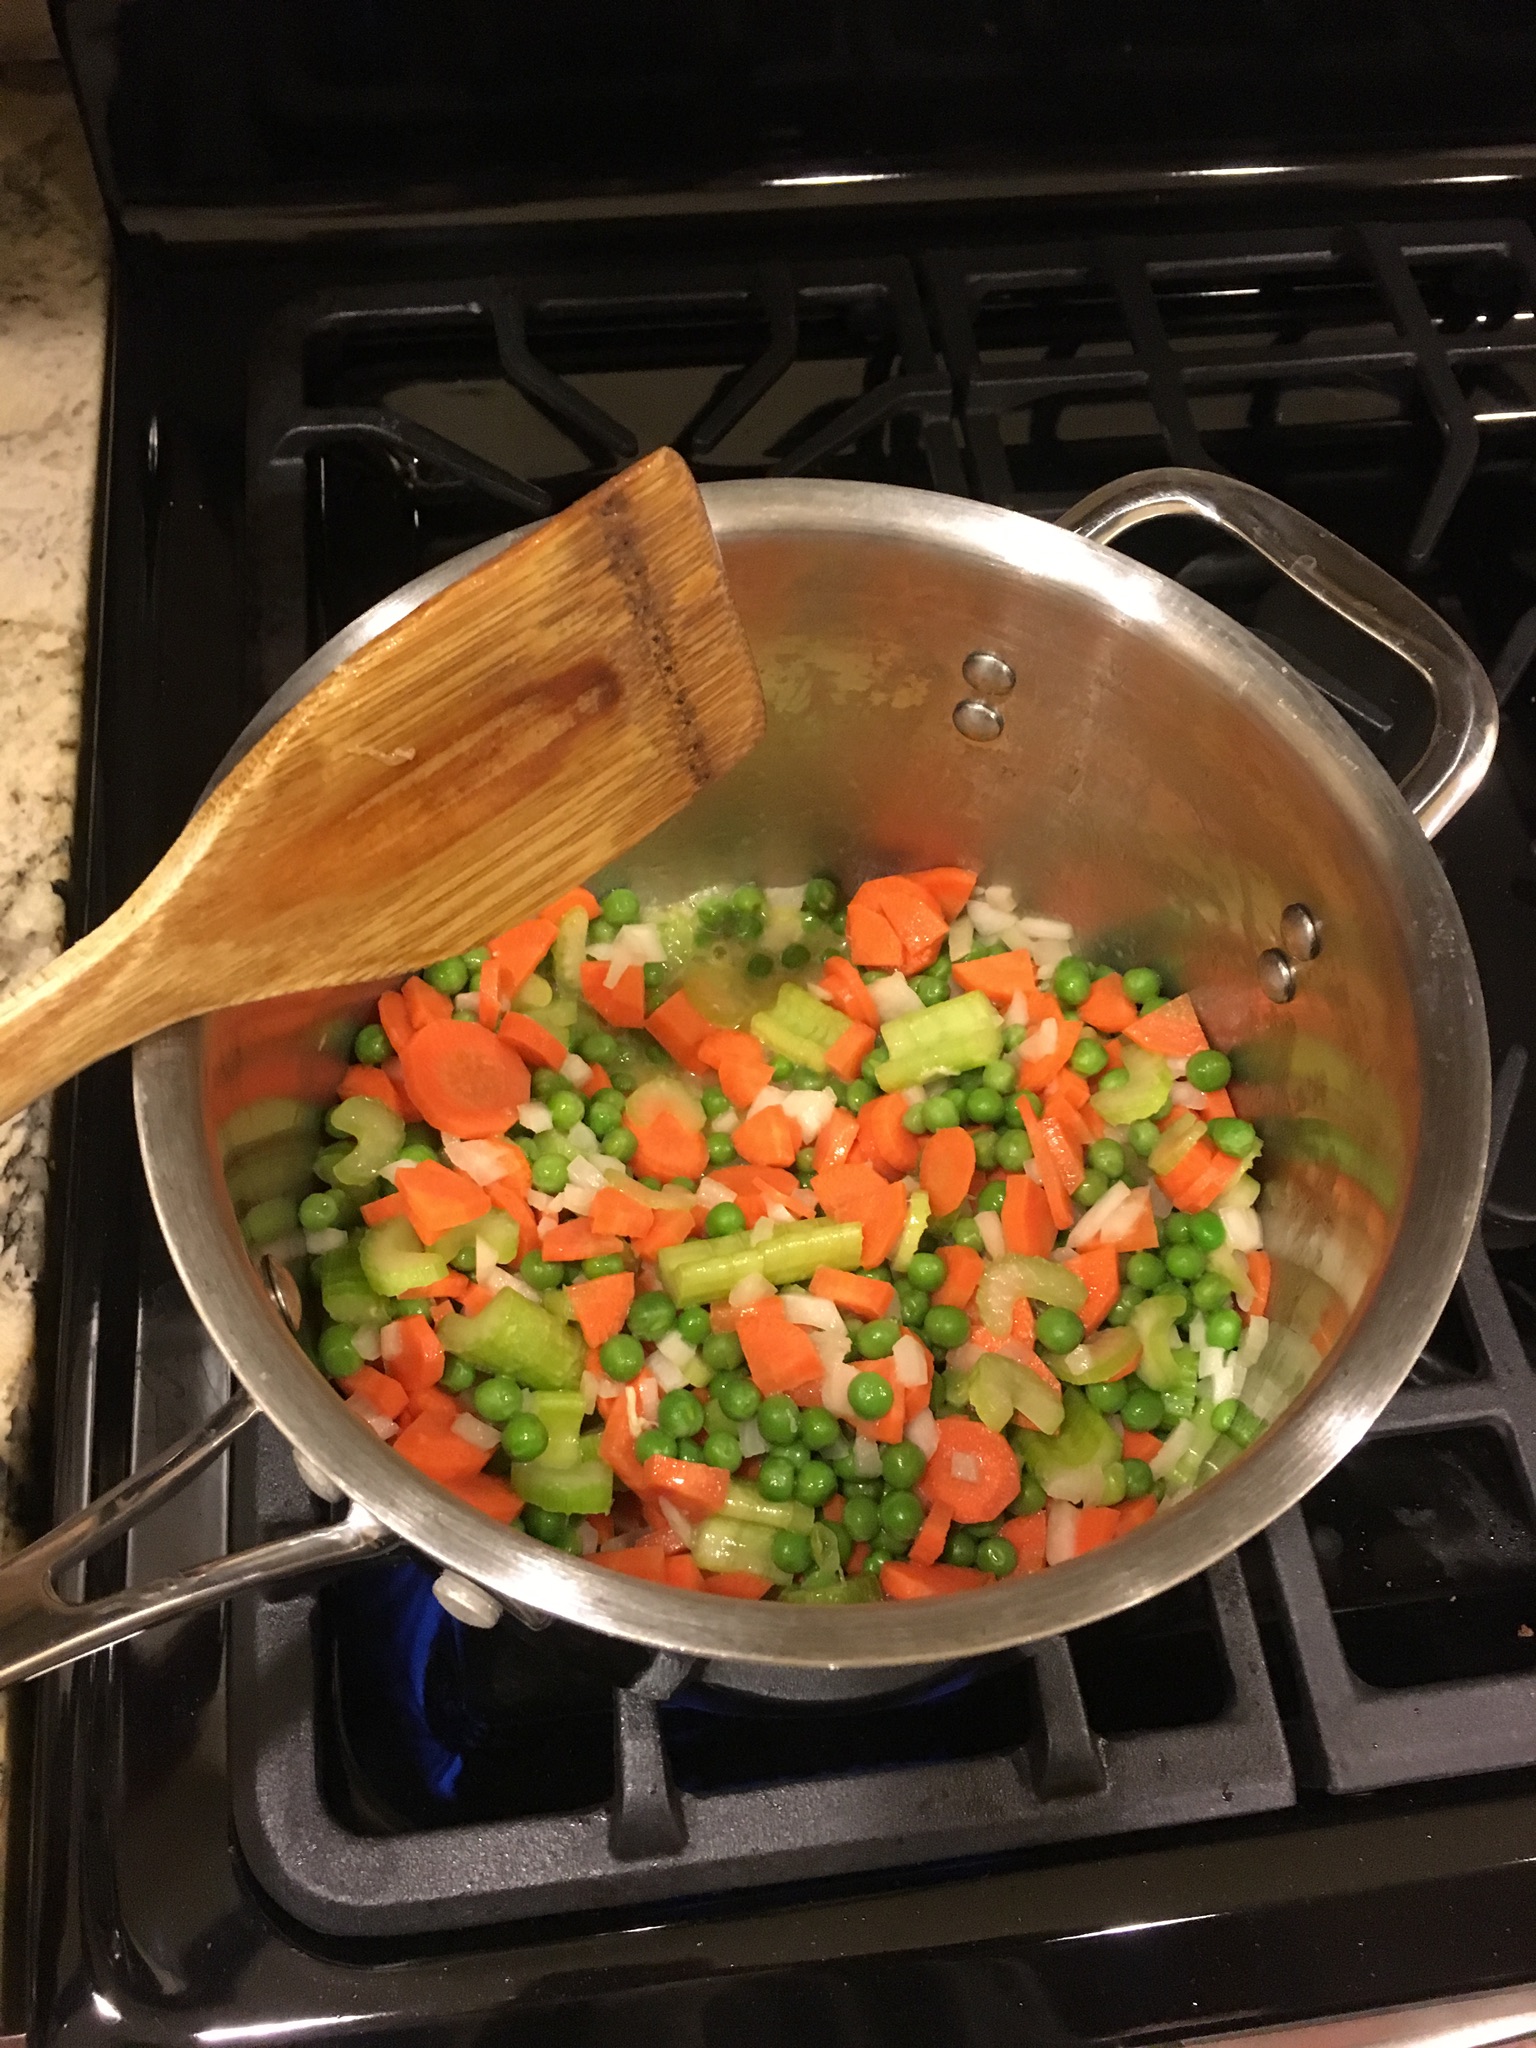
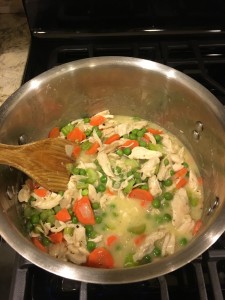
Melt the butter in a large pot, then add your veggies and cook for about 3-5 minutes.  Stirring often.  When onions look translucent stir in your shredded chicken.  Then sprinkle in the flour and stir well.  Add your chicken broth and white wine and let cook until it starts to thicken.

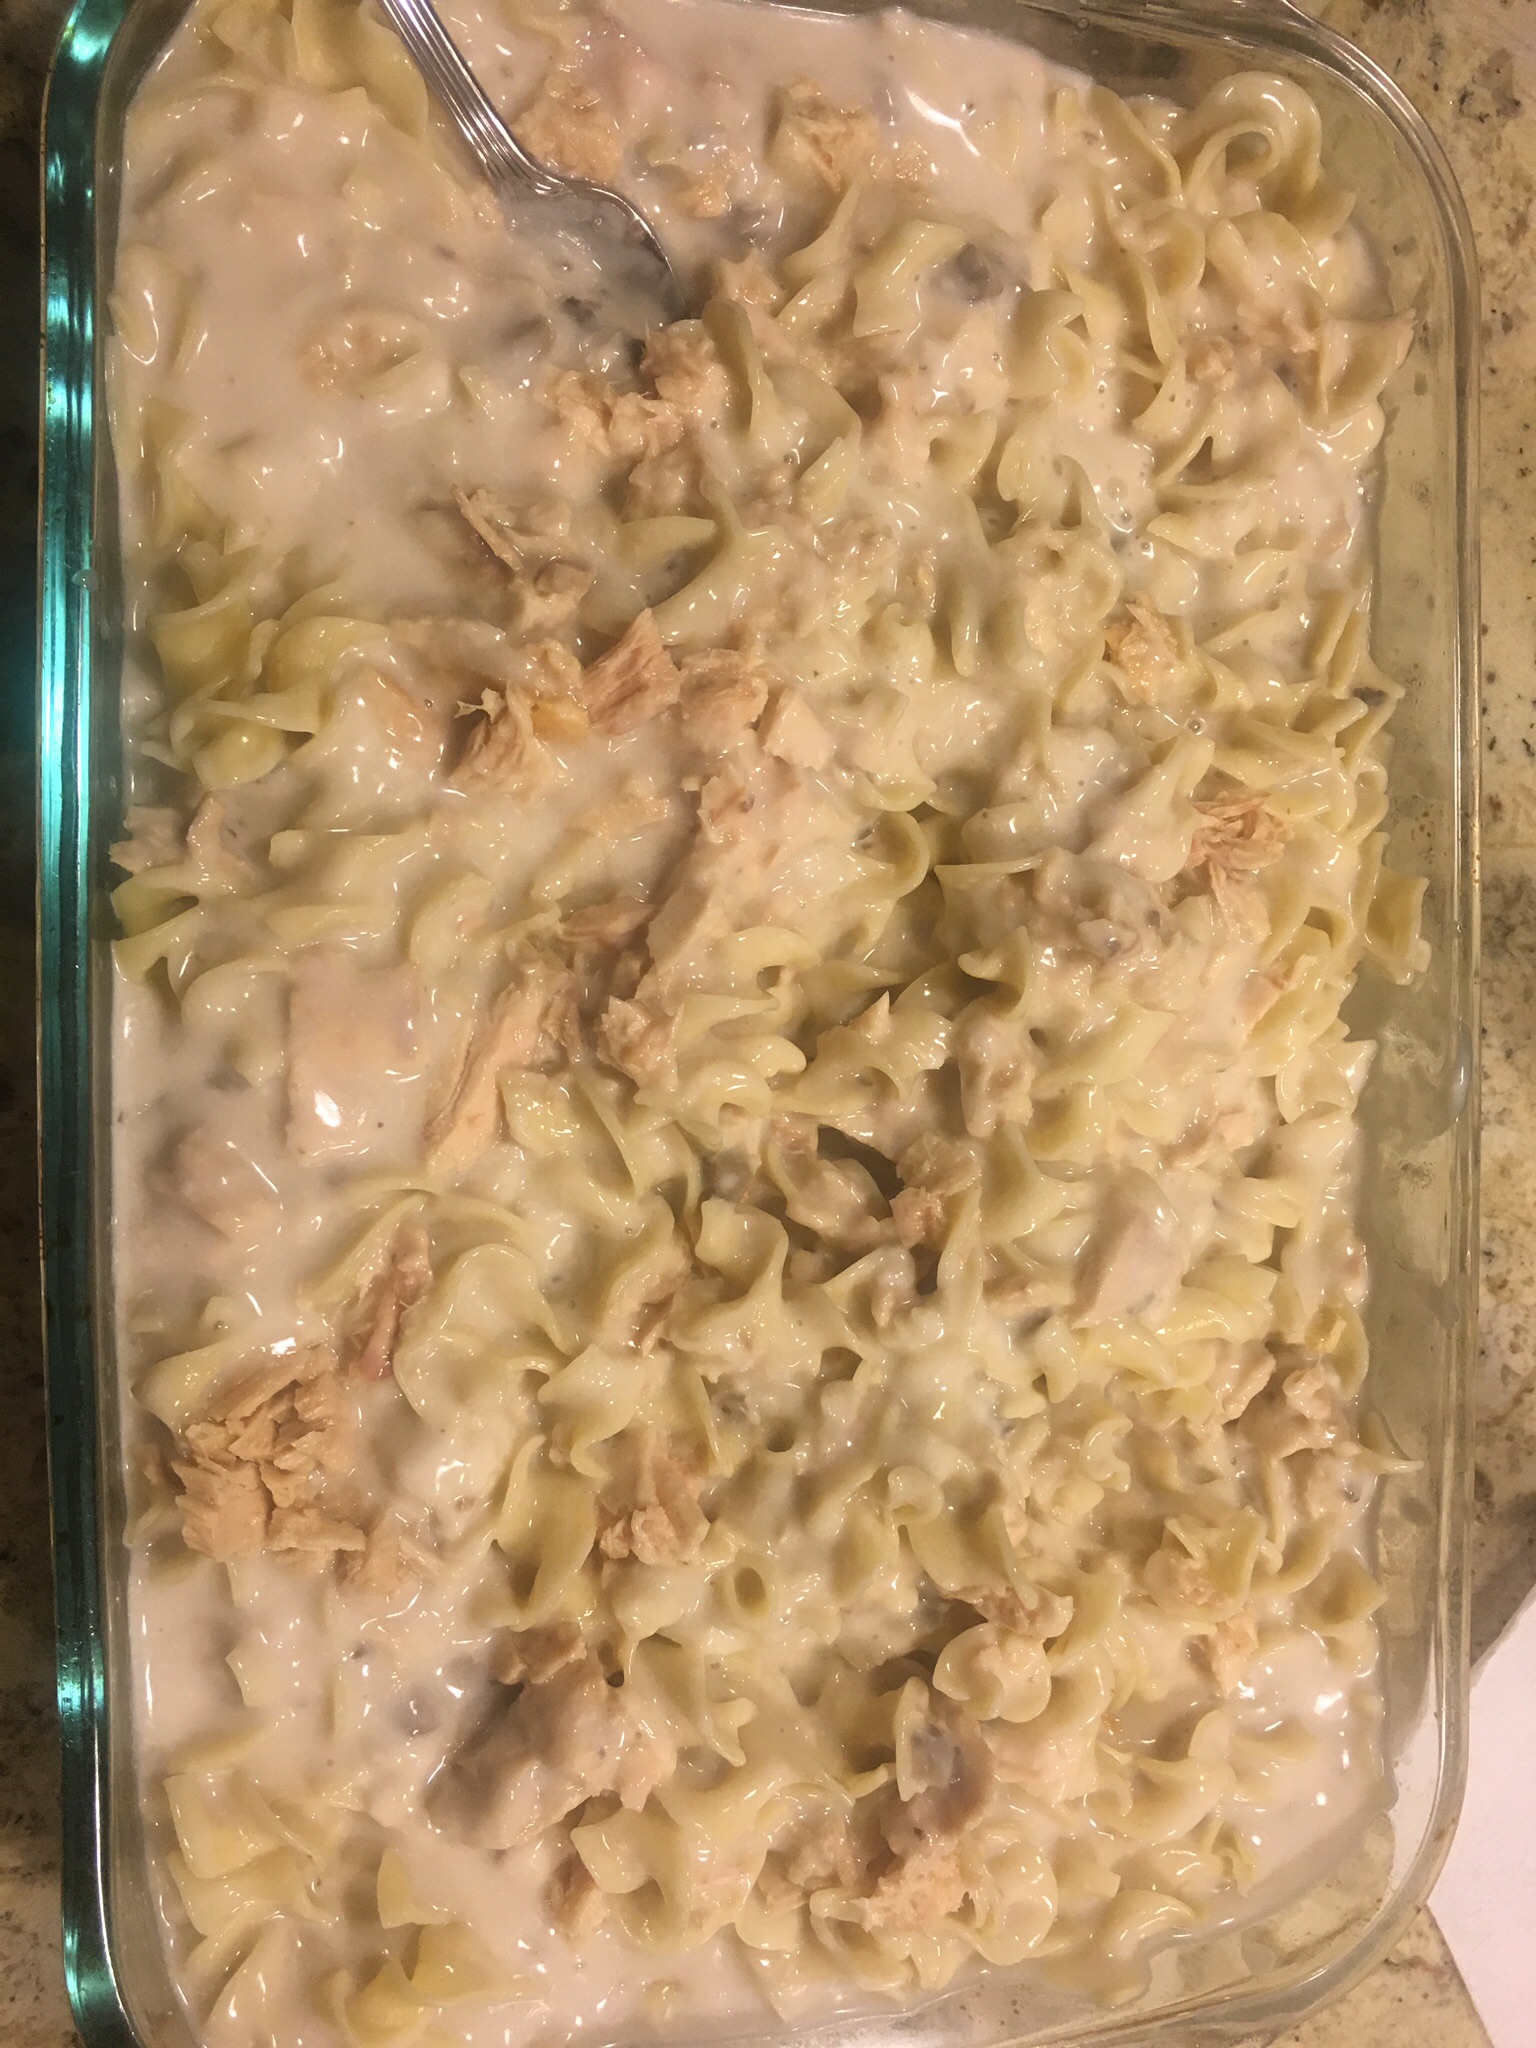
Add your thyme, salt and pepper, milk and stir.  Let it cook until it bubbles and thickens up some more.  If you think its too thick add a little more chicken broth.  Turn off the heat.

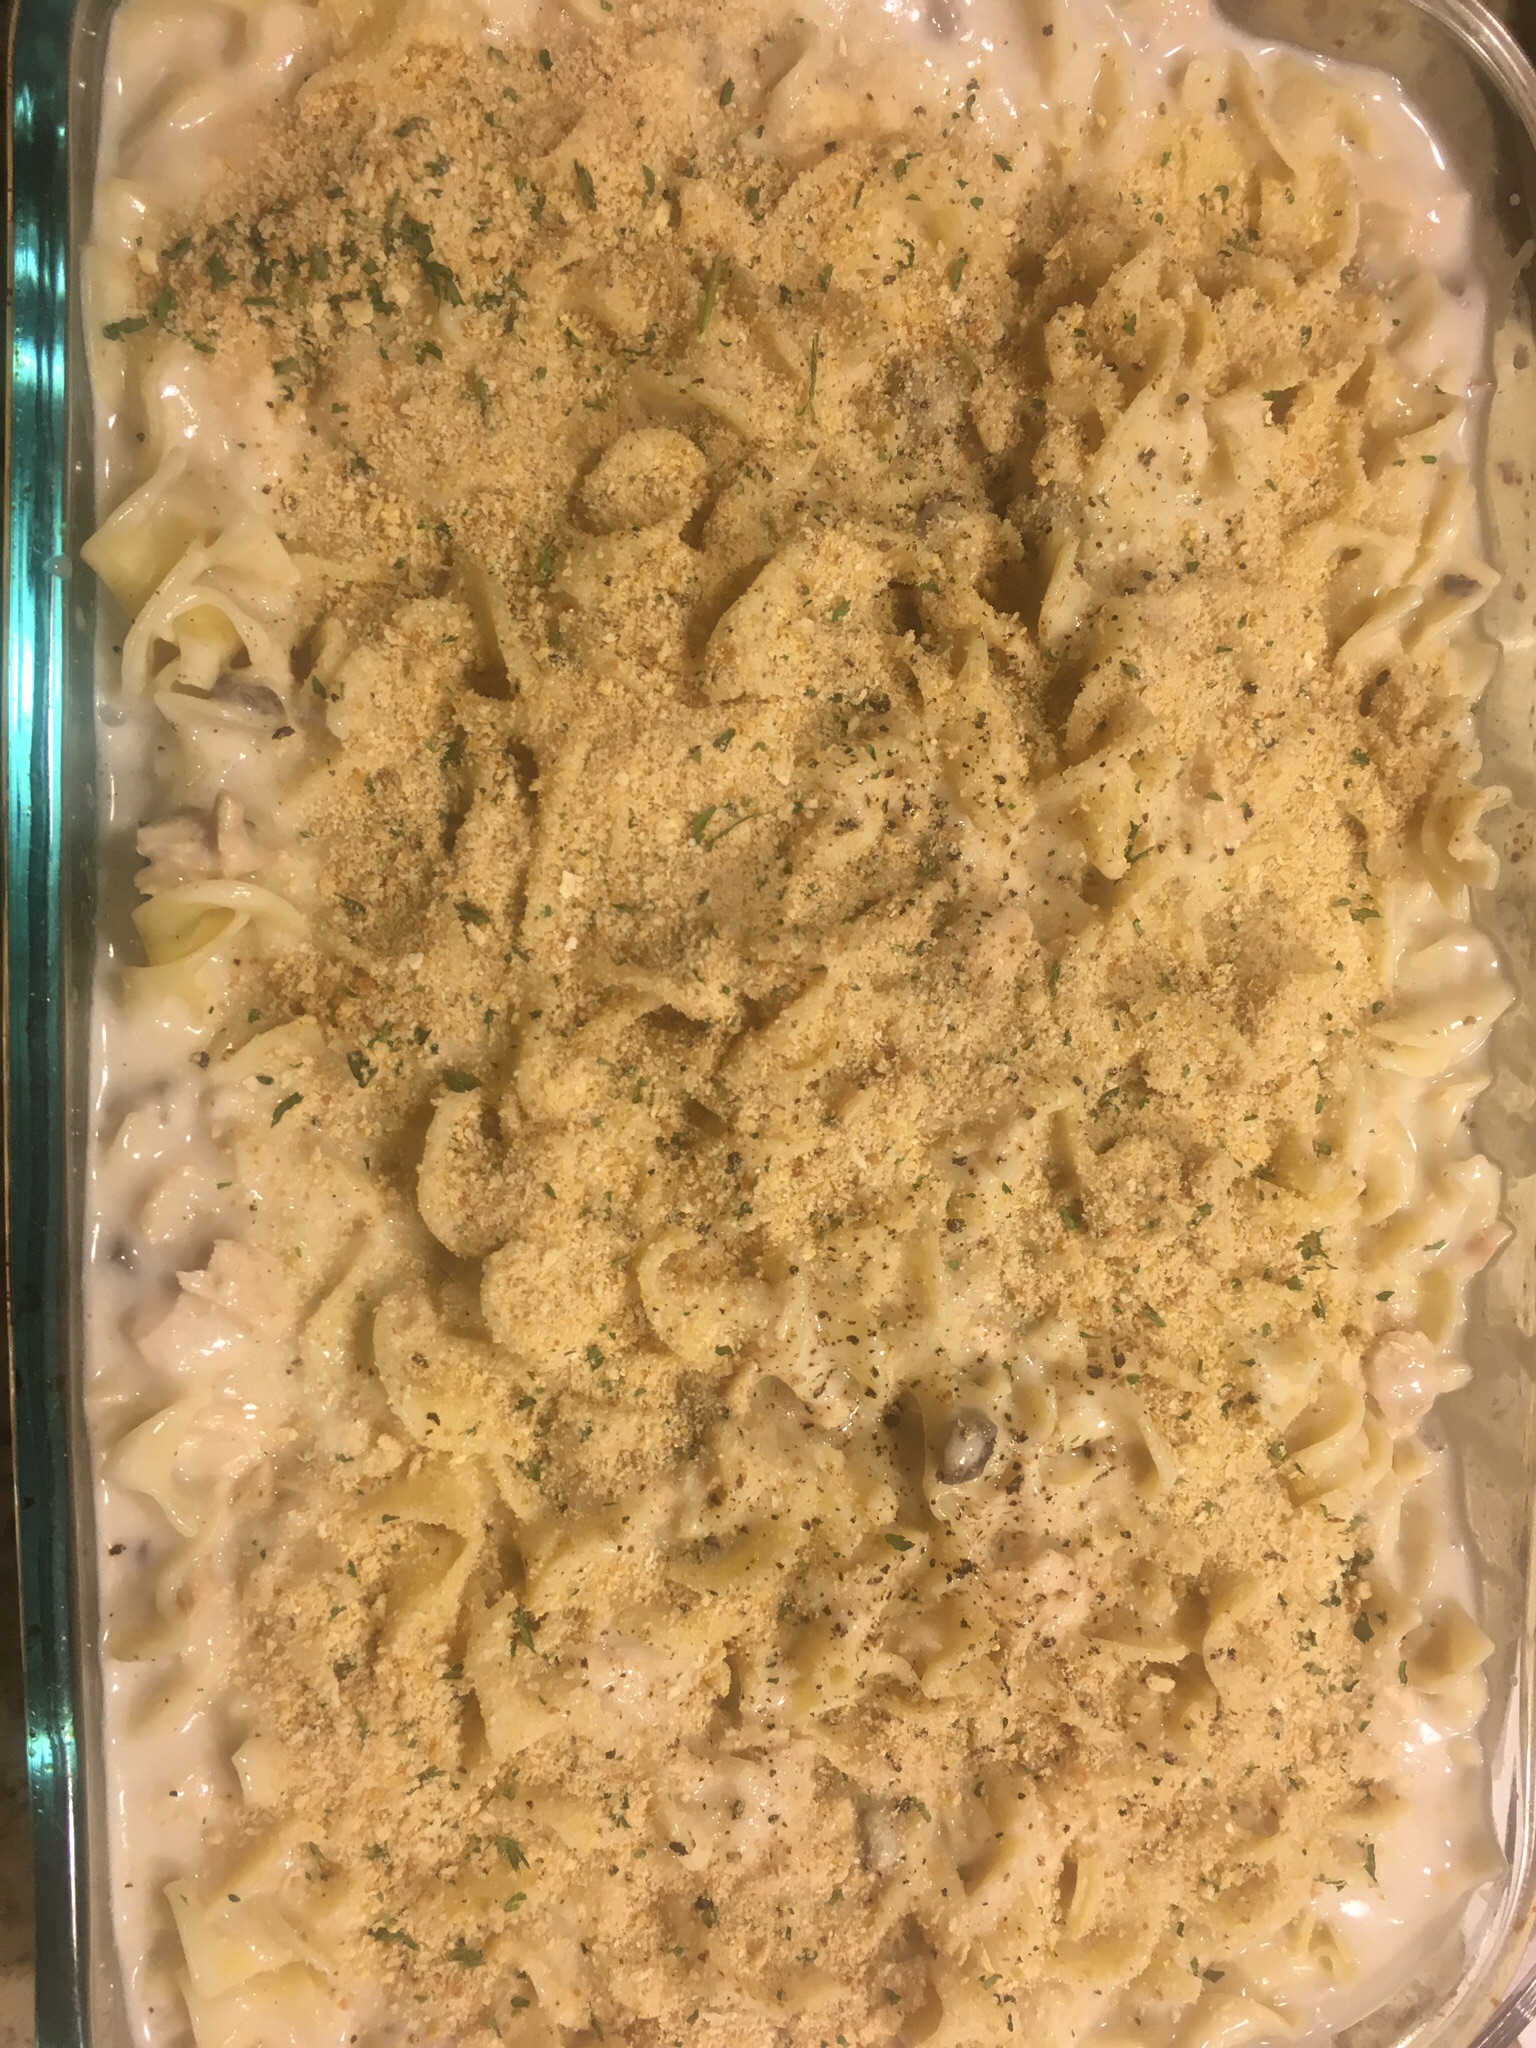
Roll out your pie crust slowly and line the bottom of the casserole dish with it.   Pour your veggie and chicken filling into your casserole dish.  Then gently unroll your 2nd pie crust and lay it on top of your casserole.  Seal edges with fork, trimming edges if necessary.  Use a knife to cut a few little slits to allow steam to escape.

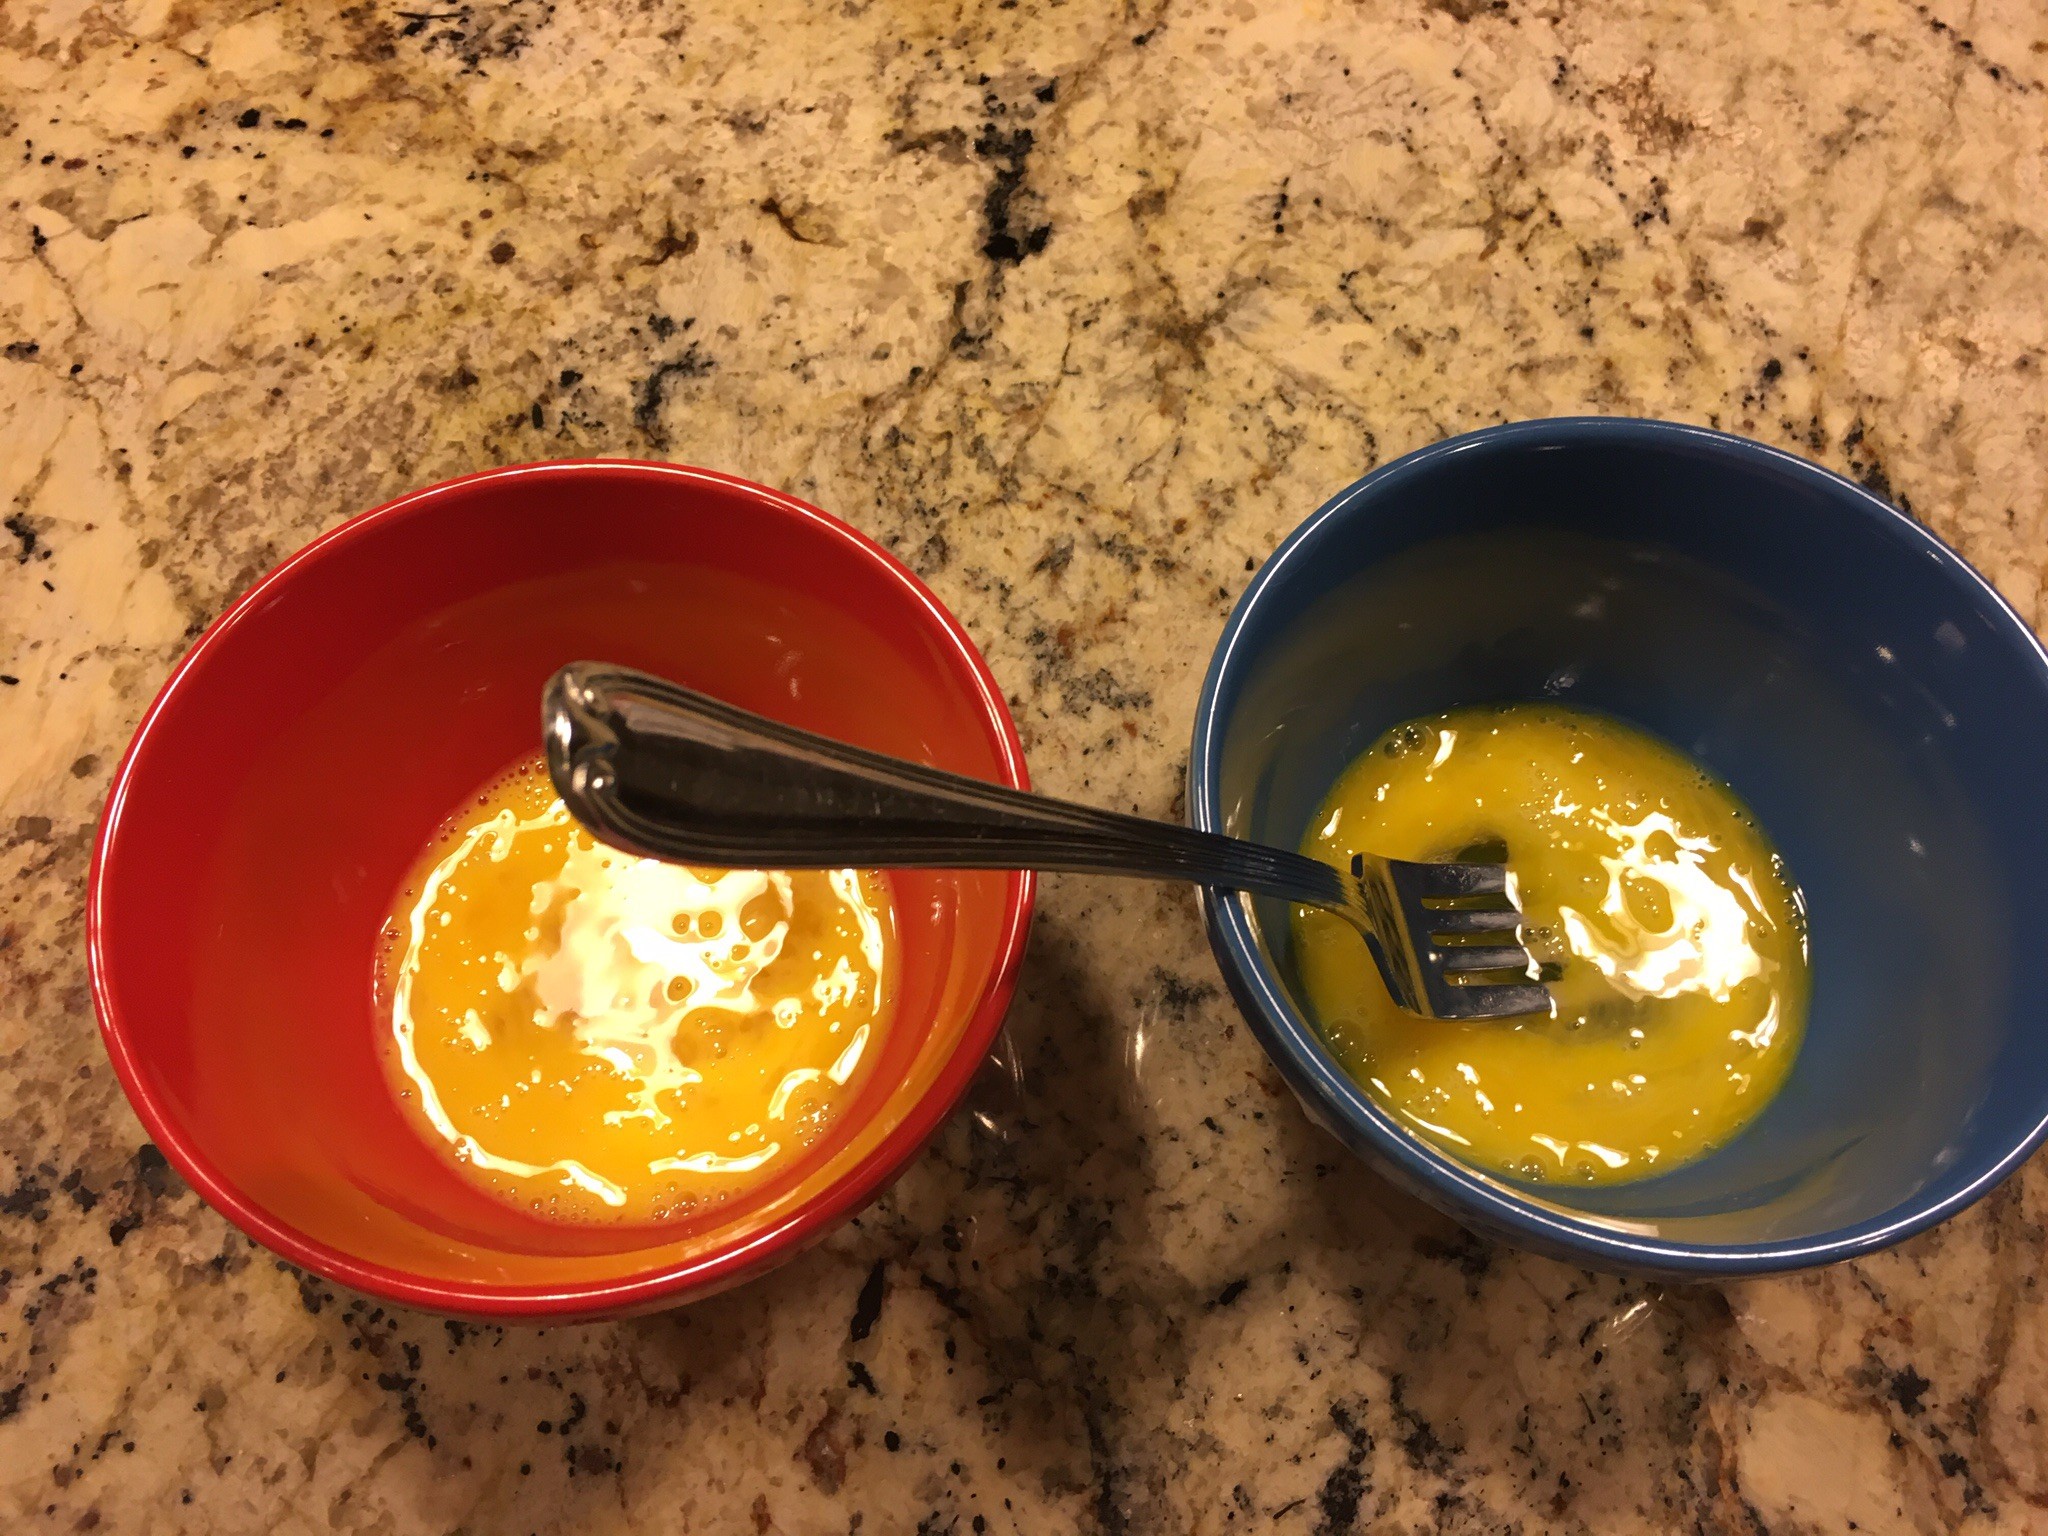
In a small bowl mix an egg and use it to carefully brush all over the top of your casserole.  You won’t use it all.

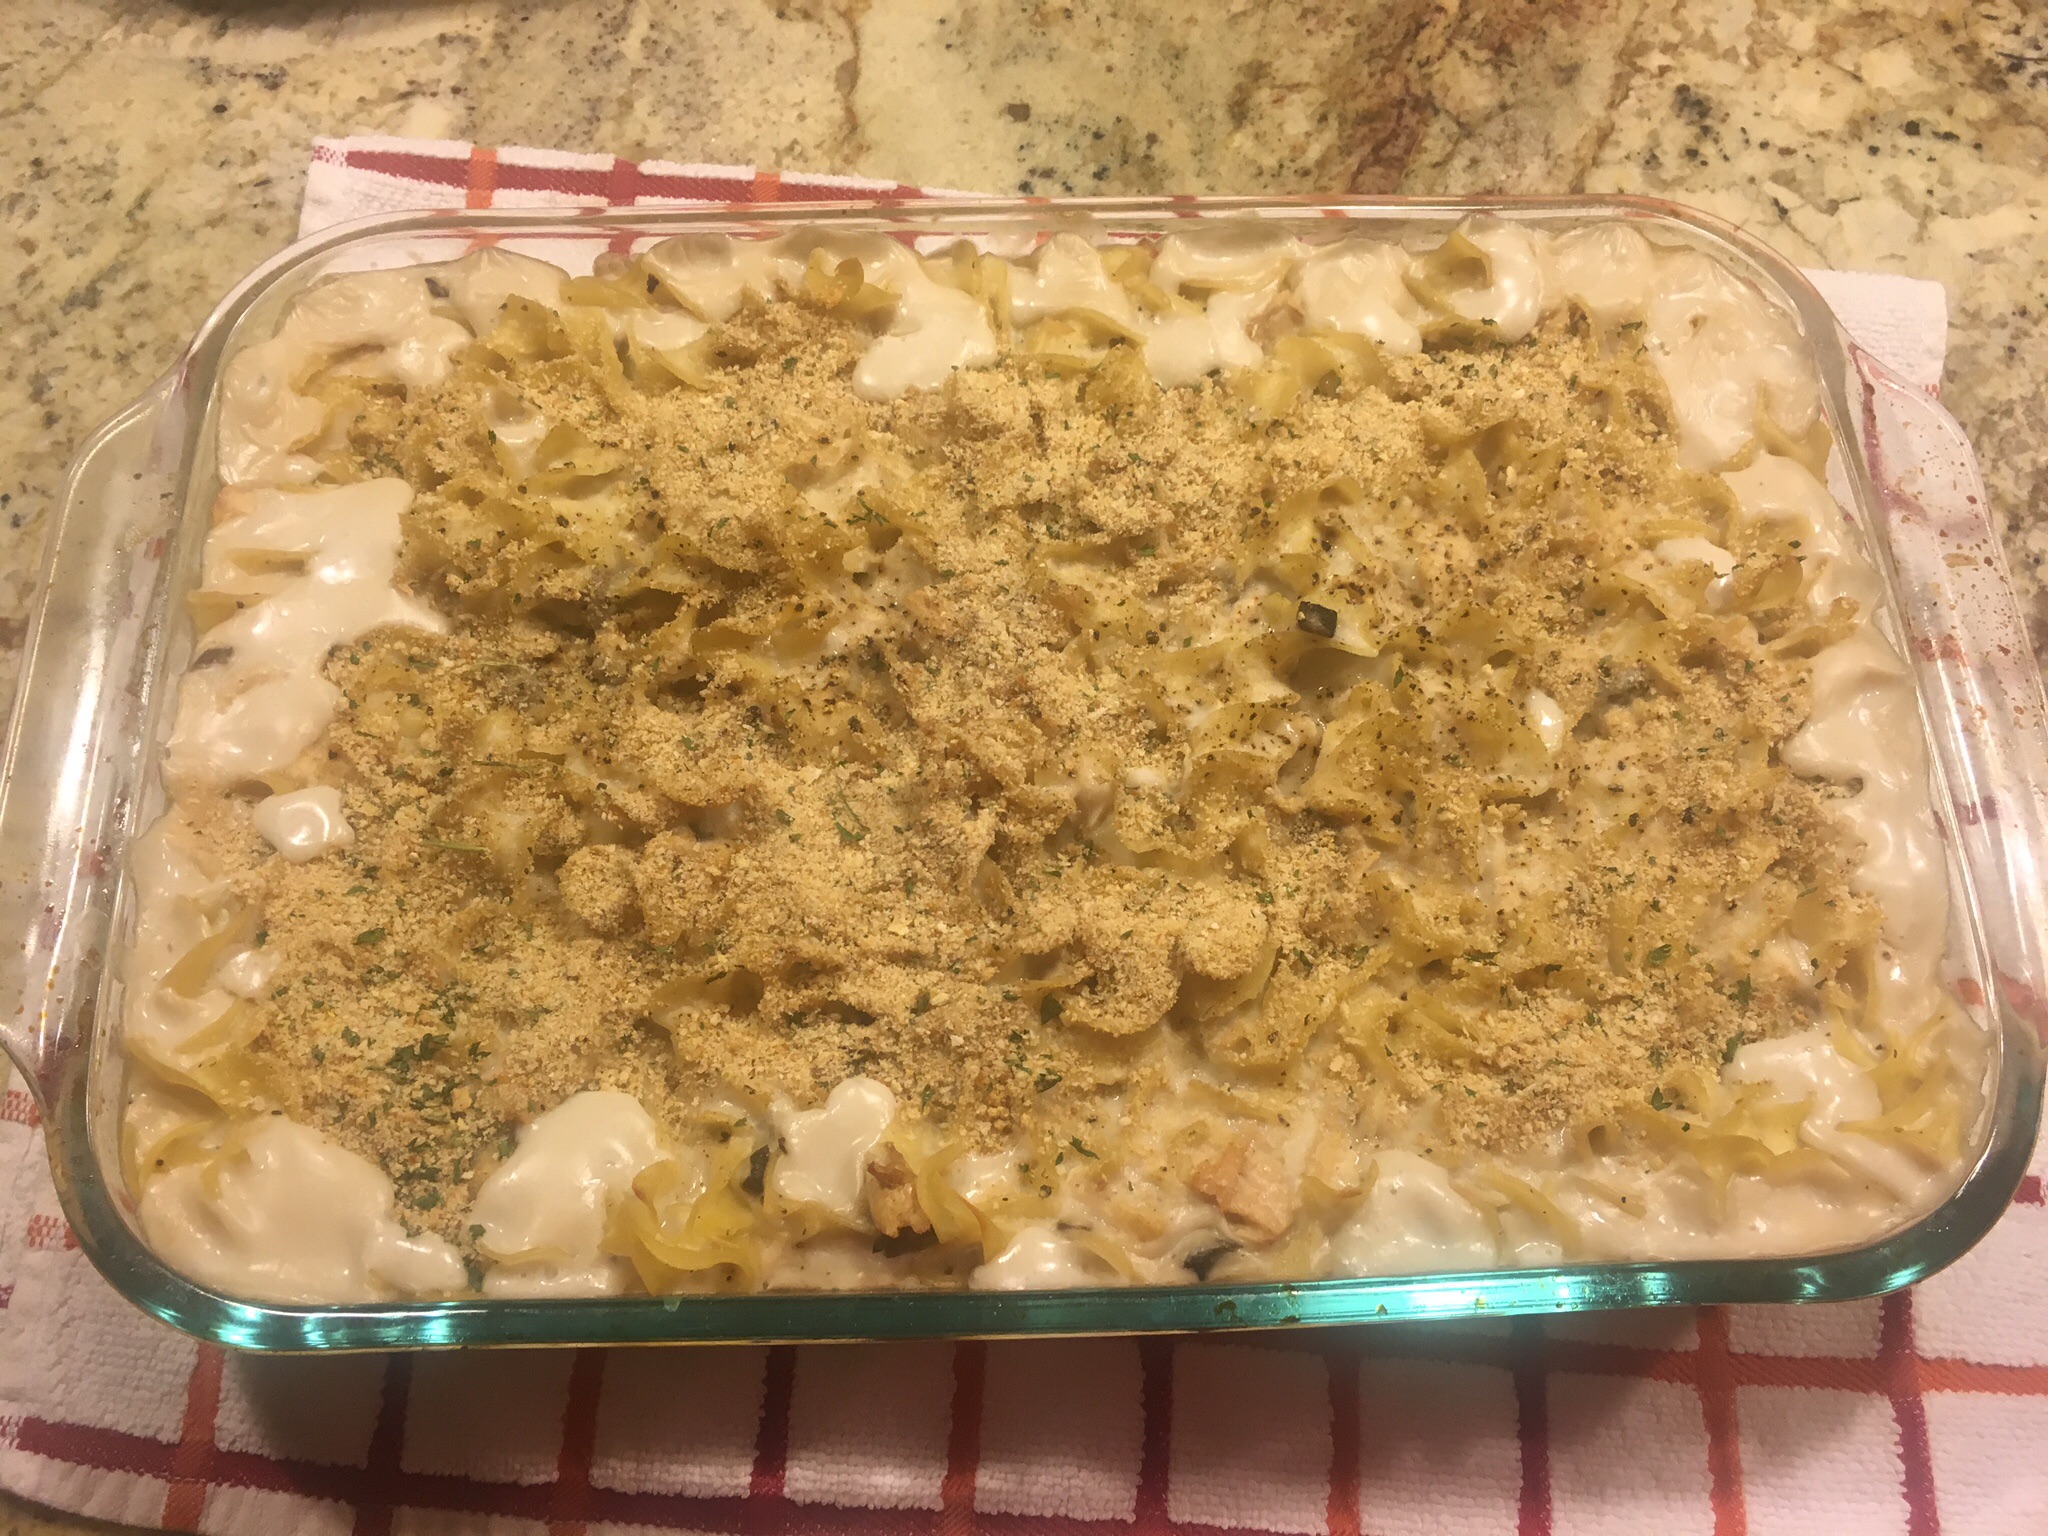
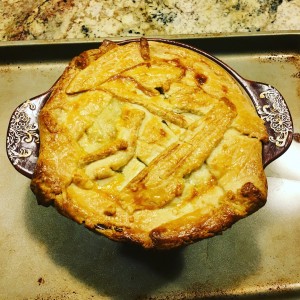
Place your casserole on a large baking dish and bake for 30-40 minutes until top is golden brown and filling is bubbly.  Cool for 10 minutes and ENJOY!

*Update – I used almond milk since that was all I had the next time I made this and there was no compromise of taste!  It was just as good!

RHC

HoneyBalls…A Neapolitan Christmas Sweet!

imageimageimageimage

Hi Housewives!

It’s Christmas week and my recipe for you is a traditional and delicious Neapolitan Christmas sweet.  Struffoli or Honeyballs as I grew up calling them were served at every Christmas gathering when I was a child.  As a child they weren’t my favorite things on the dessert table but as an adult I now absolutely love them!  I’ve been lucky to find a bakery by me who makes them really well.  They can be done wrong in my opinion coming out either too heavy or too light or not sweet enough.  They can be found in most specialty supermarkets or bakeries around Christmas time.  I’ve always, however, wanted to try to make them myself.  I was told that they weren’t easy but nothing really good ever comes easy so yesterday I decided to give it a go.  They weren’t easy but they were well worth it!  So, I hope if you have time this Christmas you will give making them yourself a try.  One of the best things about these is that they get better over the days after you make them, soaking up all that yummy honey and they can last up to a week or more!

A lot of recipes call for orange zest or lemon zest but I prefer not to add that.  Feel free to add that if you like them that way.

  • 3 3/4 cups of flour
  • 6 Tablespoons of butter softened to room temperature
  • 1/4 cup and 2 tablespoons of sugar
  • 1 1/2 teaspoons of baking powder
  • 5 eggs
  • 1 teaspoon of vanilla
  • 2-3 cups of honey
  • pinch of salt
  • multi-colored non pareils

Place the flour and butter in a bowl and rub together between your fingers until butter in little bits.  Then empty into a large mixing bowl.  Add sugar, baking powder and salt and whisk together.  Add eggs and vanilla and stir until dough forms.  This will be easier to do with your hands.  It will get easier to work with the longer you knead it.  Leave in bowl at room temp for 45 minutes.

Fill a large, deep bowl with vegetable oil and heat.  Take your dough and quarter it.  Roll each quarter out with your hands and add flour if needed to better work it.  Make long rope-like pieces and break off pieces about 1/2 inch thick by 1/4 inch long – think about the size of a marble.

When the oil is very hot, add the pieces of dough using a slotted spoon a few at a time and fry them until golden.  Do not overcrowd the pot.  Stir them gently so that all sides get cooked evenly.  The dough will sink and as it cooks they will float to the top.  When they look tan and golden remove from pot and place on paper towels to drain.  Repeat this process until you have cooked all the dough.

Once you’ve cooked all your dough, heat another large pot with the honey and 4 tablespoons of sugar.  also add a few tablespoons of water.  Bring to a boil and simmer until foam disappear and the mixture is yellow and clear.  Lower the heat and immerse the cooked dough into the honey mixture.  Stir to coat completely.  Empty onto a plate.  Wet your hands with cold water to shape your struffoli into a layered dome or mound or a ring.  I prefer to mound them.  Sprinkle evenly with the non pareils.  Serve after several hours or, even better the next day!  I found that they were significantly better the next day.

Honeyballs will keep for a week or more if carefully wrapped in wax paper or foil.

Enjoy and I wish you all a very Merry Christmas!

RHC

Coco Loco Christmas Cookie Bars!

imageimageimageimageimageimageimage

Hi Housewives!

Today’s recipe is for a real treat that I like to make around the holiday season.  It is a mixture between Chewy Noels, Hello Dollies and Magic Cookie Bars.  About 9 years ago, I received a recipe for Chewy Noels at my bridal shower from my brother-in-laws mother Jean.  She is a great baker.  I don’t love walnuts so I tried to think of some substitutions.  After doing some research, I came across recipes for Hello Dollies and Magic Cookie bars.  Those recipes called for sweet condensed milk and graham crackers which I didn’t have on hand at the time.  So, I figured let’s make some adjustments on all these recipes with things I did have on had, and things I liked and thus came the birth of this bar!  Since I do not love walnuts I decided to replace them with shredded coconut and dark chocolate chips.  I have been making these ever since and look forward to them this time of year.  They are great to wrap up and bring to holiday parties too.  They make a nice presentation!

  • 2 Tablespoons of butter
  • 2 eggs
  • 1 cup of brown sugar
  • 5 Tablespoons of flour
  • 1/8 teaspoon of baking powder or soda
  • 1/2 cup of dark chocolate chips
  • 2 handfuls of sweetened shredded coconut
  • 1 teaspoon of vanilla
  • powdered sugar

Melt the butter in a 9 inch square pan over low heat.  Take off stove. Beat 2 eggs lightly and separately.

Combine the brown sugar, flour, baking soda, shredded coconut and chocolate chips.  Stir into eggs with the vanilla.  Then pour this mixture over the melted butter.  DO NOT STIR.

Bake for 20 minutes at 350 degrees.  Cool on rack and then cut into oblong pieces and when cool sprinkle with confectioners  powdered sugar and Enjoy!

Merry Christmas and Happy Holidays to you all!

RHC

Pasta Puttanesca!

image image

Hi Housewives!

This weeks recipe is for Puttanesca sauce.  It’s an easy sauce with an alluring aroma.  The back story on this very old and special sauce is that it was the sauce that the “working ladies” would make at brothels in Italy to lure the men in.  They would open the windows and the men would smell the sauce and head to the brothel and well you know how the story ends.  Traditionally, the recipe calls for anchovies but I omit that because honestly I am really now a fan of that.  I think the sauce comes out great without it.

  • 1 can of whole peeled tomatoes
  • 1 can of crushed tomatoes
  • 1 jar of capers (drained)
  • 1 can of slice black olives or Gaeta olives
  • 1 onion chopped
  • 3 cloves of smashed garlice
  • 1 pound of pasta of your choice
  • few shakes of red pepper
  • salt and pepper to taste

In a sauce pan heat up some extra-virgin olive oil.  Add the chopped onion and cook until translucent.  Then add the smashed garlic.  When garlic is about to brown add your canned tomatoes.  Let cook for about 15 minutes.  Then add your olives and capers.  Season with red pepper, salt and pepper.  Let cook on low for 30-40 more minutes stirring occasionally.

Serve with your favorite pasta cooked al dente of course!

Enjoy!

RHC

Turkey Soup!

imageimageimageimage image

Hi Housewives!

Thanksgiving 2015 has come and gone and you now may be sitting with a refrigerator full of leftovers wondering what to do with them.  One of the things I like to do with my leftover turkey is make a turkey soup.  It’s perfect for the chilly weather and can also be easily frozen if you have had enough turkey for now.

  • leftover turkey carcass
  • shredded leftover turkey
  • 1 wholeonion
  • celery chopped
  • carrots chopped
  • leeks
  • turnip
  • turkey broth 1-2 cans
  • noodles
  • water
  • 1 can of cream of chicken soup
  • salt and pepper to taste

Place the leftover carcass in a big pot and fill with water enough to cover it. Put burner on low and let cook for 3 hours.  Meanwhile chop your veggies and add.  Add your shredded turkey meat as well. Salt and Pepper.

After about 2 hours take out carcass and other bones. Now taste your broth. If it’s watery add a can of turkey broth a can at a time then add your cream of chicken soup.  Stir together and let simmer.

In another pot boil the water for your noodles. Cook and serve soup over your noodles.  Enjoy!

RHC


Slow Cooked Pot Roast!

imageimageimageimageimage

Hi Housewives!

I’m a summer lover but I have to admit that the Fall season really gets me in a cooking mood.  I love to fill my home with the aroma of slow cooked meals and apple pies.  Comfort food is a must this time of year.  This weeks recipe is for Pot Roast in the slow cooker.  I love coming home from work and having my dinner all ready and waiting.  You can chop all your veggies the night before to save crucial morning time and just throw everything in the slow cooker in the morning or even what I do a lot of the time is let it slow cook on a Sunday and just reheat it whatever night of the week I want to eat it.

  • 2-4 pound Beef Roast
  • 1 onion quartered
  • half a bag of baby carrots
  • 1 can of beef broth
  • 1 package of dry vegetable soup mix
  • 2 ribs of celery

In a skillet heat a tablespoon of olive oil and brown your roast on both sides.  When browned add it to your slow cooker.  Place onion, carrots and celery around your roast.  In a small bowl mix together the beef broth and dry vegetable soup then add to slow-cooker.  Add salt and pepper.  Cook on low for 8-10 hours.

I like to serve it over no yolk noodles.  Cook those separately according to the direction on the bag.

Enjoy!