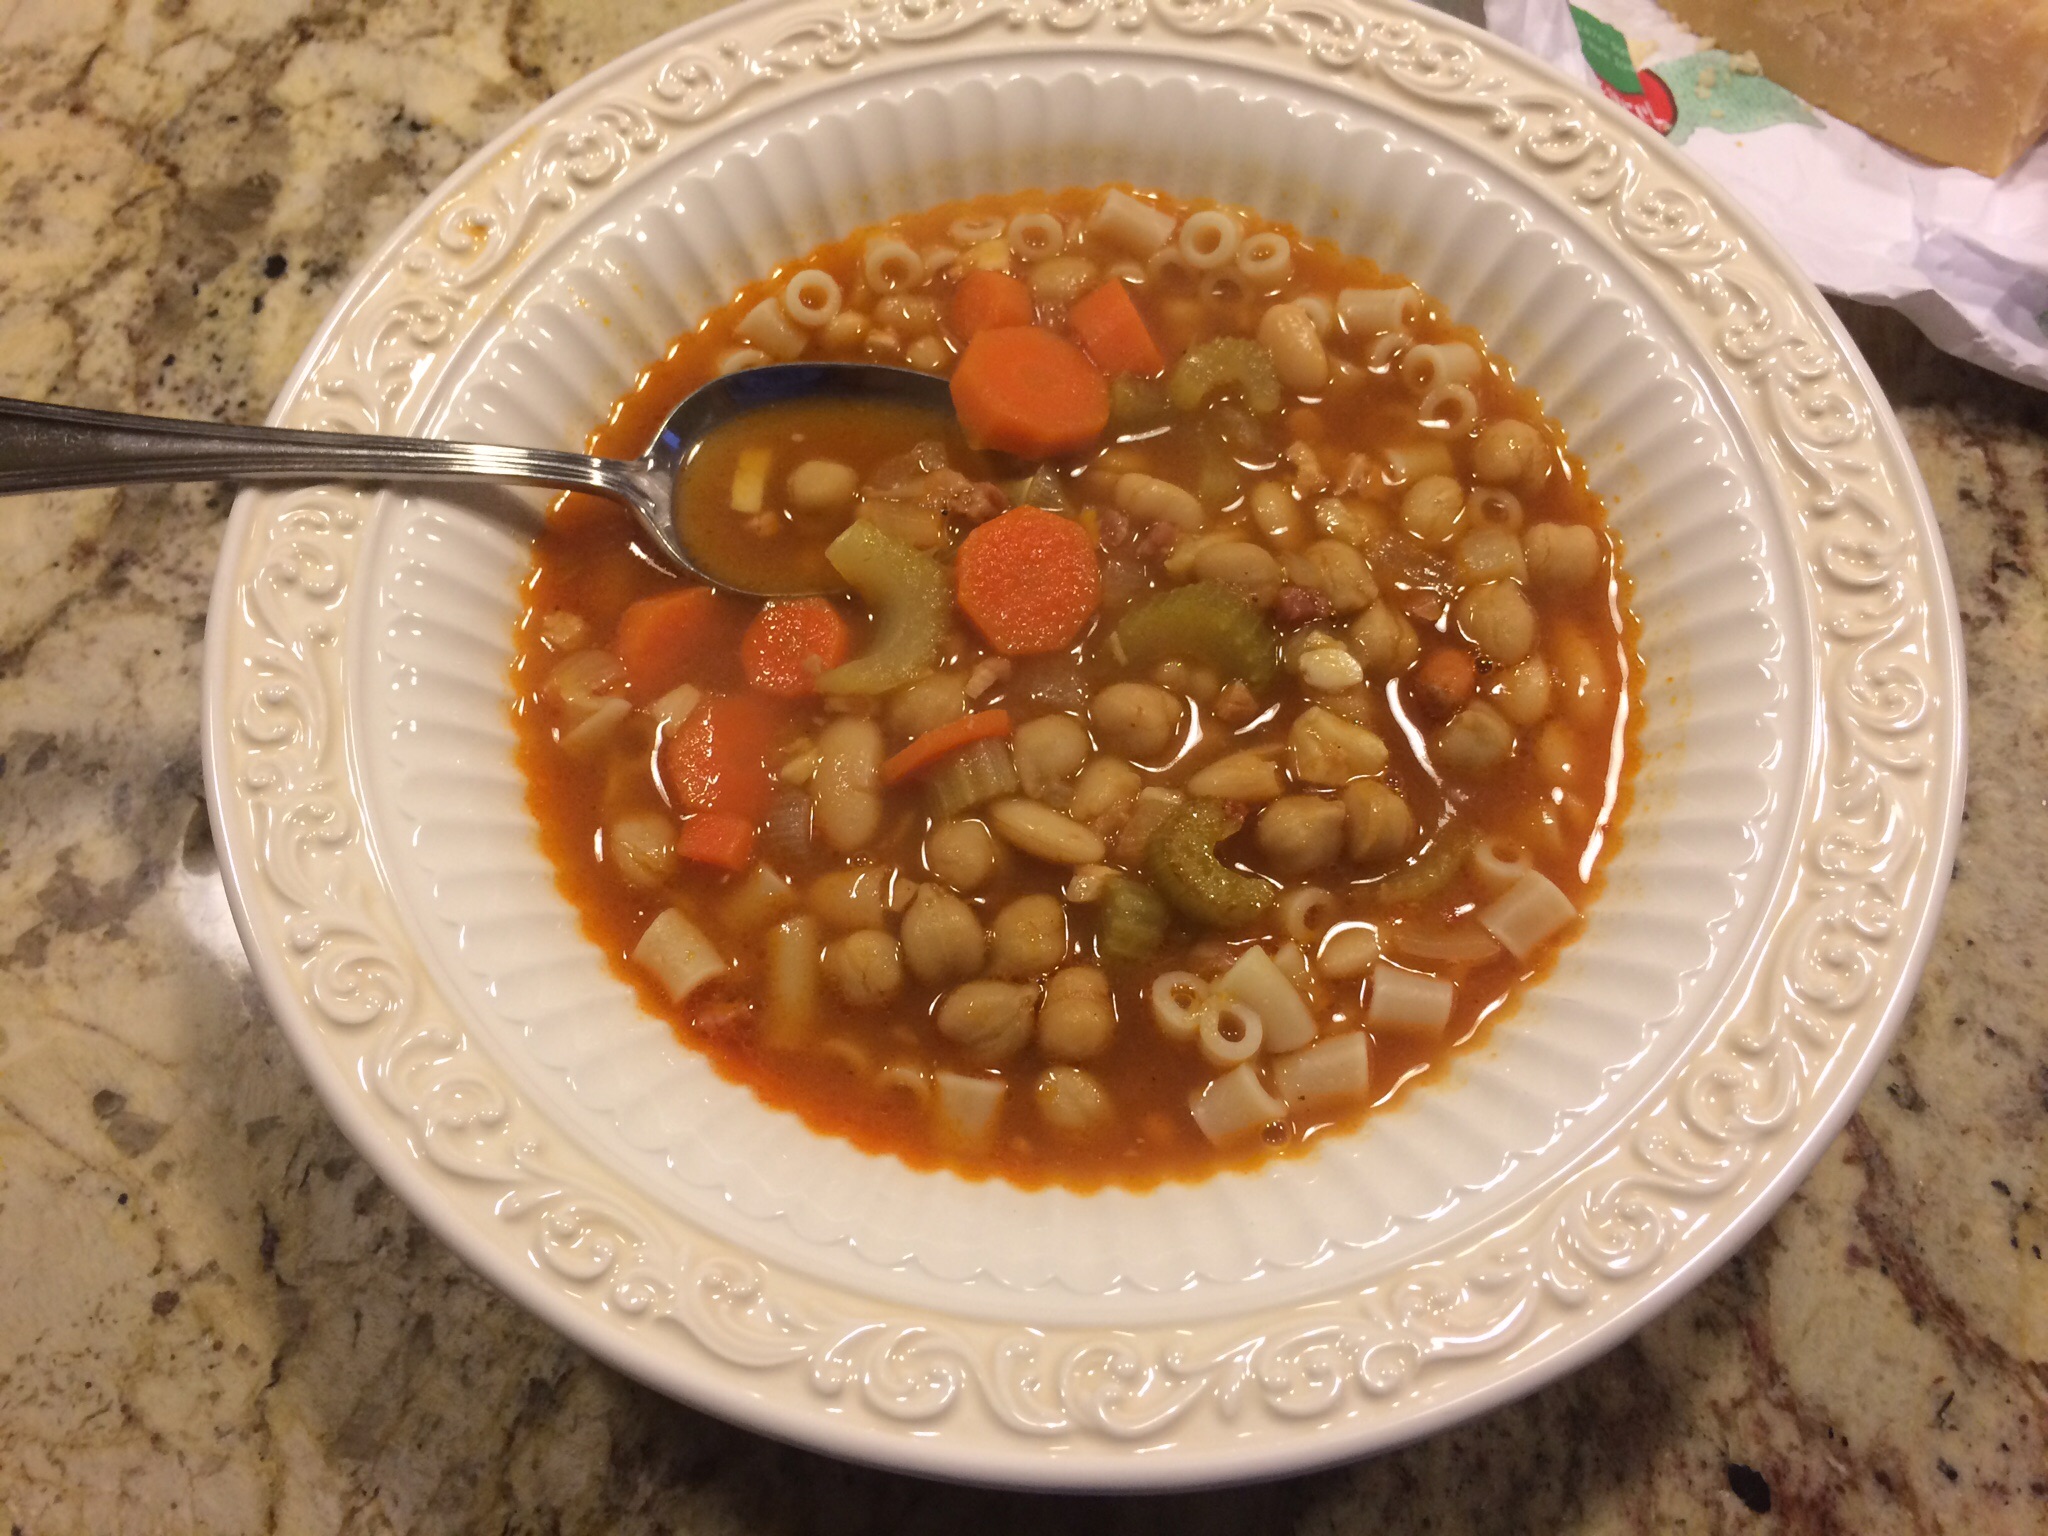
Pasta Fagioli aka Pasta Fazool!

imageimageimageimage

Hello Housewives!

We are back and ready for Fall!  Although I am truly a summer lover, the autumn season brings with it lots of comfort foods that I’ve been craving.  Soups, stews, roasts and baking all come to mind as we enter into a new season.  I’ve got some great recipes lined up for you and am looking forward to sharing them!

Today’s recipe is for Pasta Fagioli or otherwise known as, if you’re Italian-American, as Pasta Fazool!  There are numerous variations on this wonderful dish according to where you are from in Italy.  I was lucky enough to get this recipe from a coworker and dear friend of mine named Sylvia and let me tell you she is someone who knows what she is doing in the kitchen.  Since the loss of my mom she has taught me a lot about cooking.  We joke that she can make sticks taste good.

This dish is perfect for a chilly, rainy evening.  It will leave you feeling all warm and fuzzy inside and satisfied.  It’s great to freeze as well.  I store the leftovers in a little tupperware and take them for lunch from time to time.

  • Extra-virgin olive oil (2 tablespoons)
  • Pancetta (3 slices sliced)
  • 1/2 box of Ditalini Pasta
  • 1/2 white onion sliced thin
  • 3 ribs of celery and some torn up celery leaves
  • 4 carrots sliced
  • 2 cans of canellini beans
  • 2 1/2 cans of water
  • 1 can of tomato sauce
  • 6-8 cloves of garlic
  • salt and pepper to taste

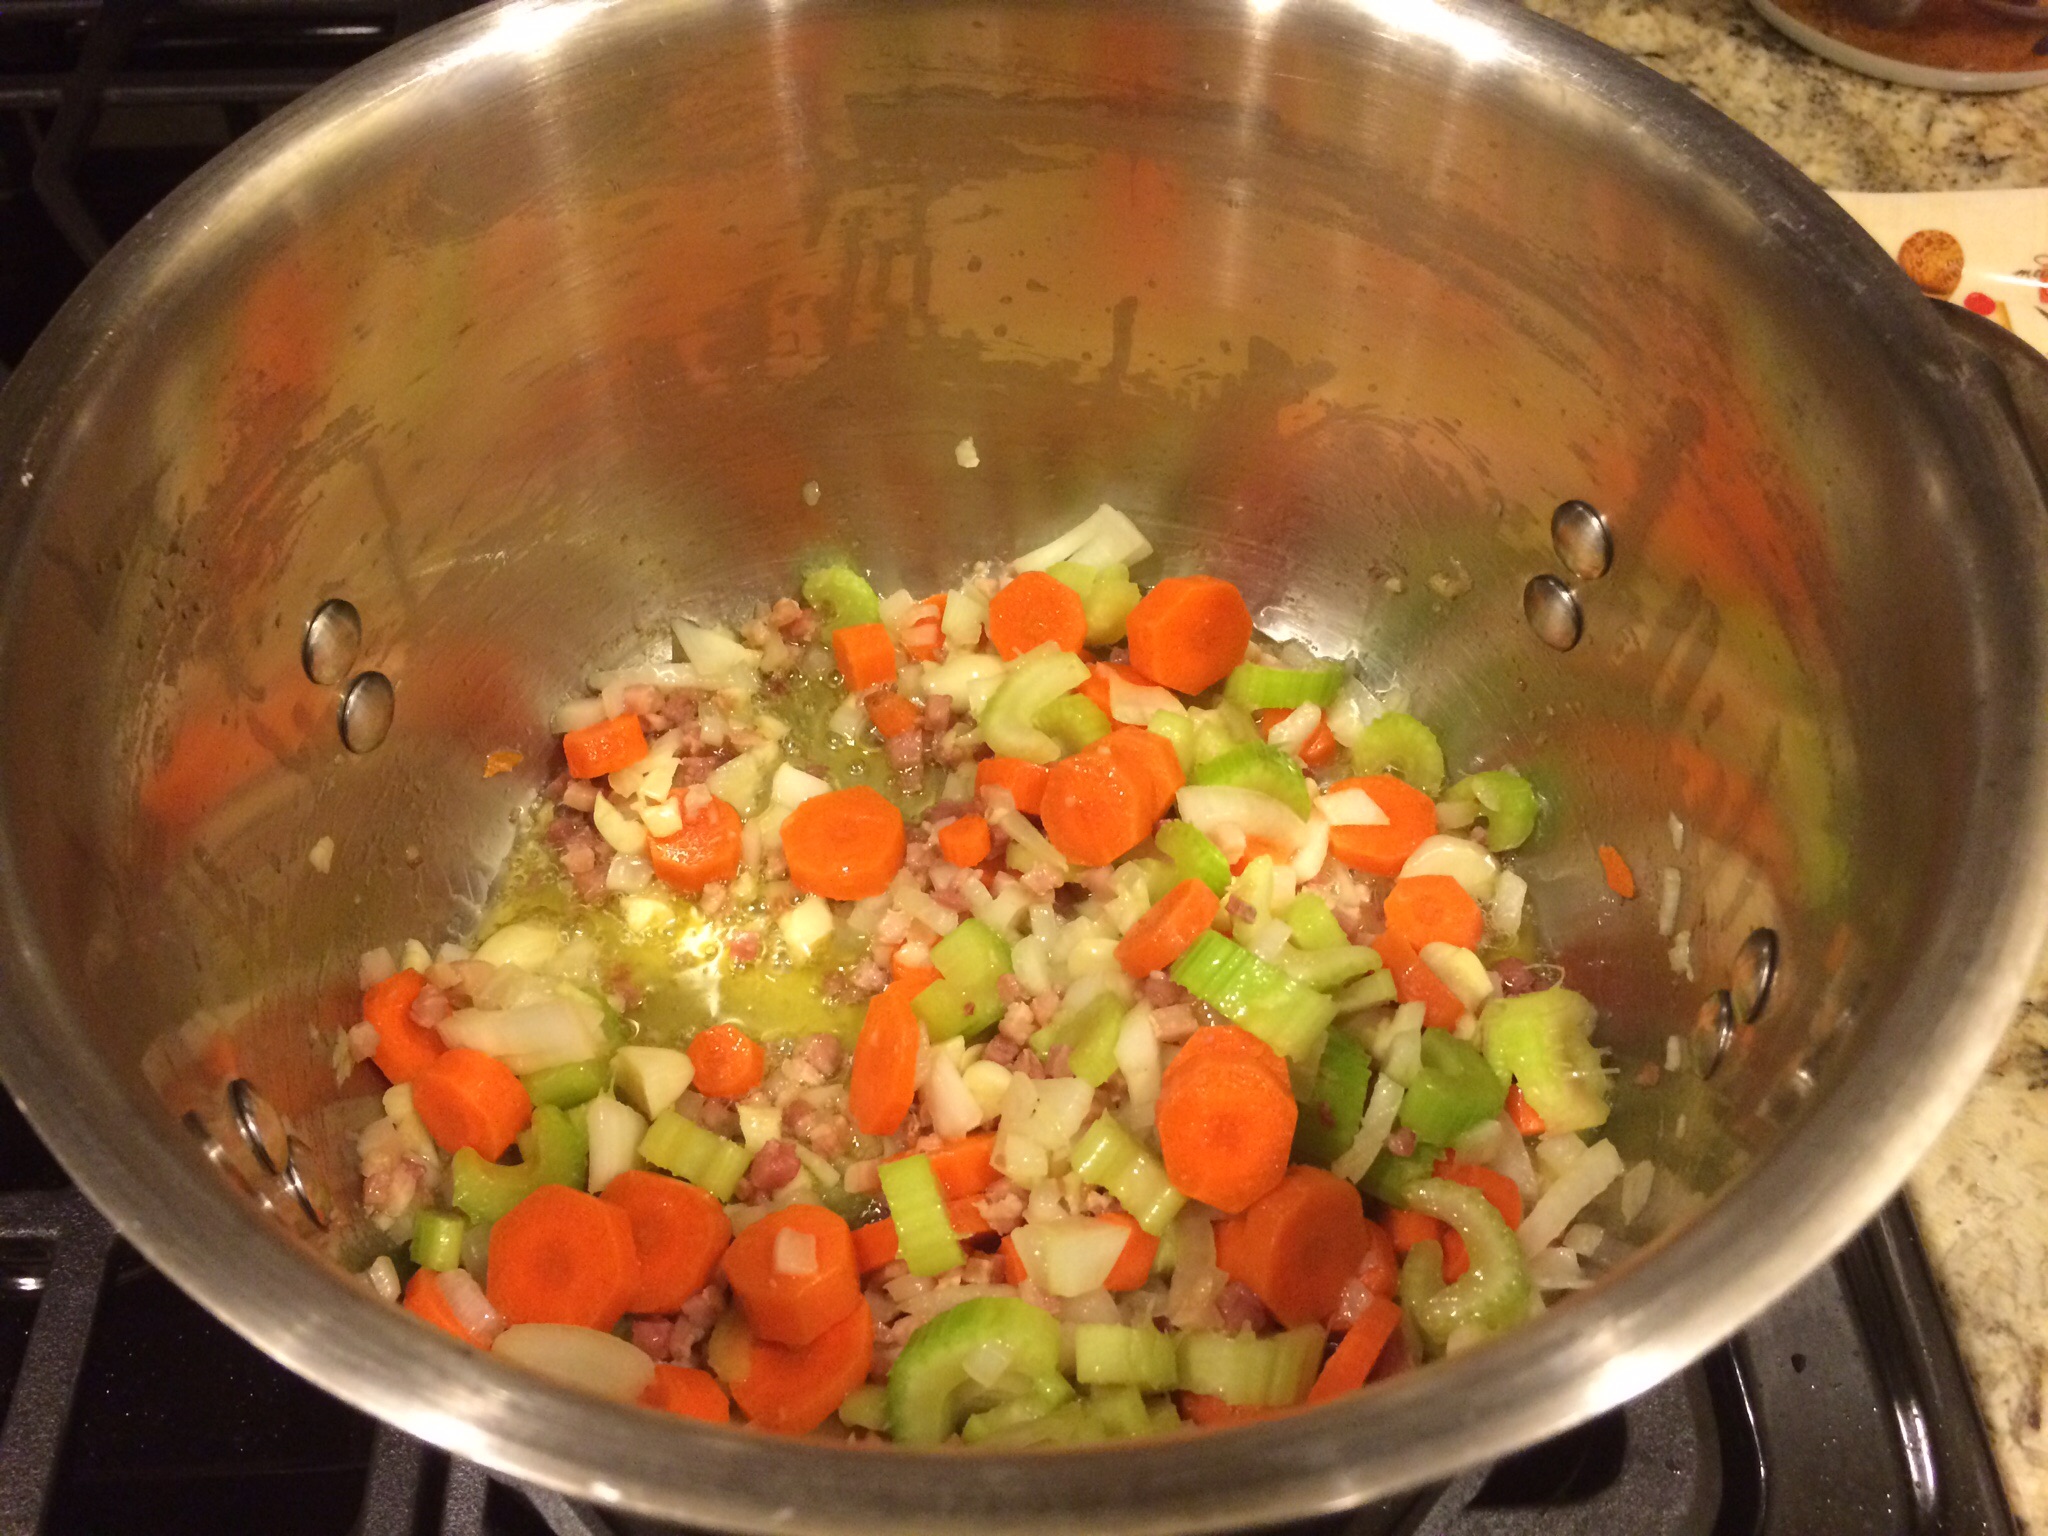
Heat olive oil over medium high heat.  Add pancetta and brown.  You can get pancetta at any Italian deli or you can buy those little boxes of diced pancetta you see in the super markets.  I prefer to get in from the deli, just ask for 3-4 slices of pancetta.  Tell them what you’re making and they should know how thick to make it.  You do want thick slices not as thin as you would have on a sandwich or something.  Ok, so back to the cooking.  Then add onion, carrots, celery and garlic.  Don’t forget to throw in some torn up celery leaves, these little gems are often discarded or forgotten about but they pack a lot of punch and flavor and should always be thrown in to your soups and stuff!  Cook for a few minutes until onion is tender.  Season with salt and pepper and stir.  Add your beans, tomato sauce and water.  I like my pasta fazool more red than white so I add the cam of tomato sauce but you can add less if you prefer.  Cook on low for an hour or until carrots are tender.

Meanwhile, in another pot, cook your pasta until al dente.  I do not add my pasta to the soup until ready to eat as doing so causes the pasta to soak up all the juice.  It’s better to leave your pasta on the side and add it to your bowl as you go along.

Serve with grated cheese and bread if you like and dig in :)

RHC
Shrimp and Broccolini!

imageimageimageimageimageimage

Hi Housewives!

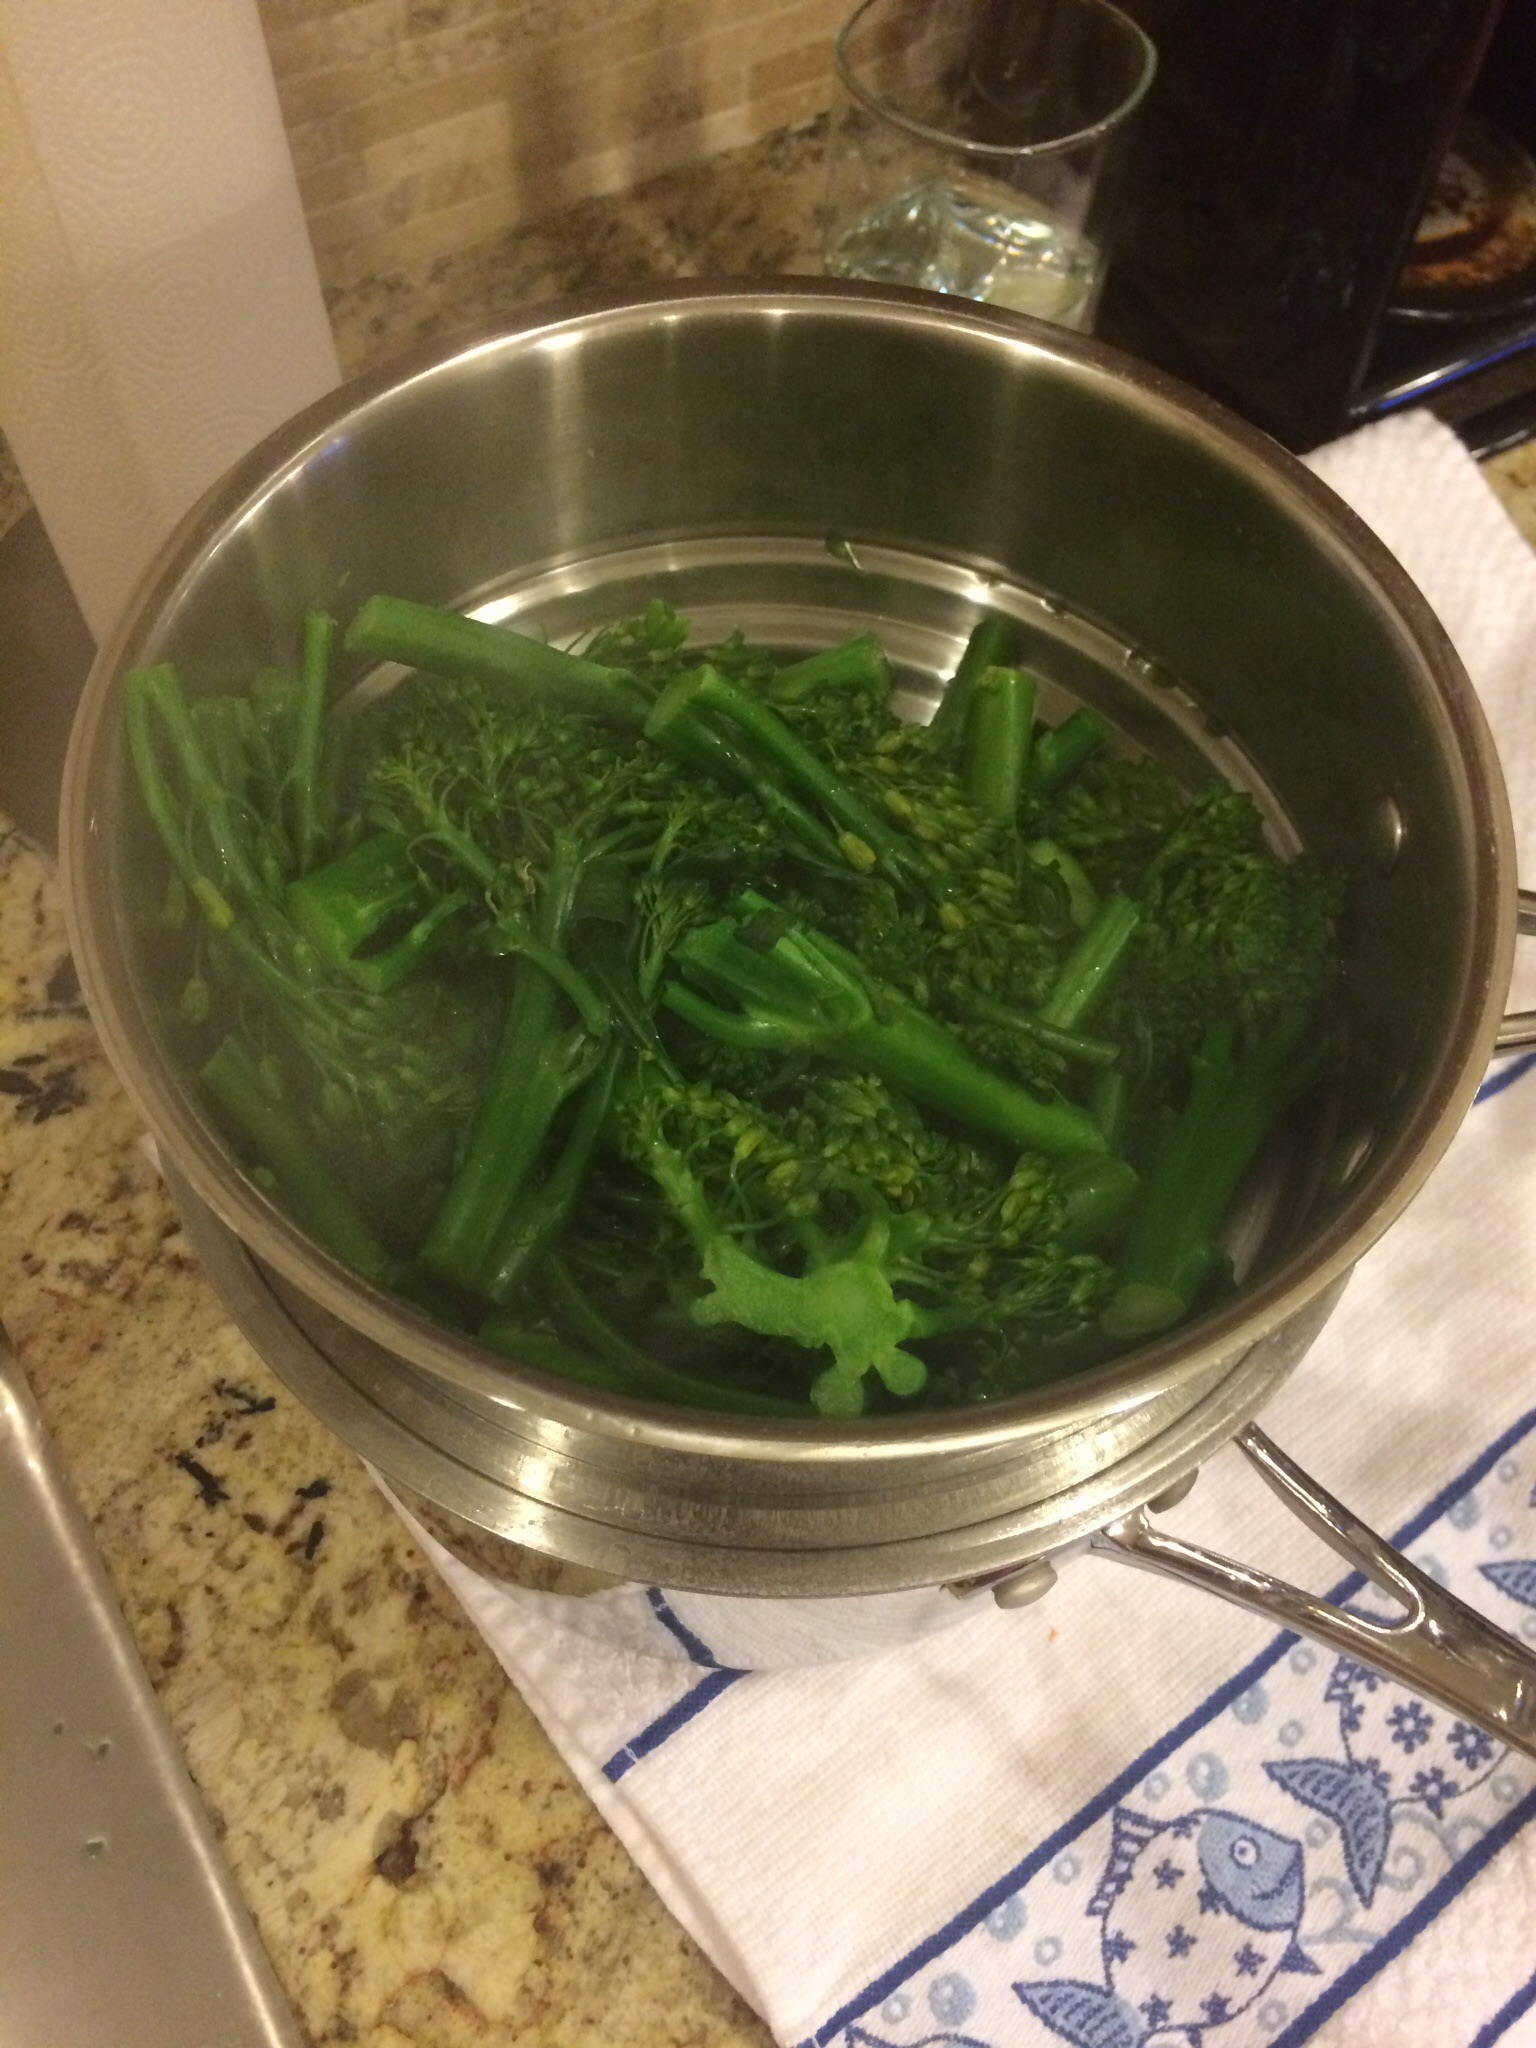
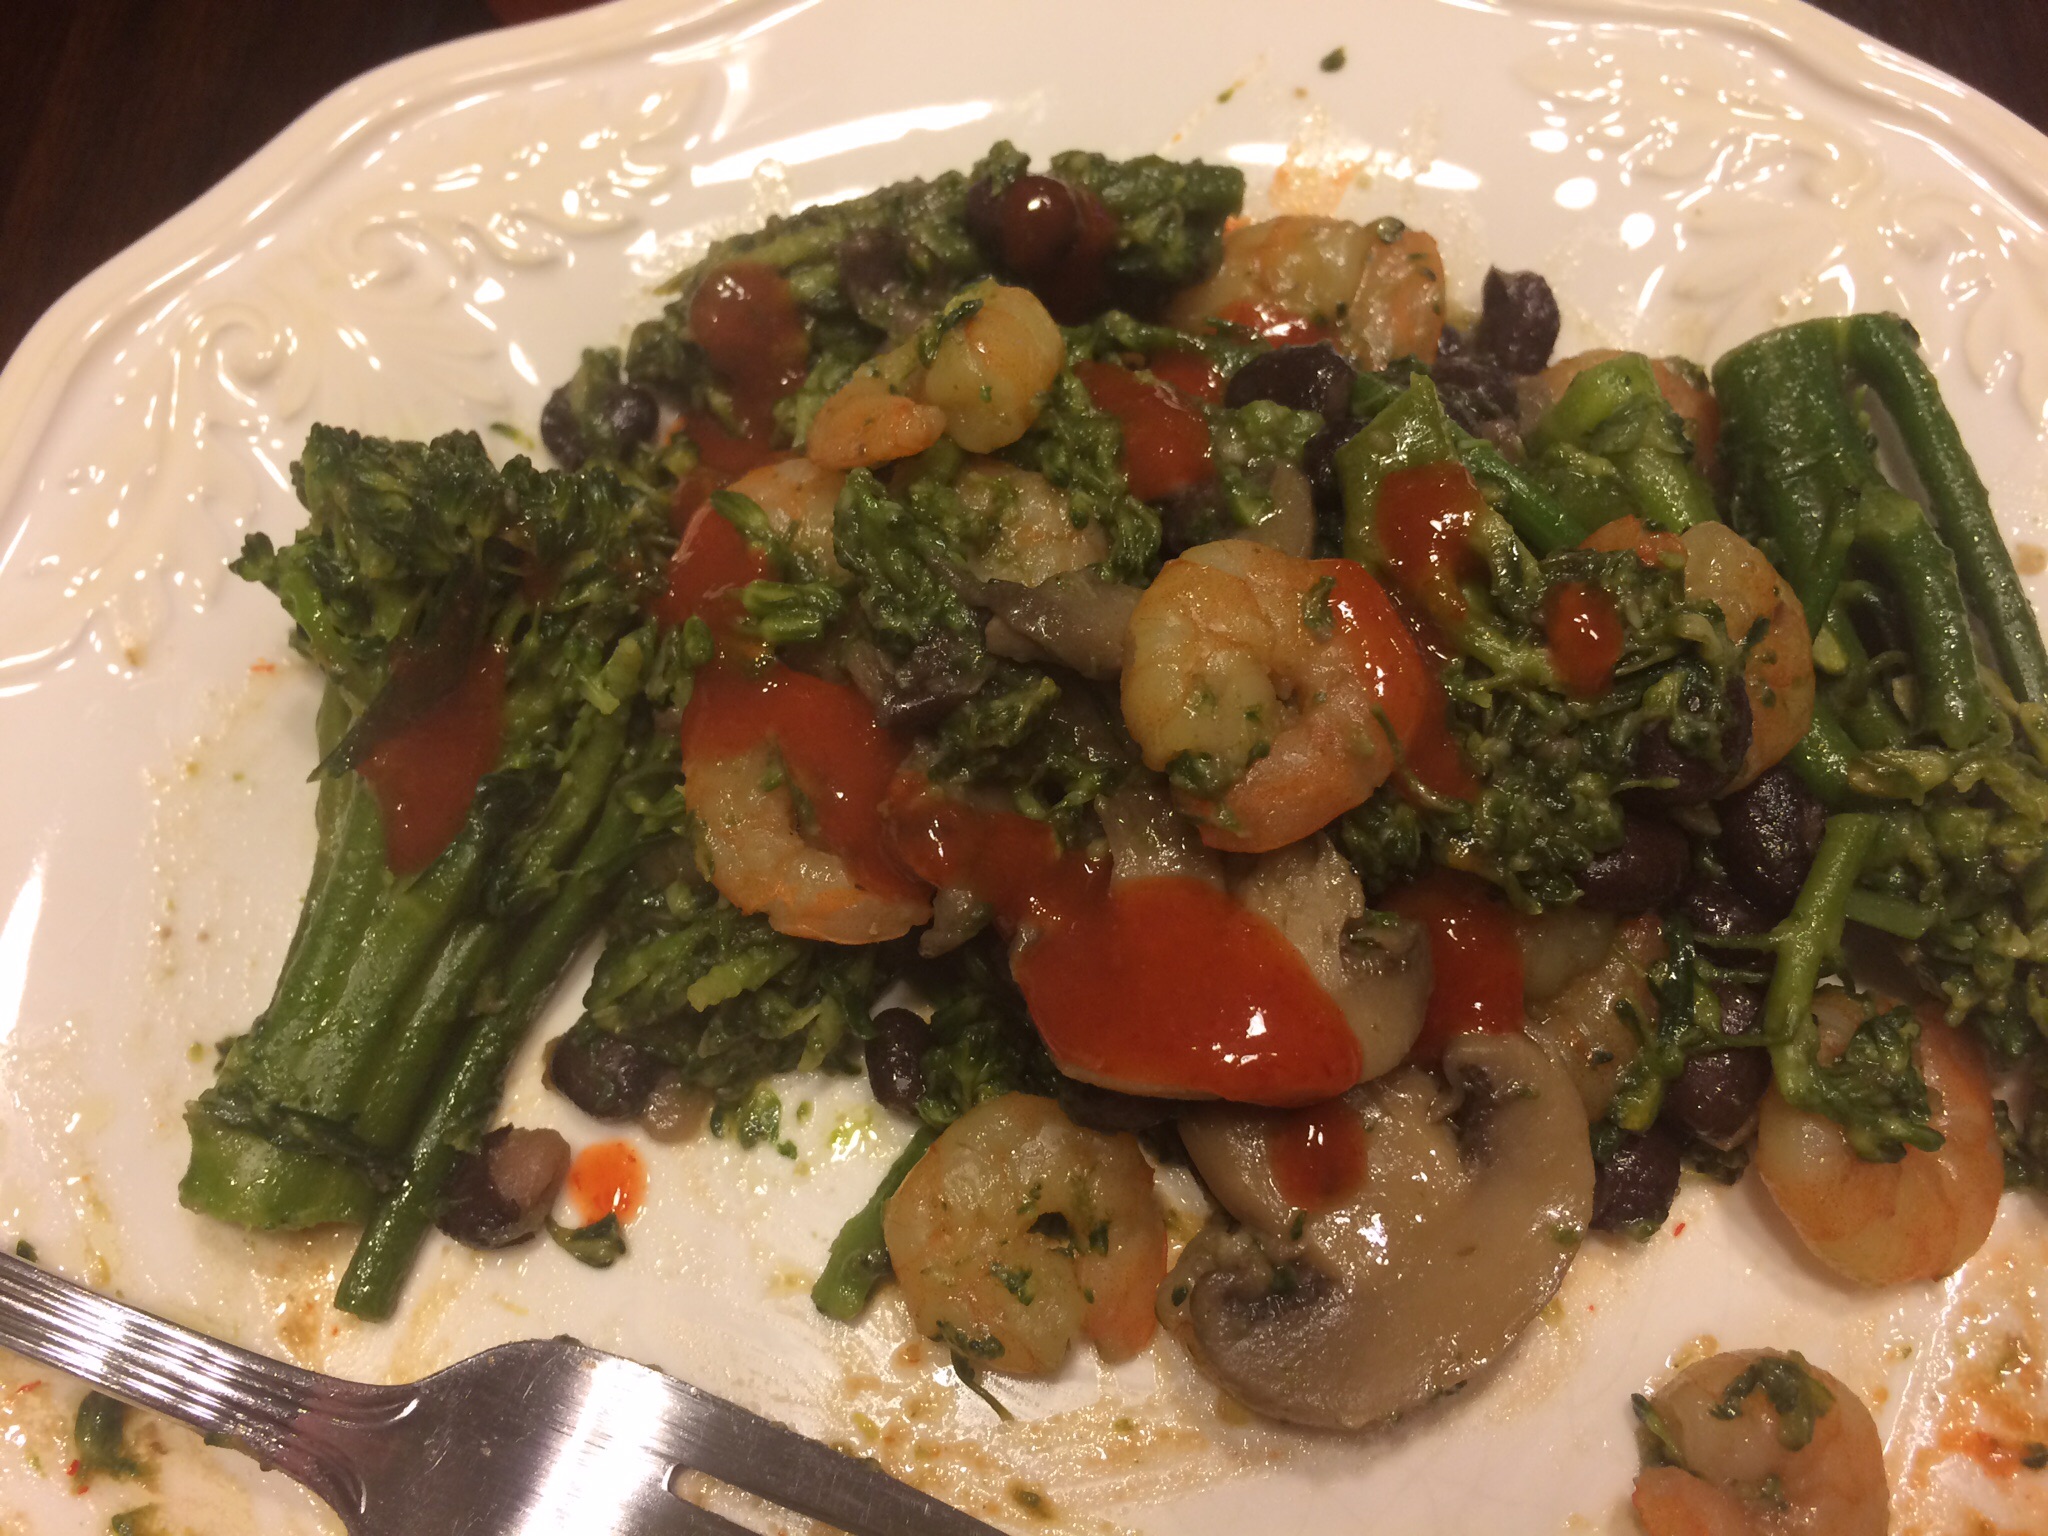
Tonight I made a very healthy yet still very tasty shrimp dish.  I recently purchased a bag of frozen shrimp from Trader Joe’s as well as 2 packages of fresh broccolini with the intent to combine the two to make some sort of dinner.  Tonight was the night I experimented with it and came up with this very good dinner. I used what I had in my cupboard and did some experimenting.  I used minimal ingredients and kept it low calorie.  So here goes….

  • 1 bag of frozen shrimp
  • 2 packages of fresh broccolini
  • 1 can of black beans
  • 1 can of mushrooms
  • exrra-virigin olive oil
  • 8 cloves of crushed garlic
  • sirracha for serving (optional)
  • Salt and pepper to taste

Bring a pot of salted water to a boil.  Cut the broccolini in half or thirds and add to boiling water for 2-5 minutes to blanche it.  Drain and set aside.

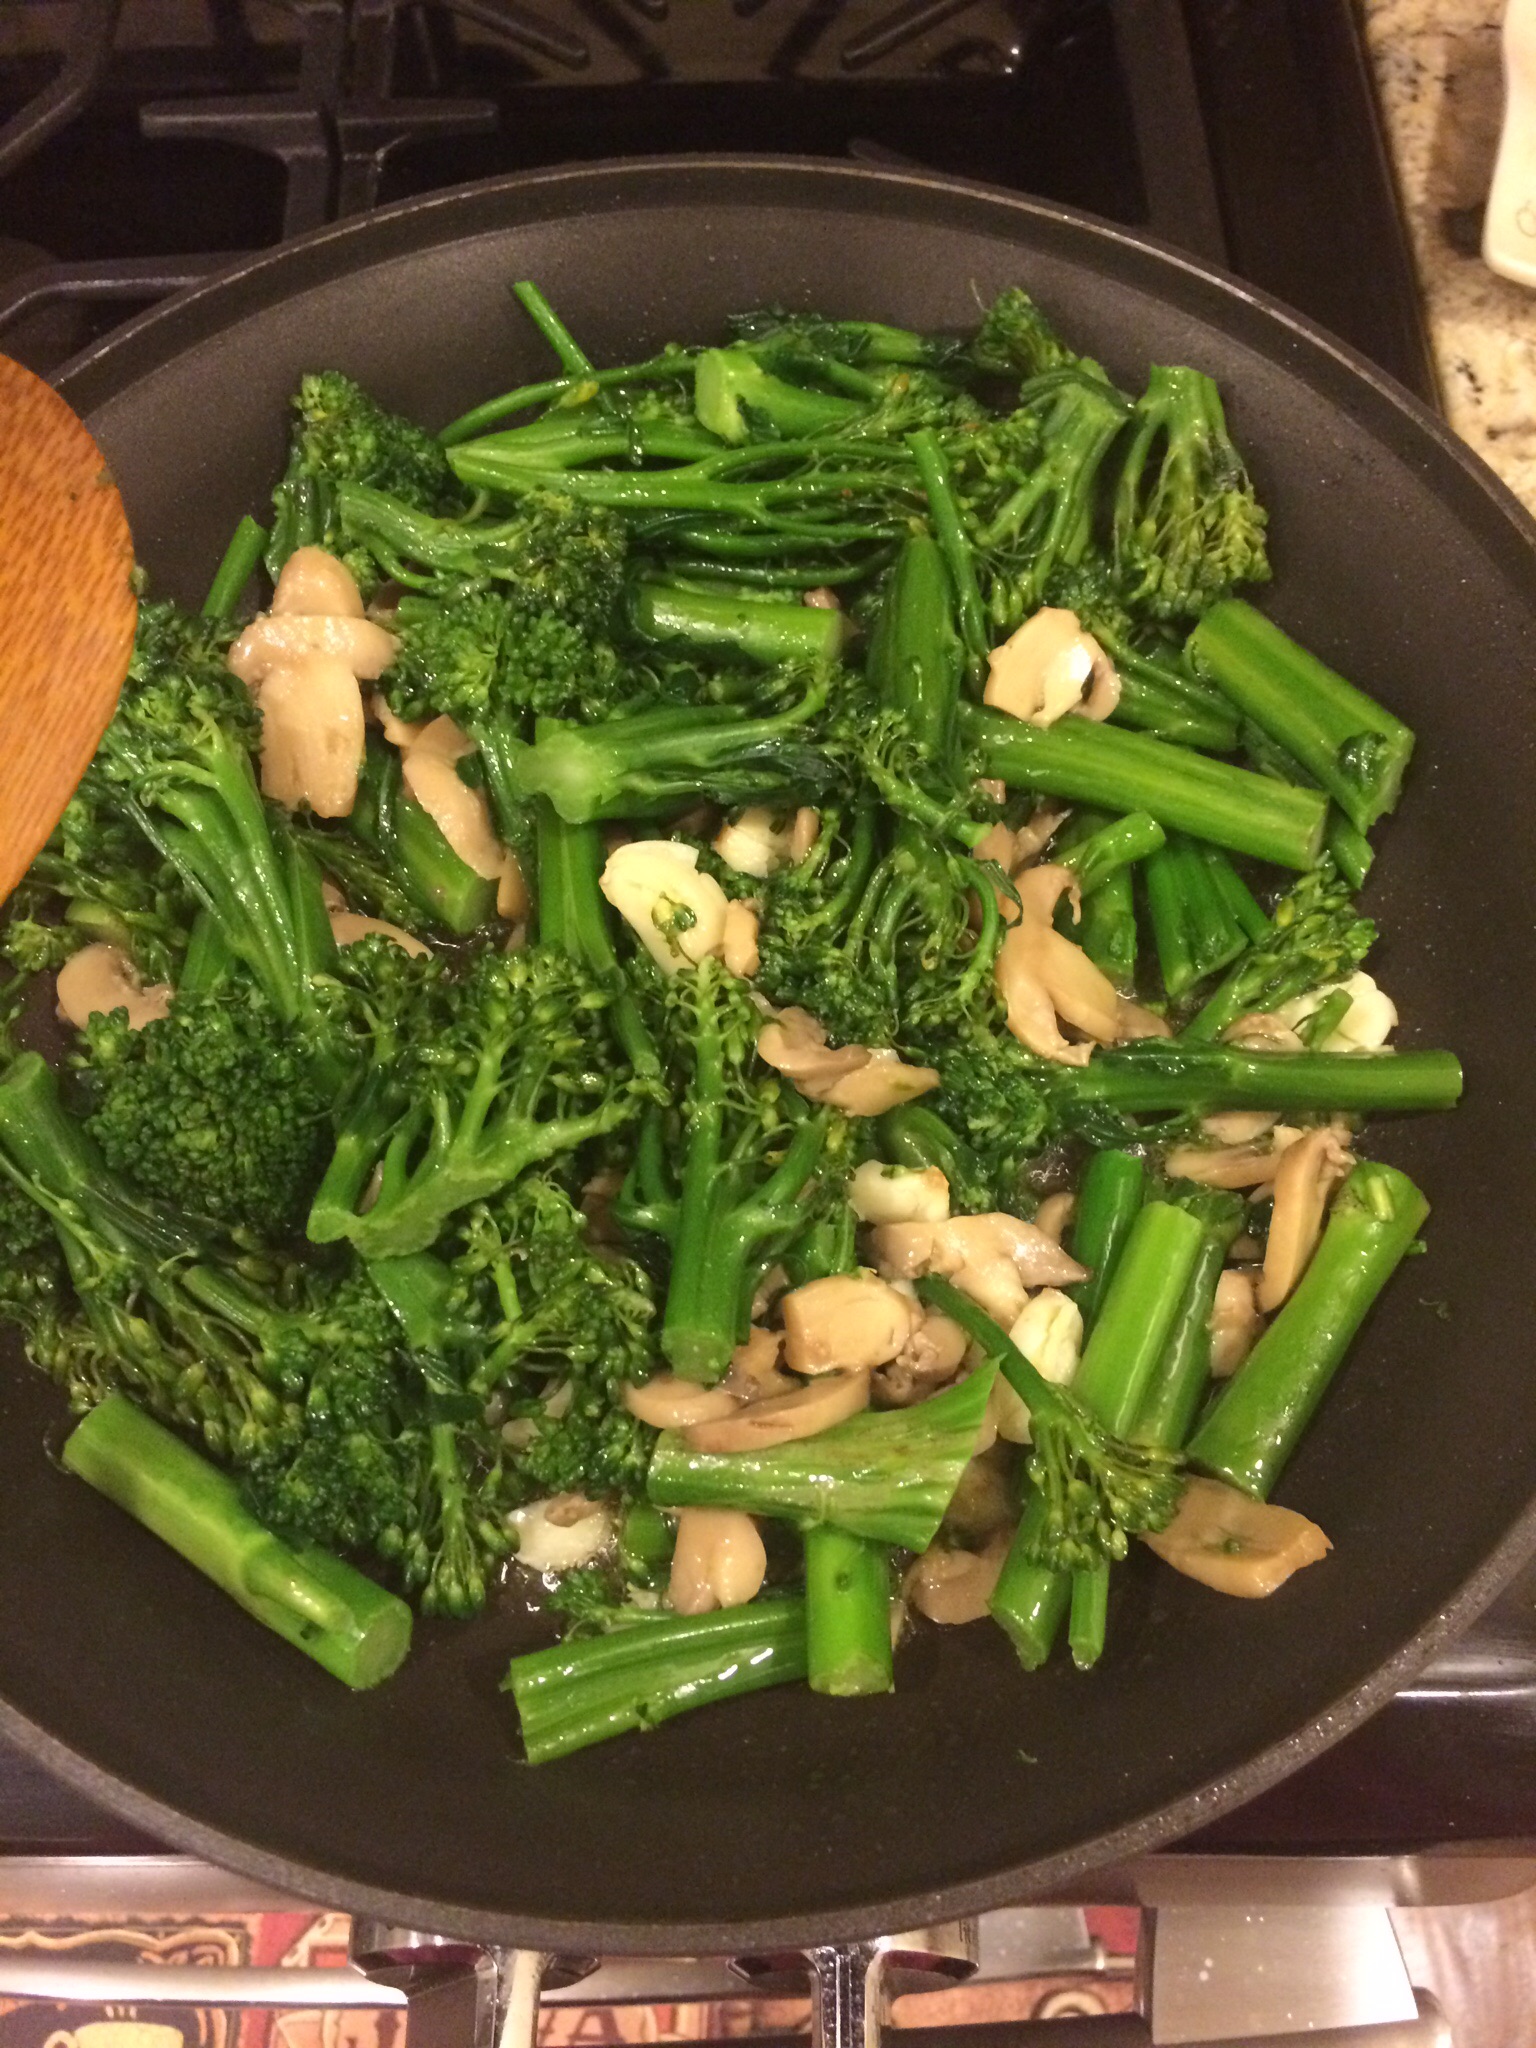
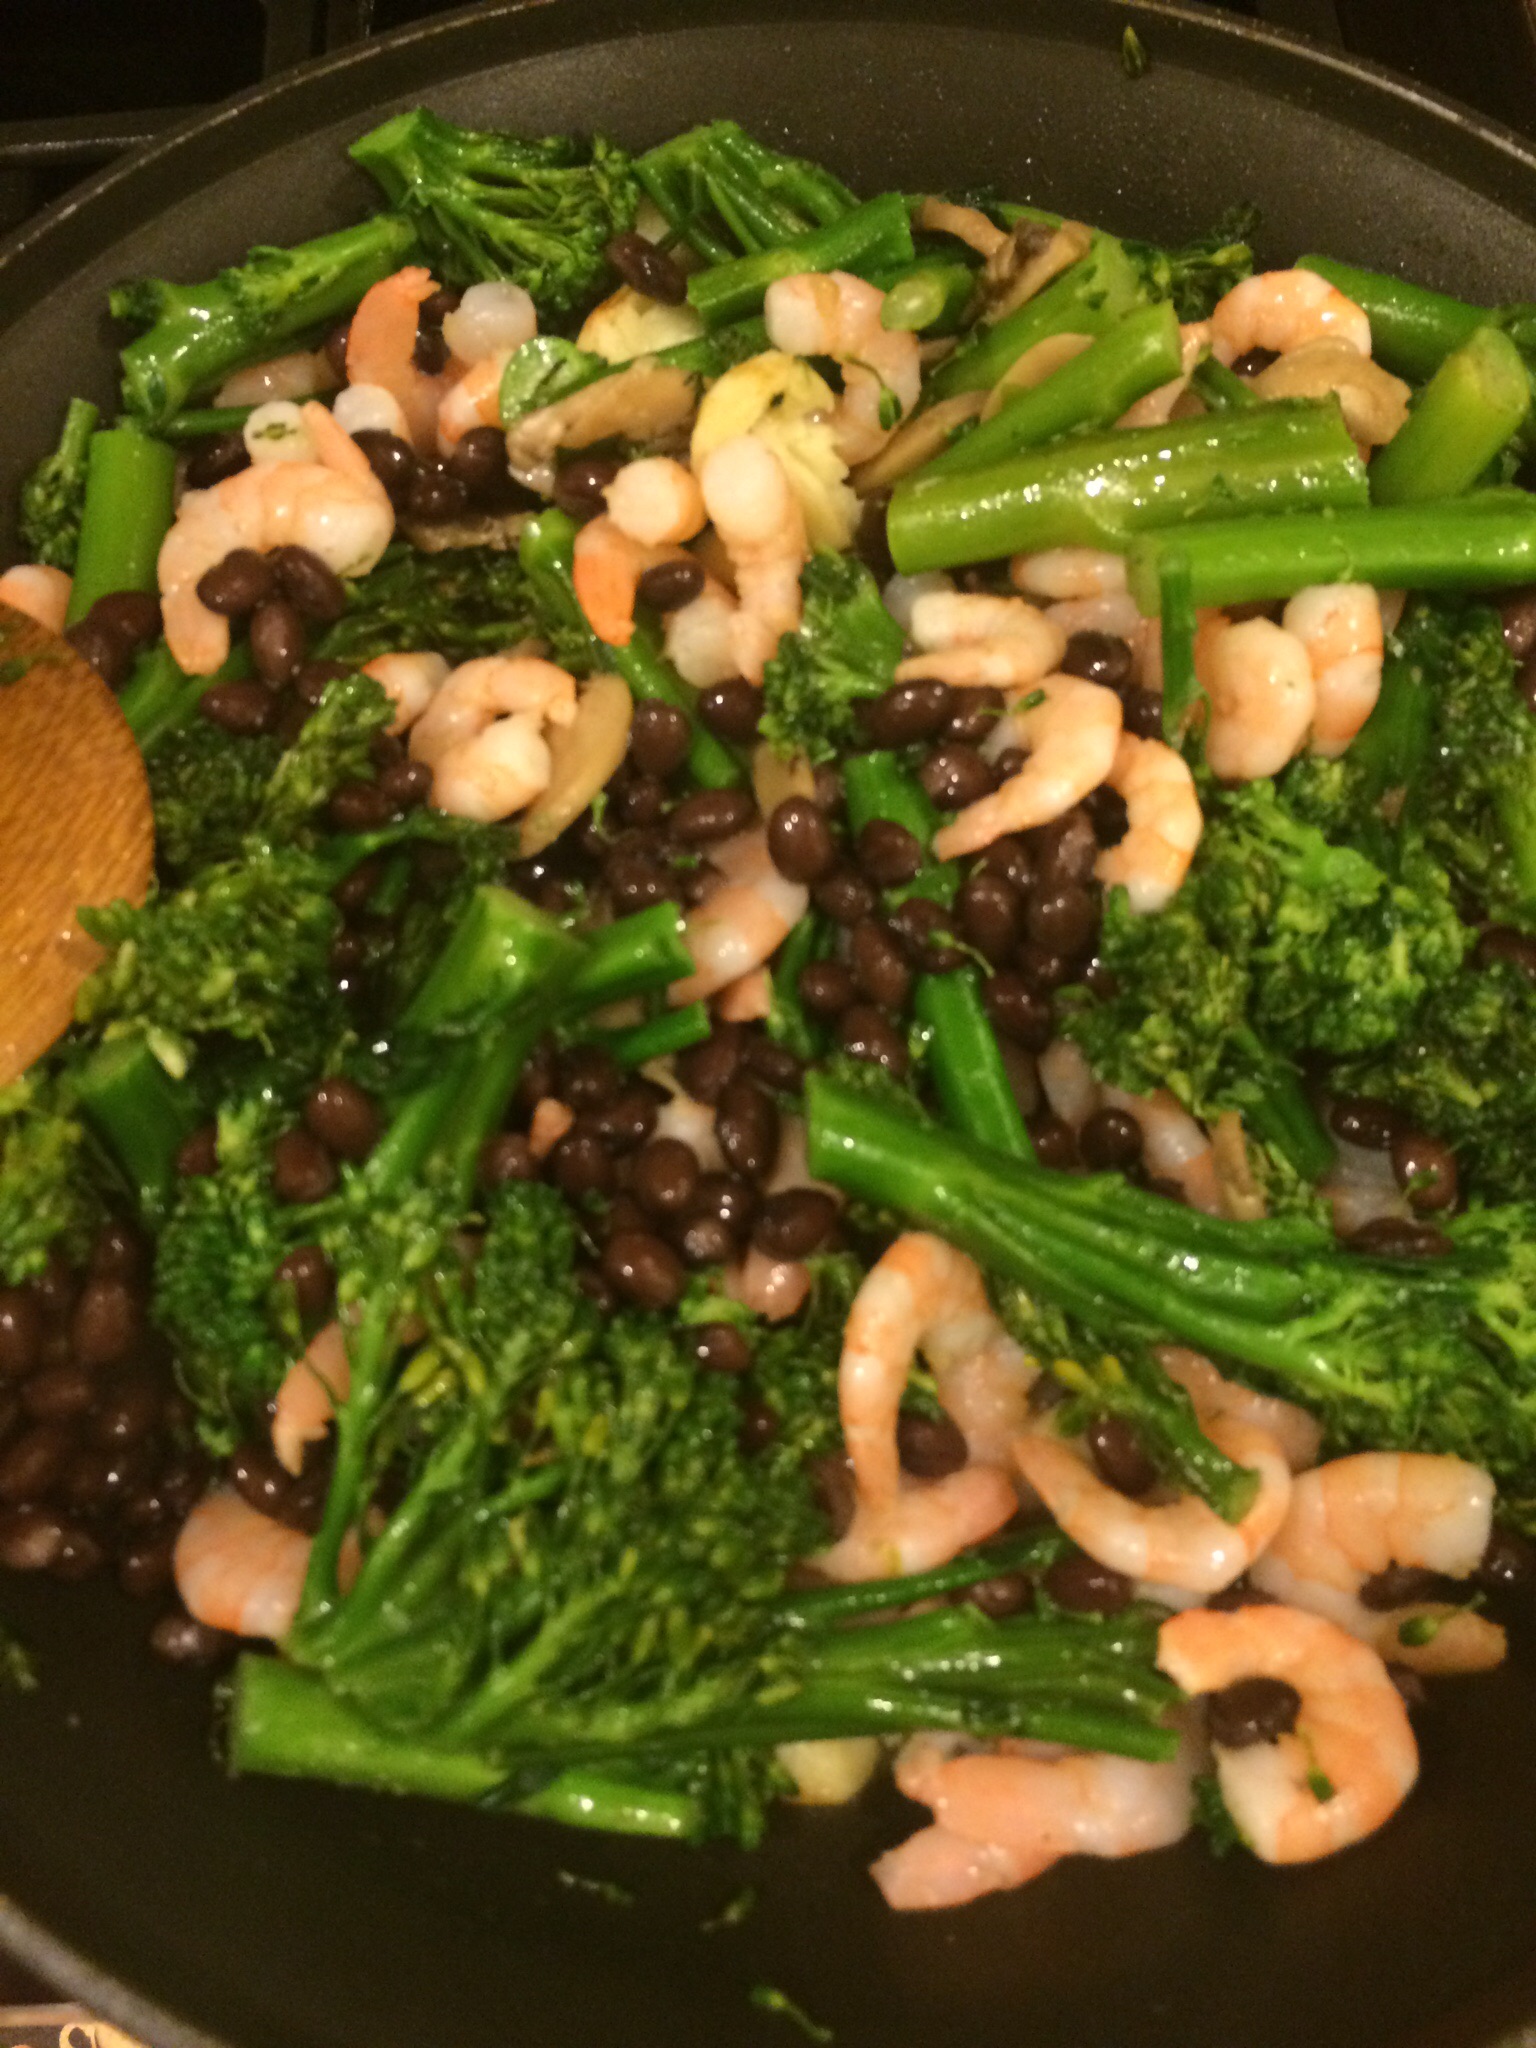
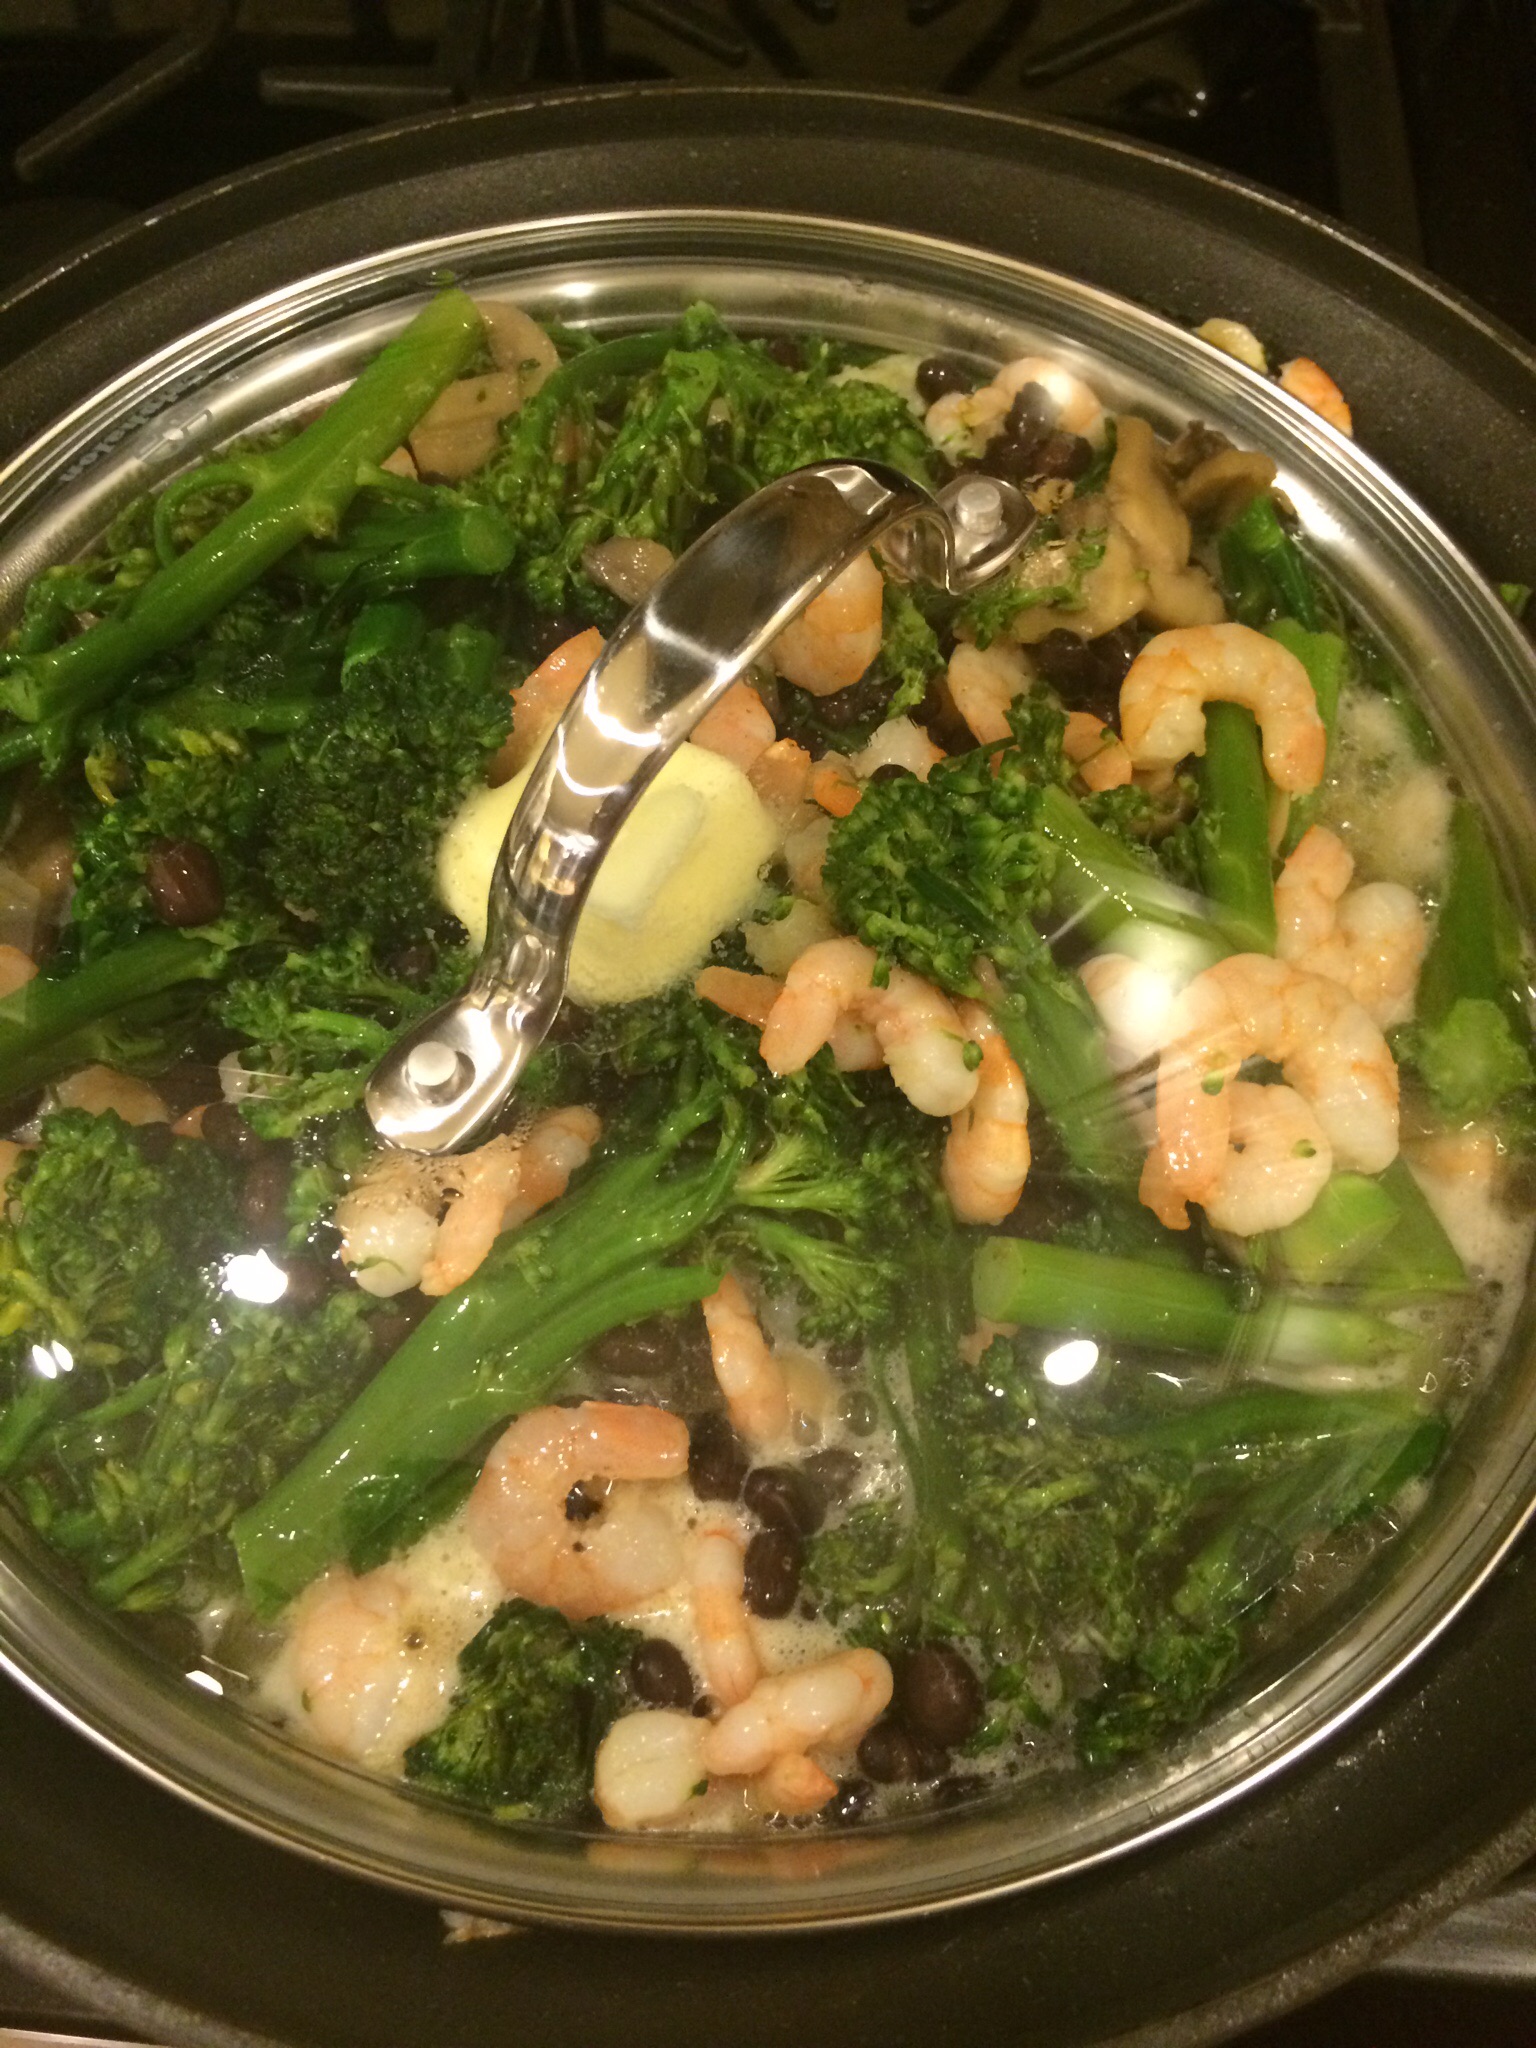
Coat a skillet with the olive oil and heat.  Add your garlic and let cook for a minute or so.  Then add the broccolini and defrosted shrimp.  Sprinkle with salt and pepper.  Cook until shrimp is no longer translucent.  Last add your mushrooms and black beans.  Be sure to drain and rinse them.  Cook for 5 more minutes stirring frequently.

Serve with some sirracha if you like.

Enjoy!

RHC

Roasted Chickpeas!

image      image      image

Hello Housewives!

Do you love chick peas?  I do and when I love something I try to come up with different ways to make them or incorporate them into recipes.   I usually throw chickpeas in my salads and sometimes soups.  But did you know that they can be a yummy snack as well?  I didn’t…until recently.  I stumbled upon some recipes calling for frying them which to me sounded interesting.  However, I really didn’t think that would be so healthy so I looked into baking or roasting them and to my surprise they were quite good.  Crunchy, sometimes chewy and satisfying!  Perfect for a little snack.  If you love chips this will be your new go to snack when craving a chip-like snack.  They are pretty simple to make and require minimal ingredients using flavors you already have in your cupboard.  So let’s get to the recipe!

  • 1 can of chickpeas
  • sea salt
  • 1 1/2 tablespoons extra-virgin olive oil
  • any seasoning you prefer (garlic powder, cayenne pepper, creole seasoning)

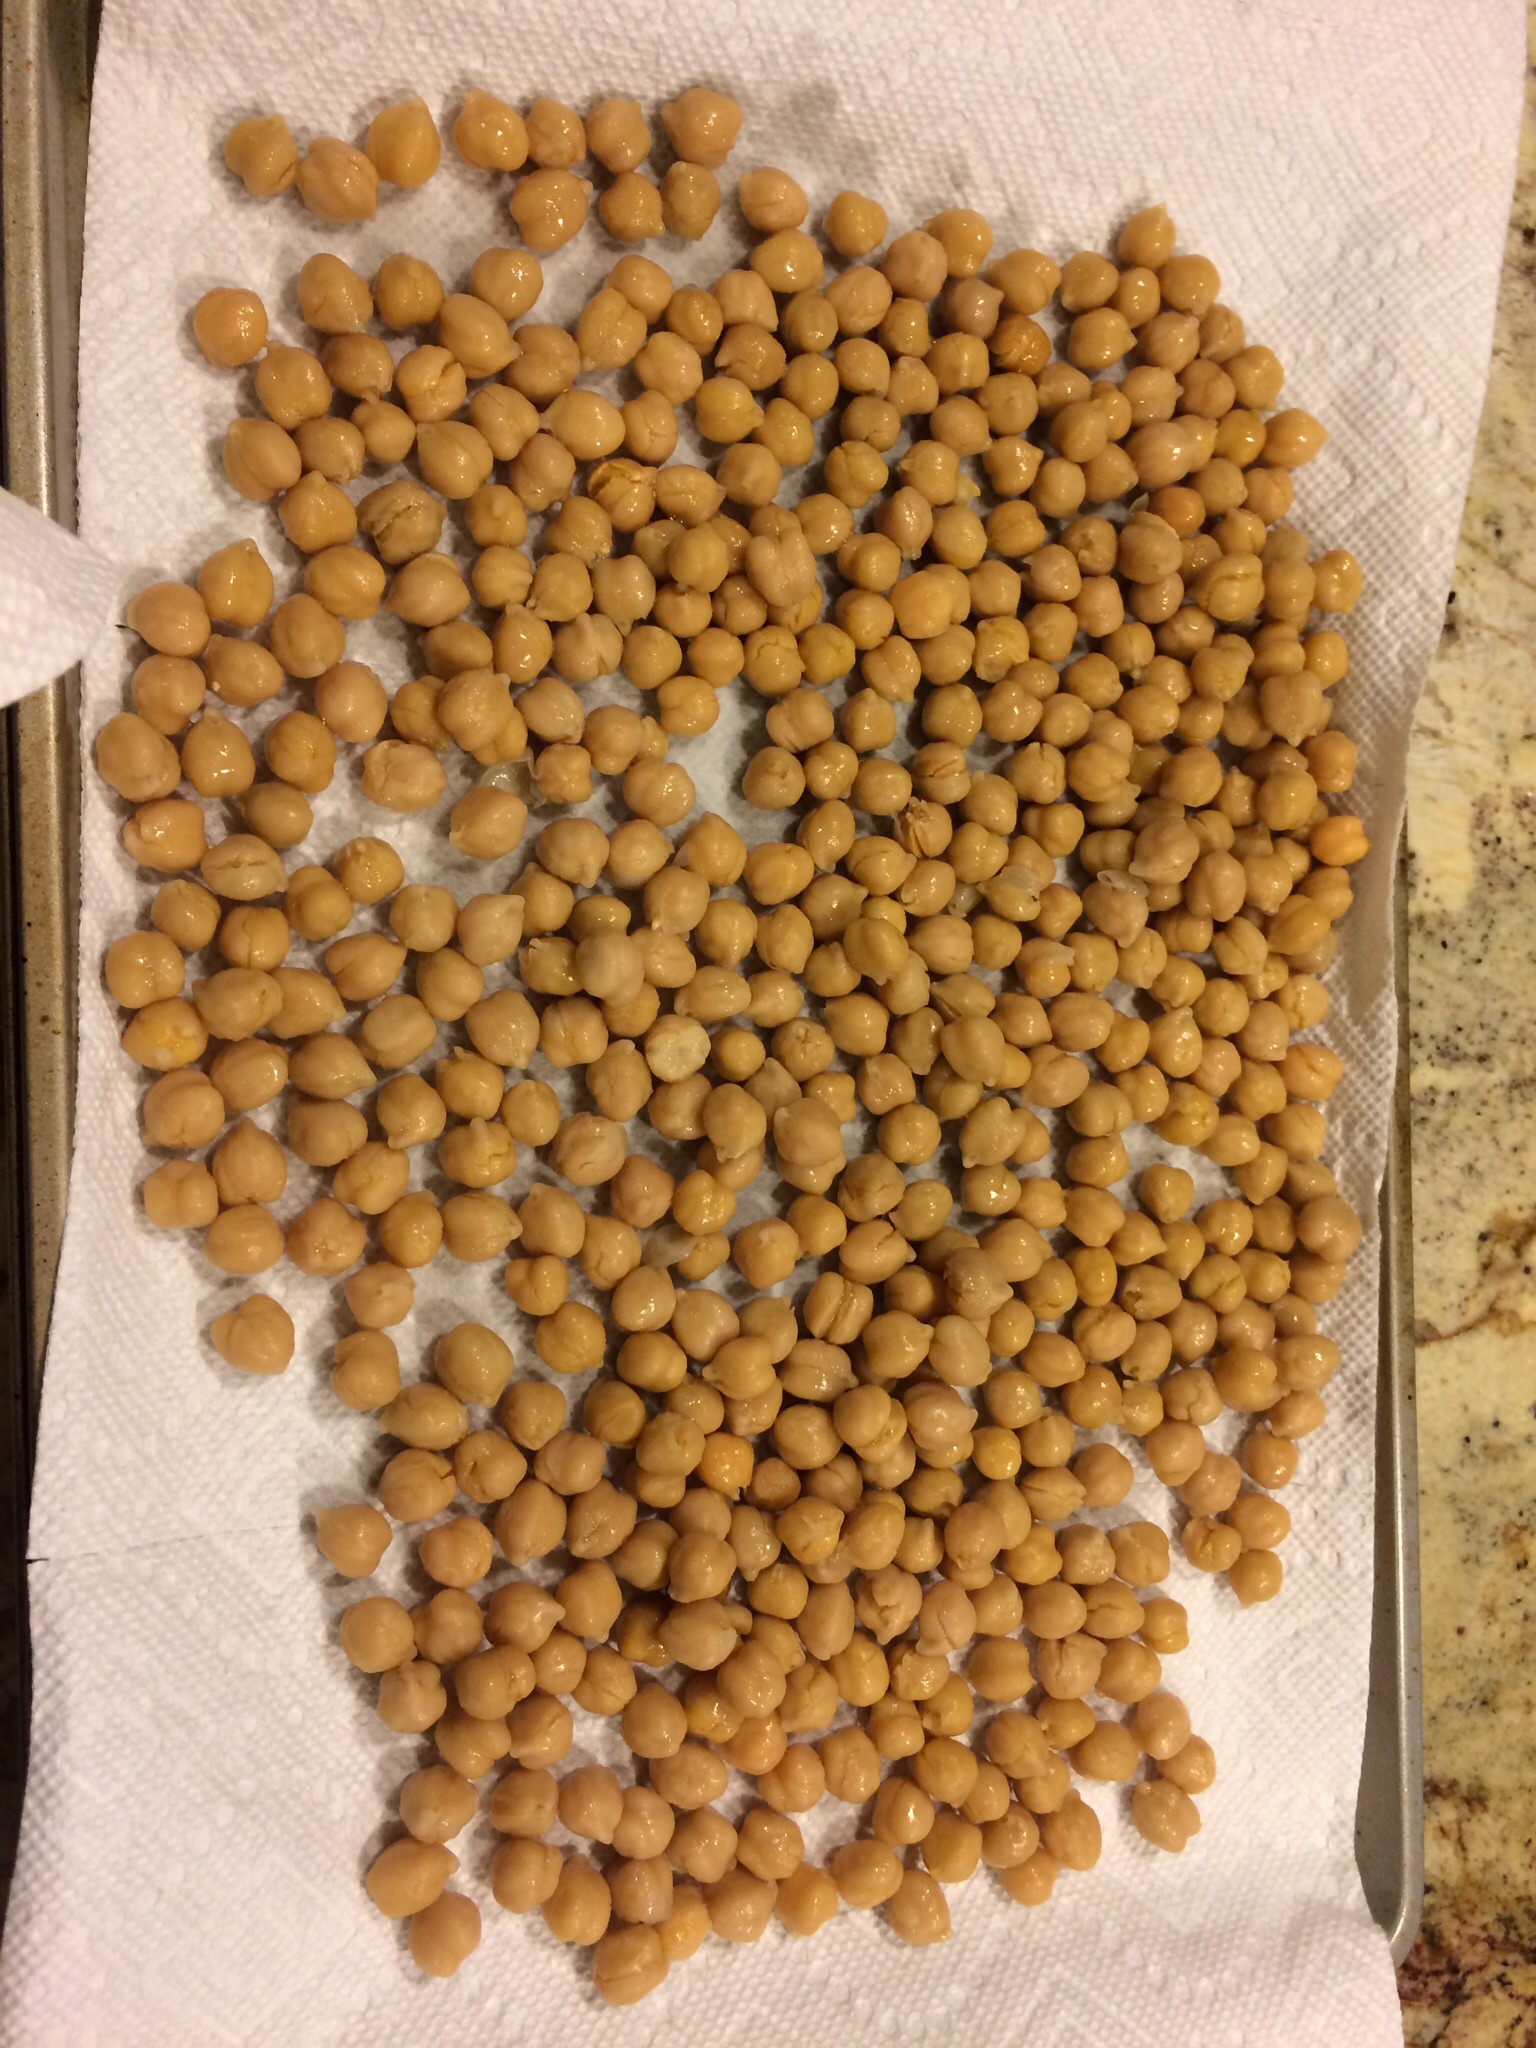
First, preheat your oven to 400 degrees.  Then, rinse your chickpeas with water in a strainer.  Using paper towels, dry your beans pretty well.  A thin skin may come off some of the chickpeas, just discard those along with the paper towels when done drying.  Place the beans in a baking sheets and drizzle with the olive oil.  I use my hands to roll the beans around making sure each bean is coated with some olive oil.  Roast for about 3-40 minutes until your beans are a deep golden brown and crunchy.  Be careful not to burn them so check them often and move around in pan.

Now the fun part!  I tried 3 different seasonings my first time making them.  I separated them into 3 small bowls and seasoned one batch with just salt.  The 2nd batch I seasoned with a little garlic powder.  The last batch I seasoned with some cinnamon for a more sweet snack.  They all were quite good but I was drawn to the garlic batch and the sea salt batch more.  Just go easy with the garlic because too much garlic powder can ruin it.  Use it sparingly.  I will try them again with perhaps some cayenne seasoning.  Be creative!  I am going to browse the seasoning aisle next time I am at the supermarket and just experiment with these little delights!

Enjoy!

RHC
Zucchini Casserole!


imageimage image image image image

Hi Housewives!

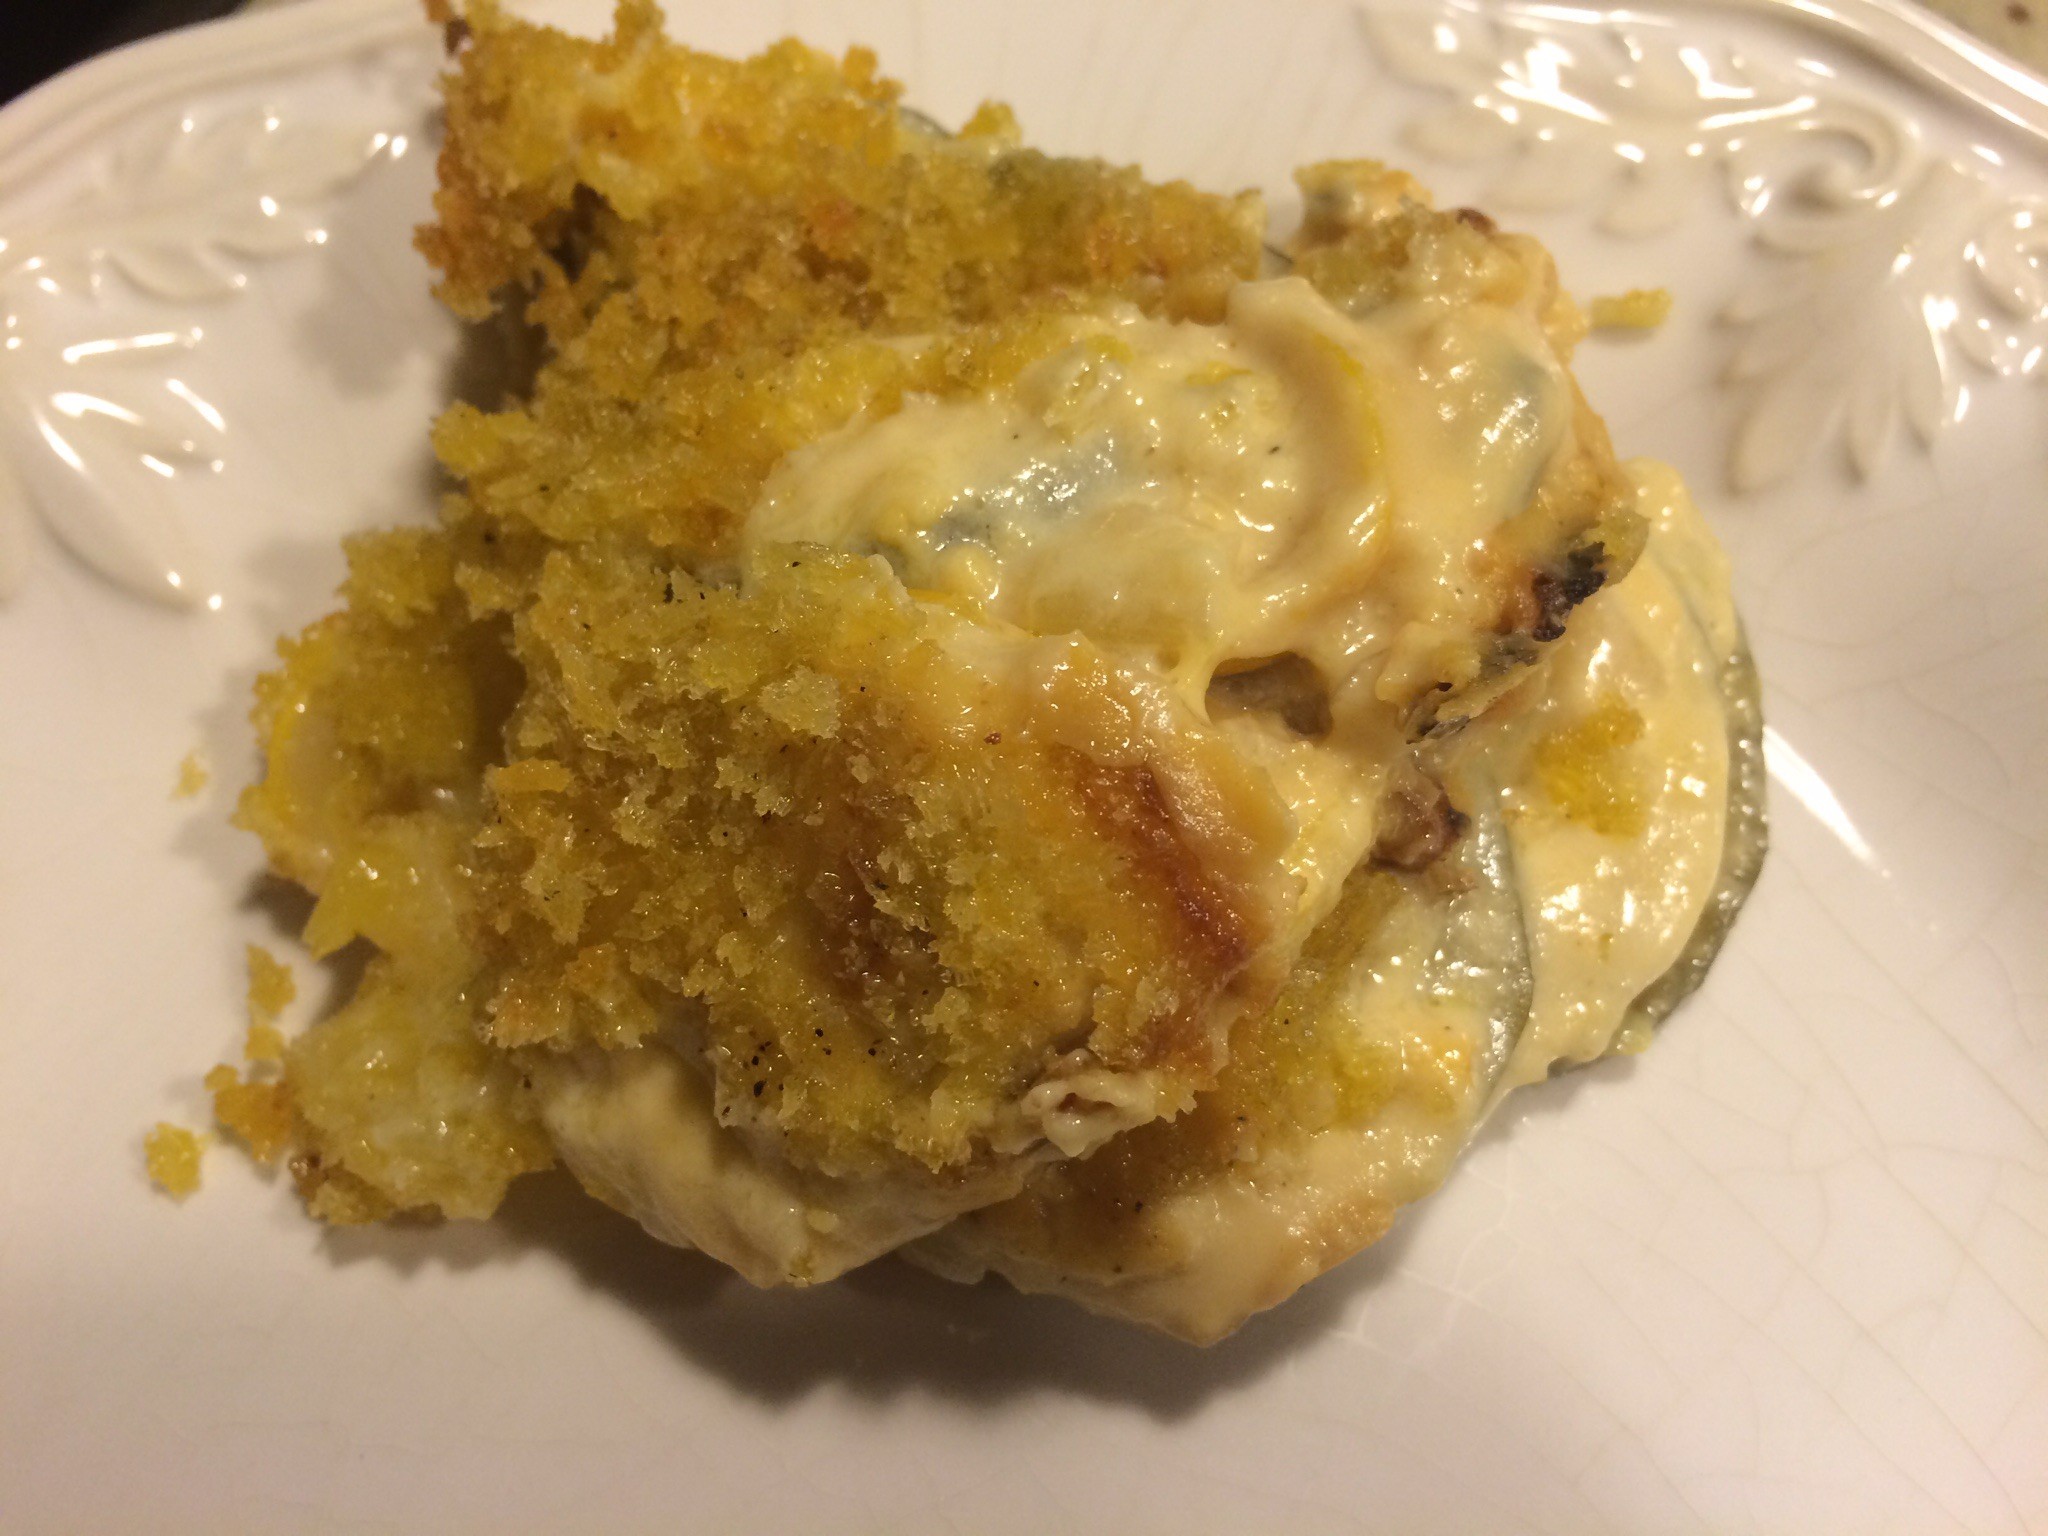
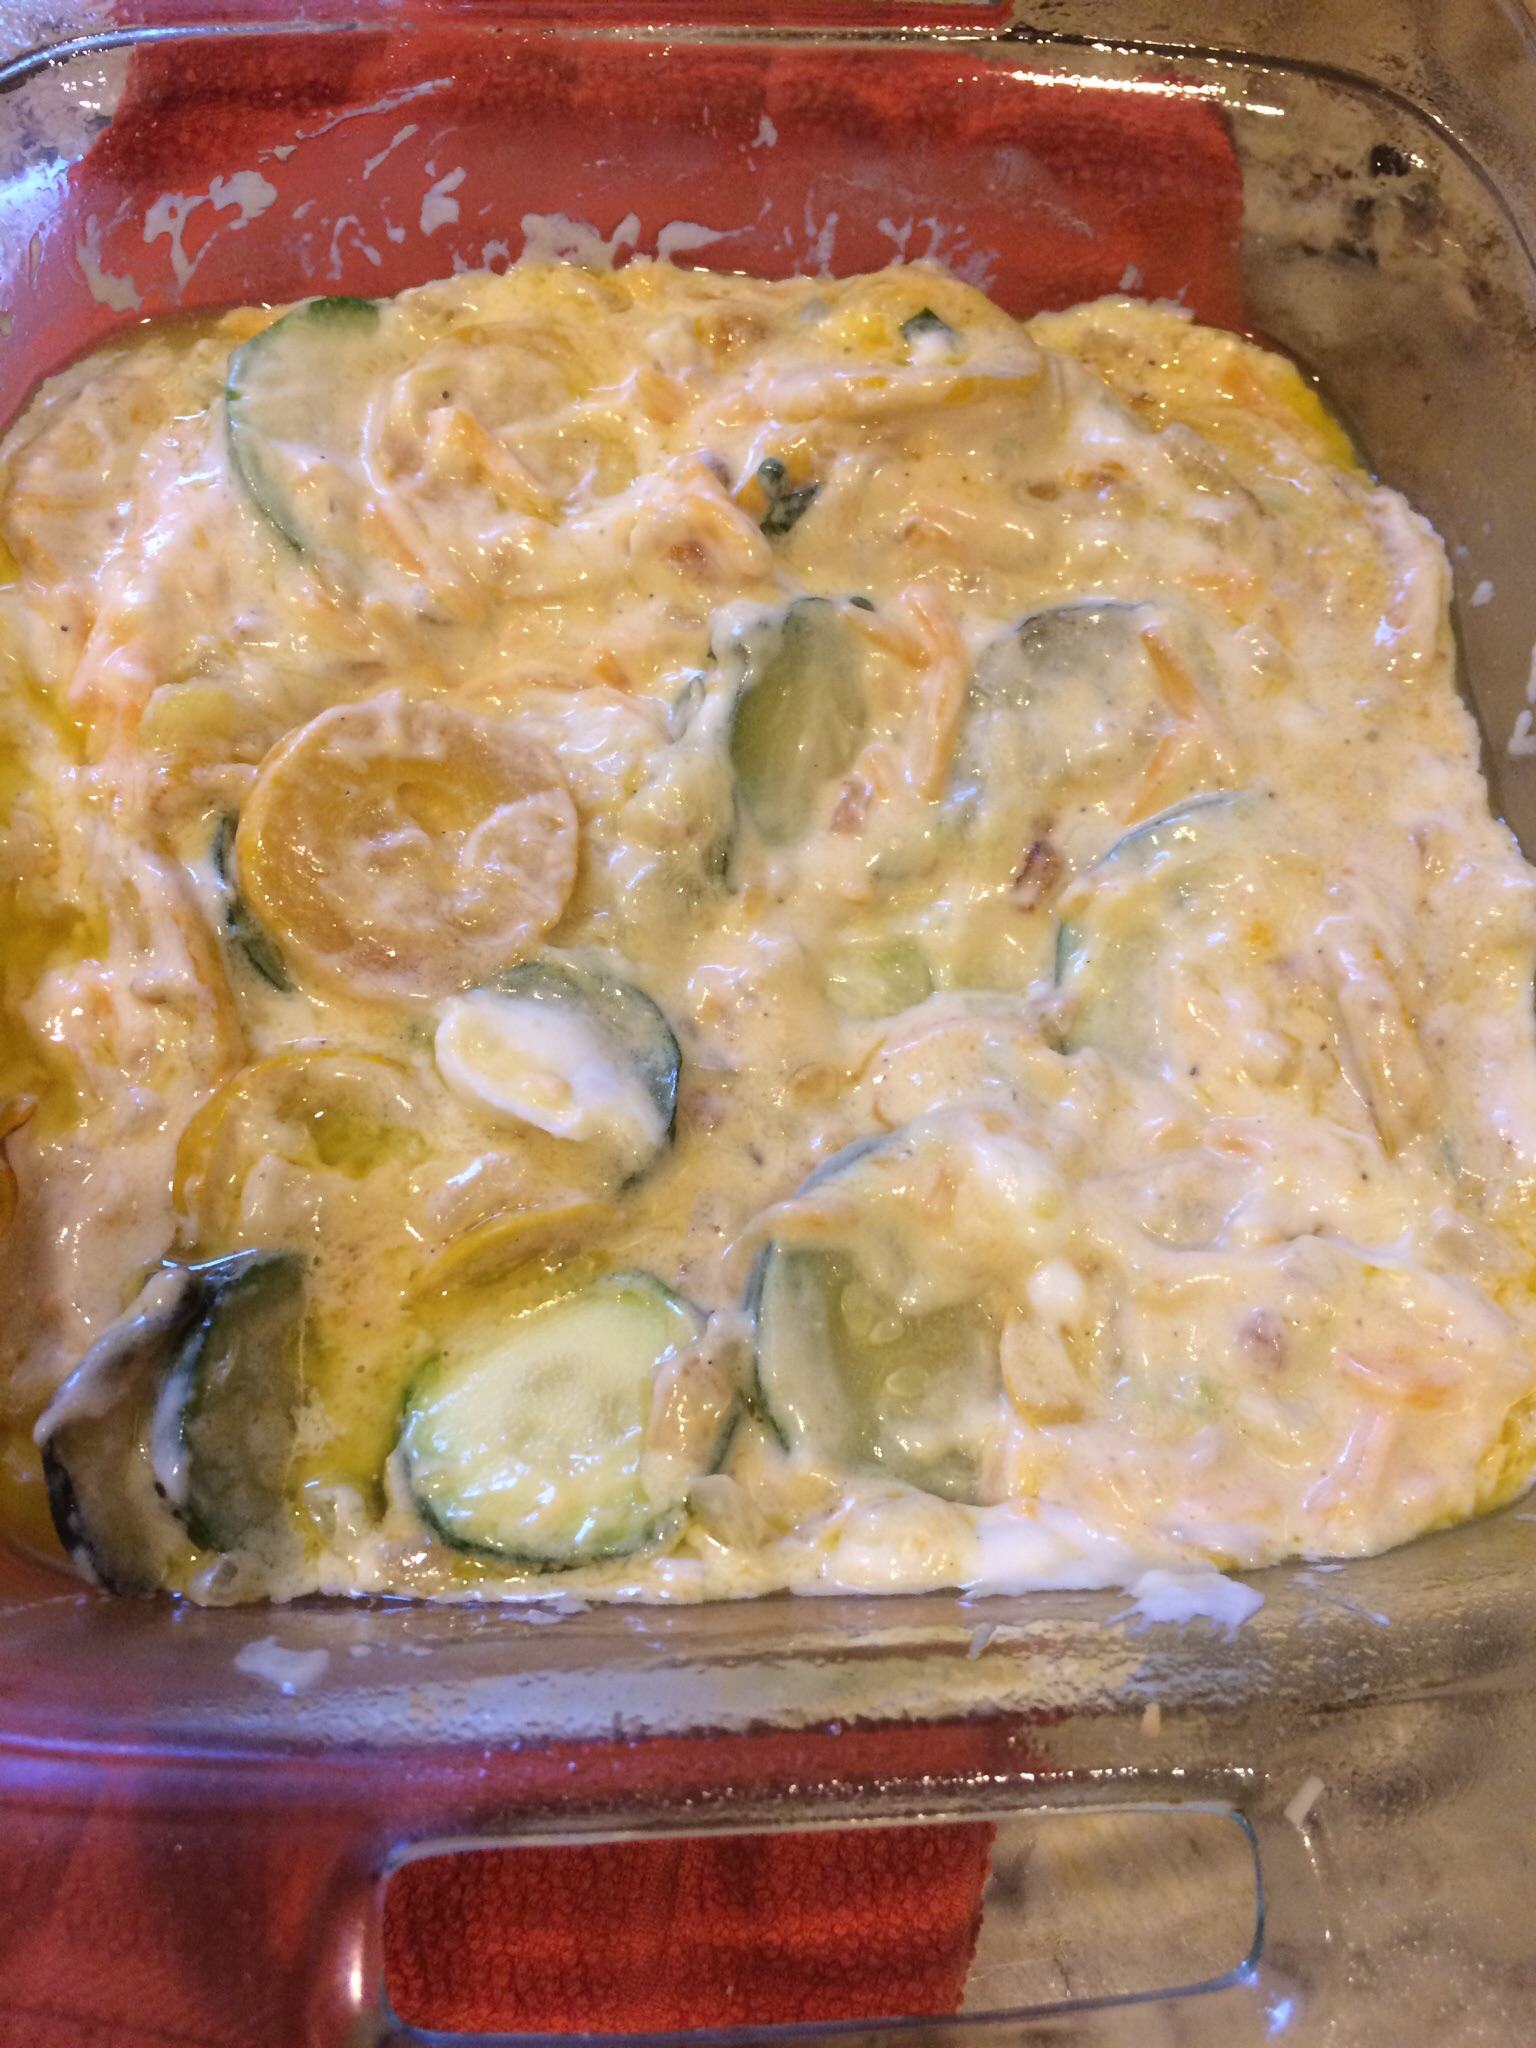
If you haven’t noticed already, I’ll remind you again…I LOVE zucchini!  I try to incorporate it as much as I can into so many dishes.  So today’s recipe is for a zucchini casserole.  I had it in my archives and hadn’t made it for a few years until now.  I forgot just how enjoyable of a dish it is.  It requires minimal ingredients and is pretty simply to make.  It’s a low calorie dish and you can use reduced fat ingredients if you choose to or not. :)  I make it as a side dish.

  • 1 green zucchini
  • 1 yellow zucchini
  • 1 1/2 cups chopped onion
  • 1/2 cup of light sour cream
  • a handful of shredded cheddar
  • Panko bread crumbs
  • Cooking spray
  • Extra-virgin olive oil (optional)

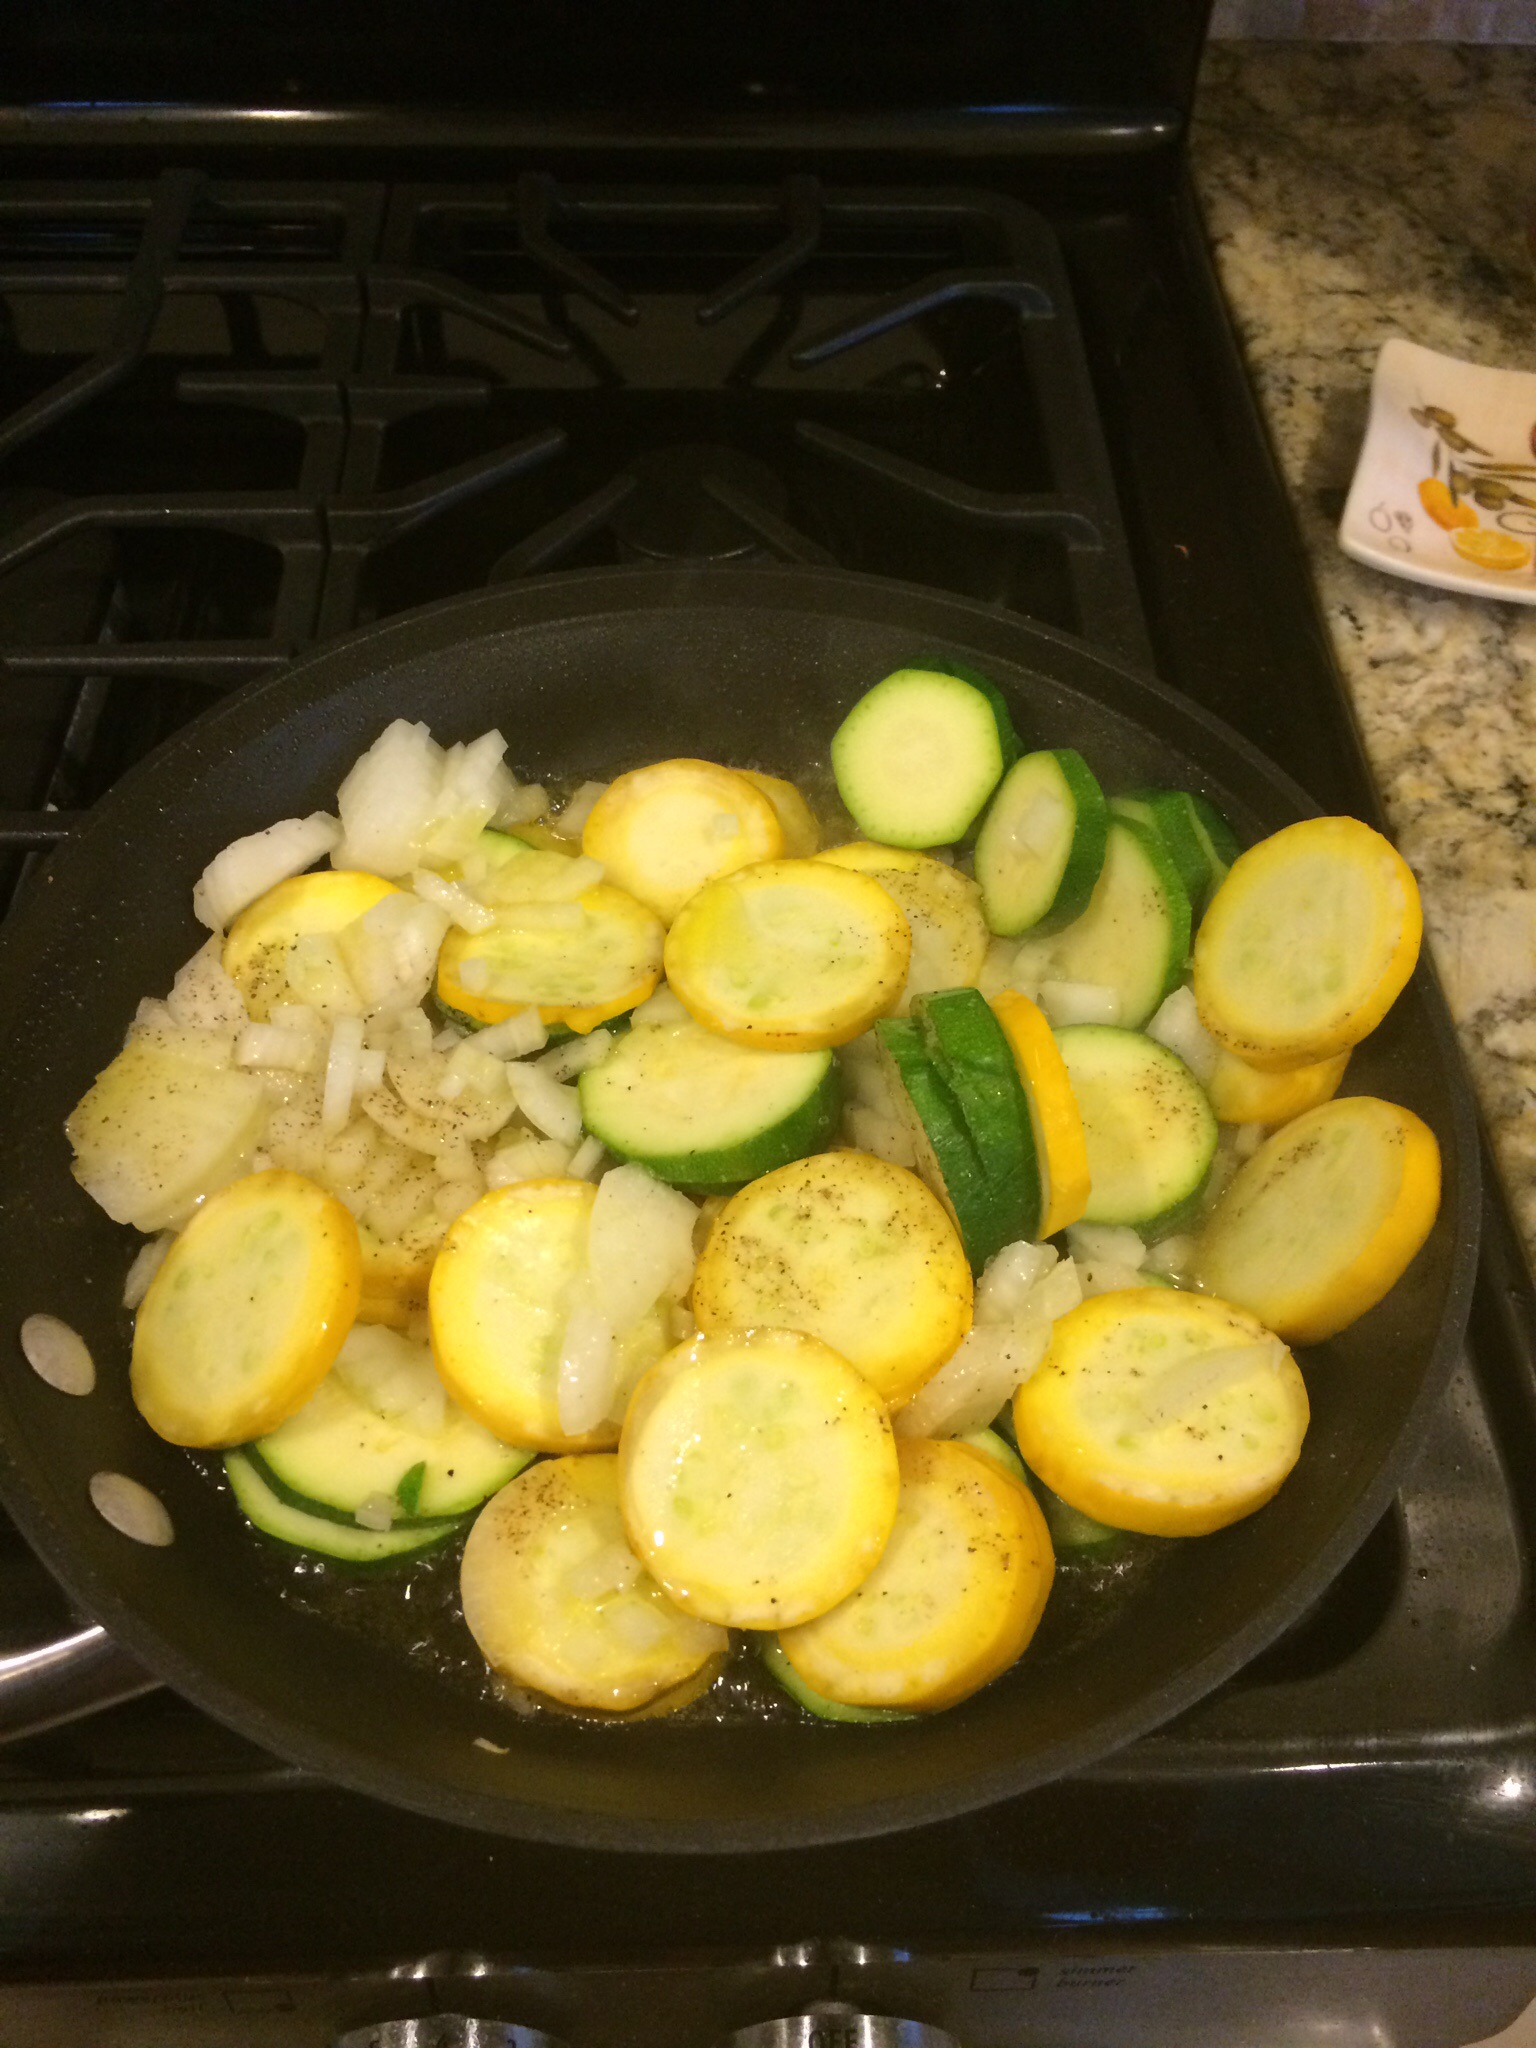
Slice your zucchini and add it along with the chopped onion to a heated skillet.  You can use a tablespoon or two of olive oil or cooking spray to coat your skillet.  Add some salt and pepper and let cook for about 10 minutes.

When zucchini and onions are cooked through add the sour cream and shredded cheddar and mix.  You can turn off the heat at this point.  Spoon mixture into baking pan coated with cooking spray.

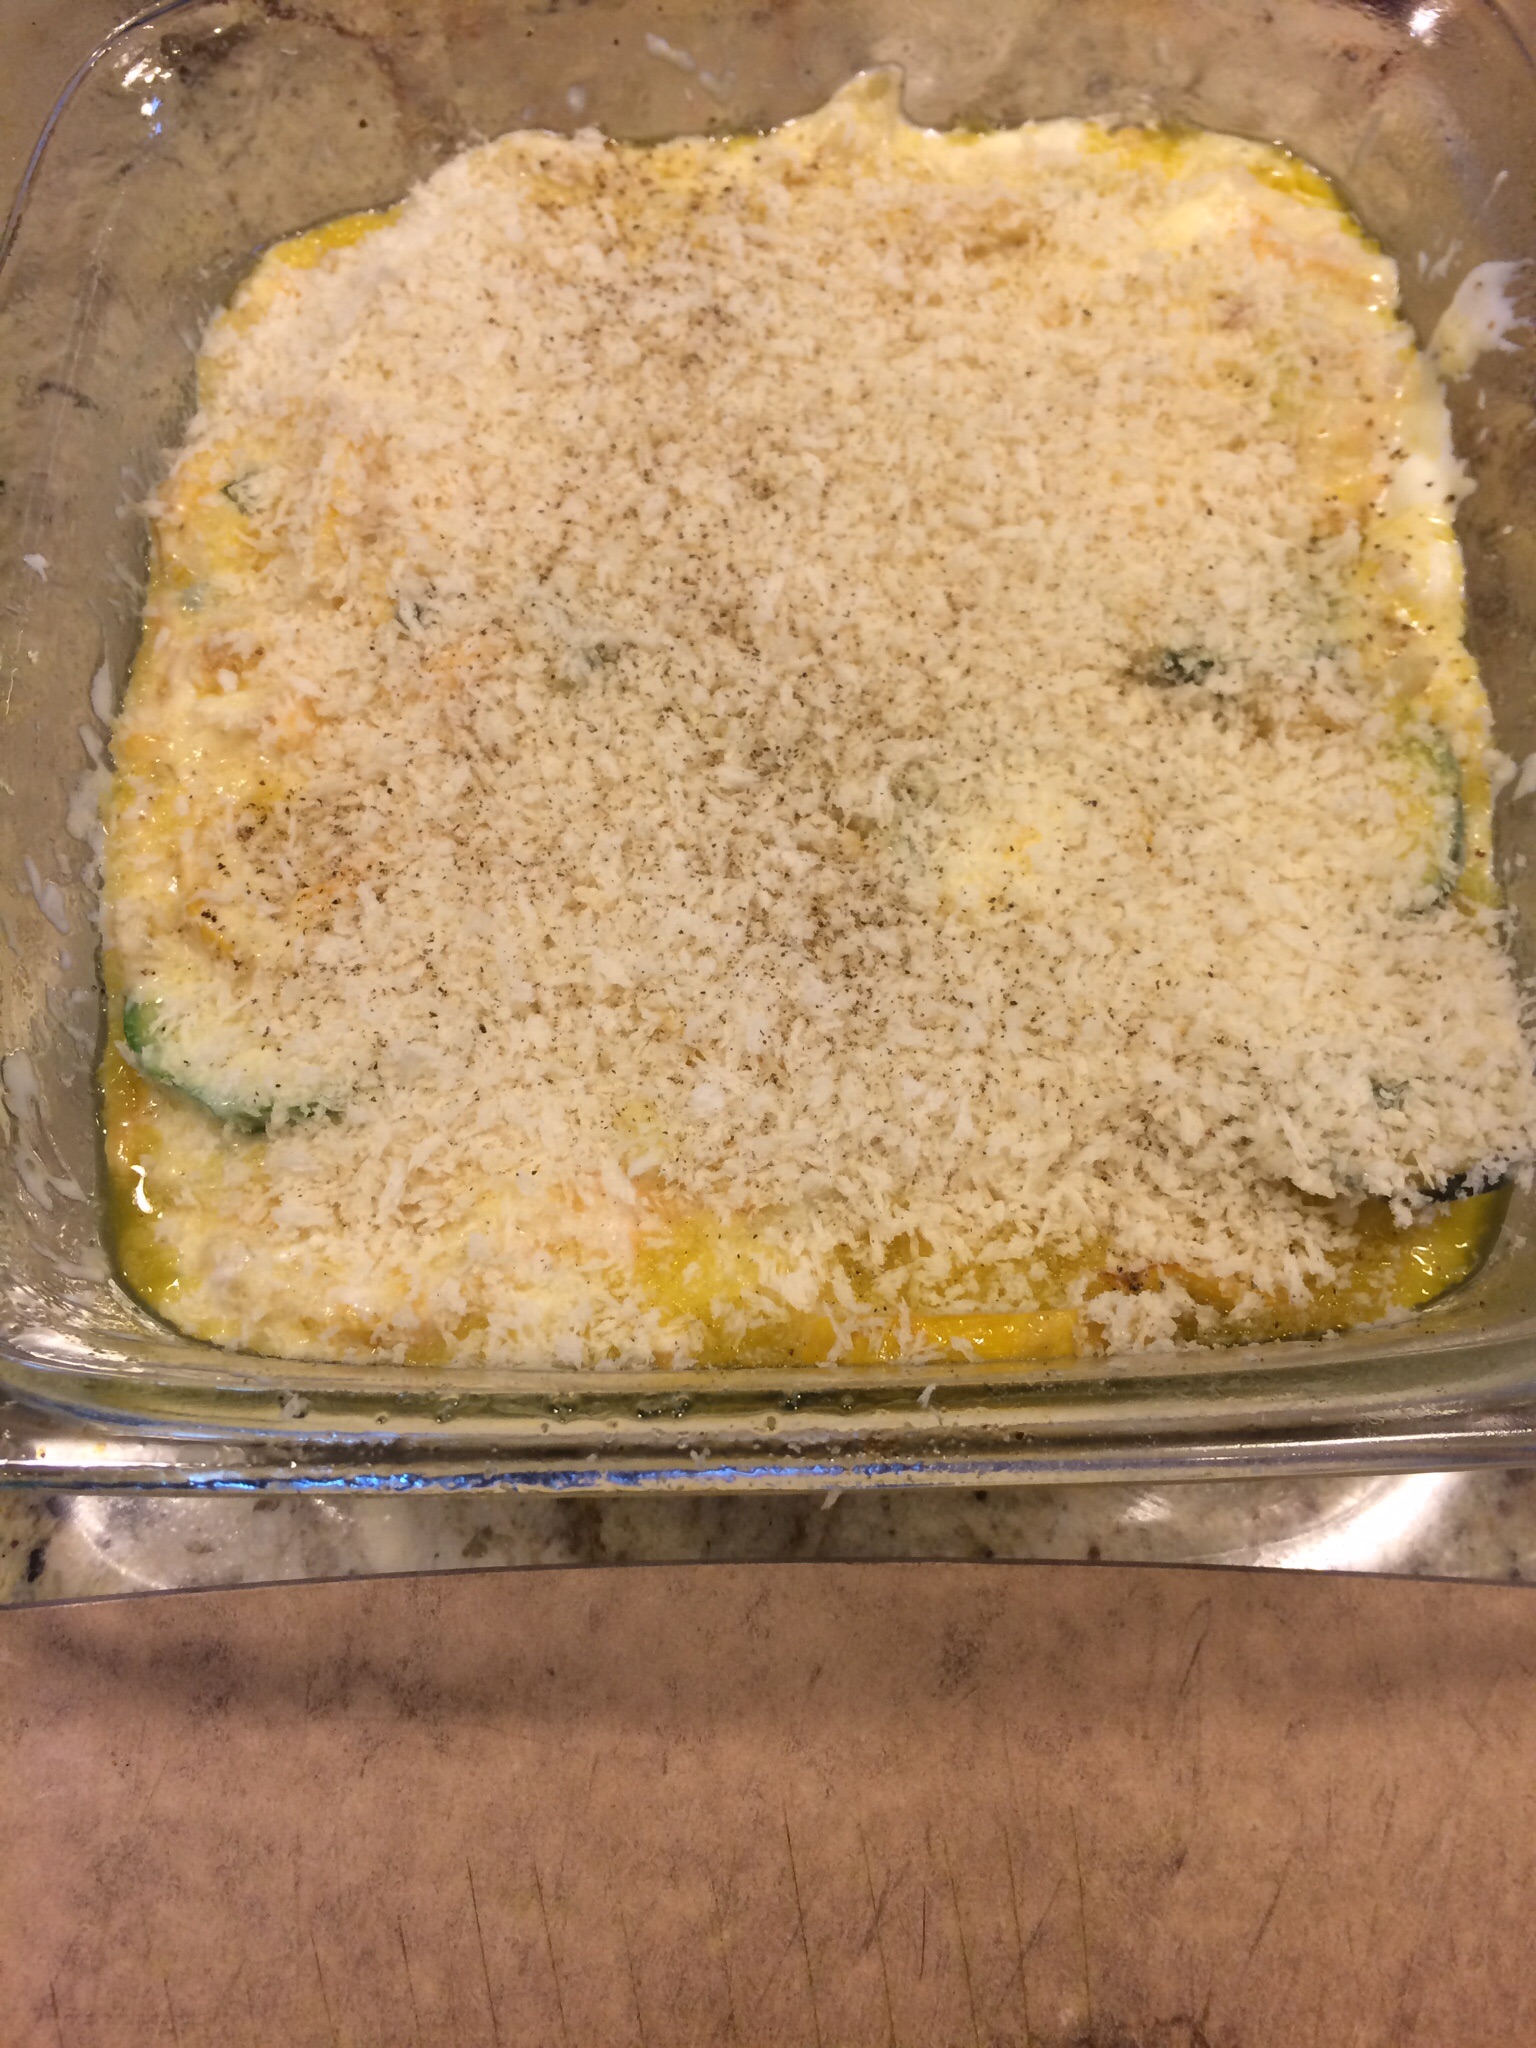
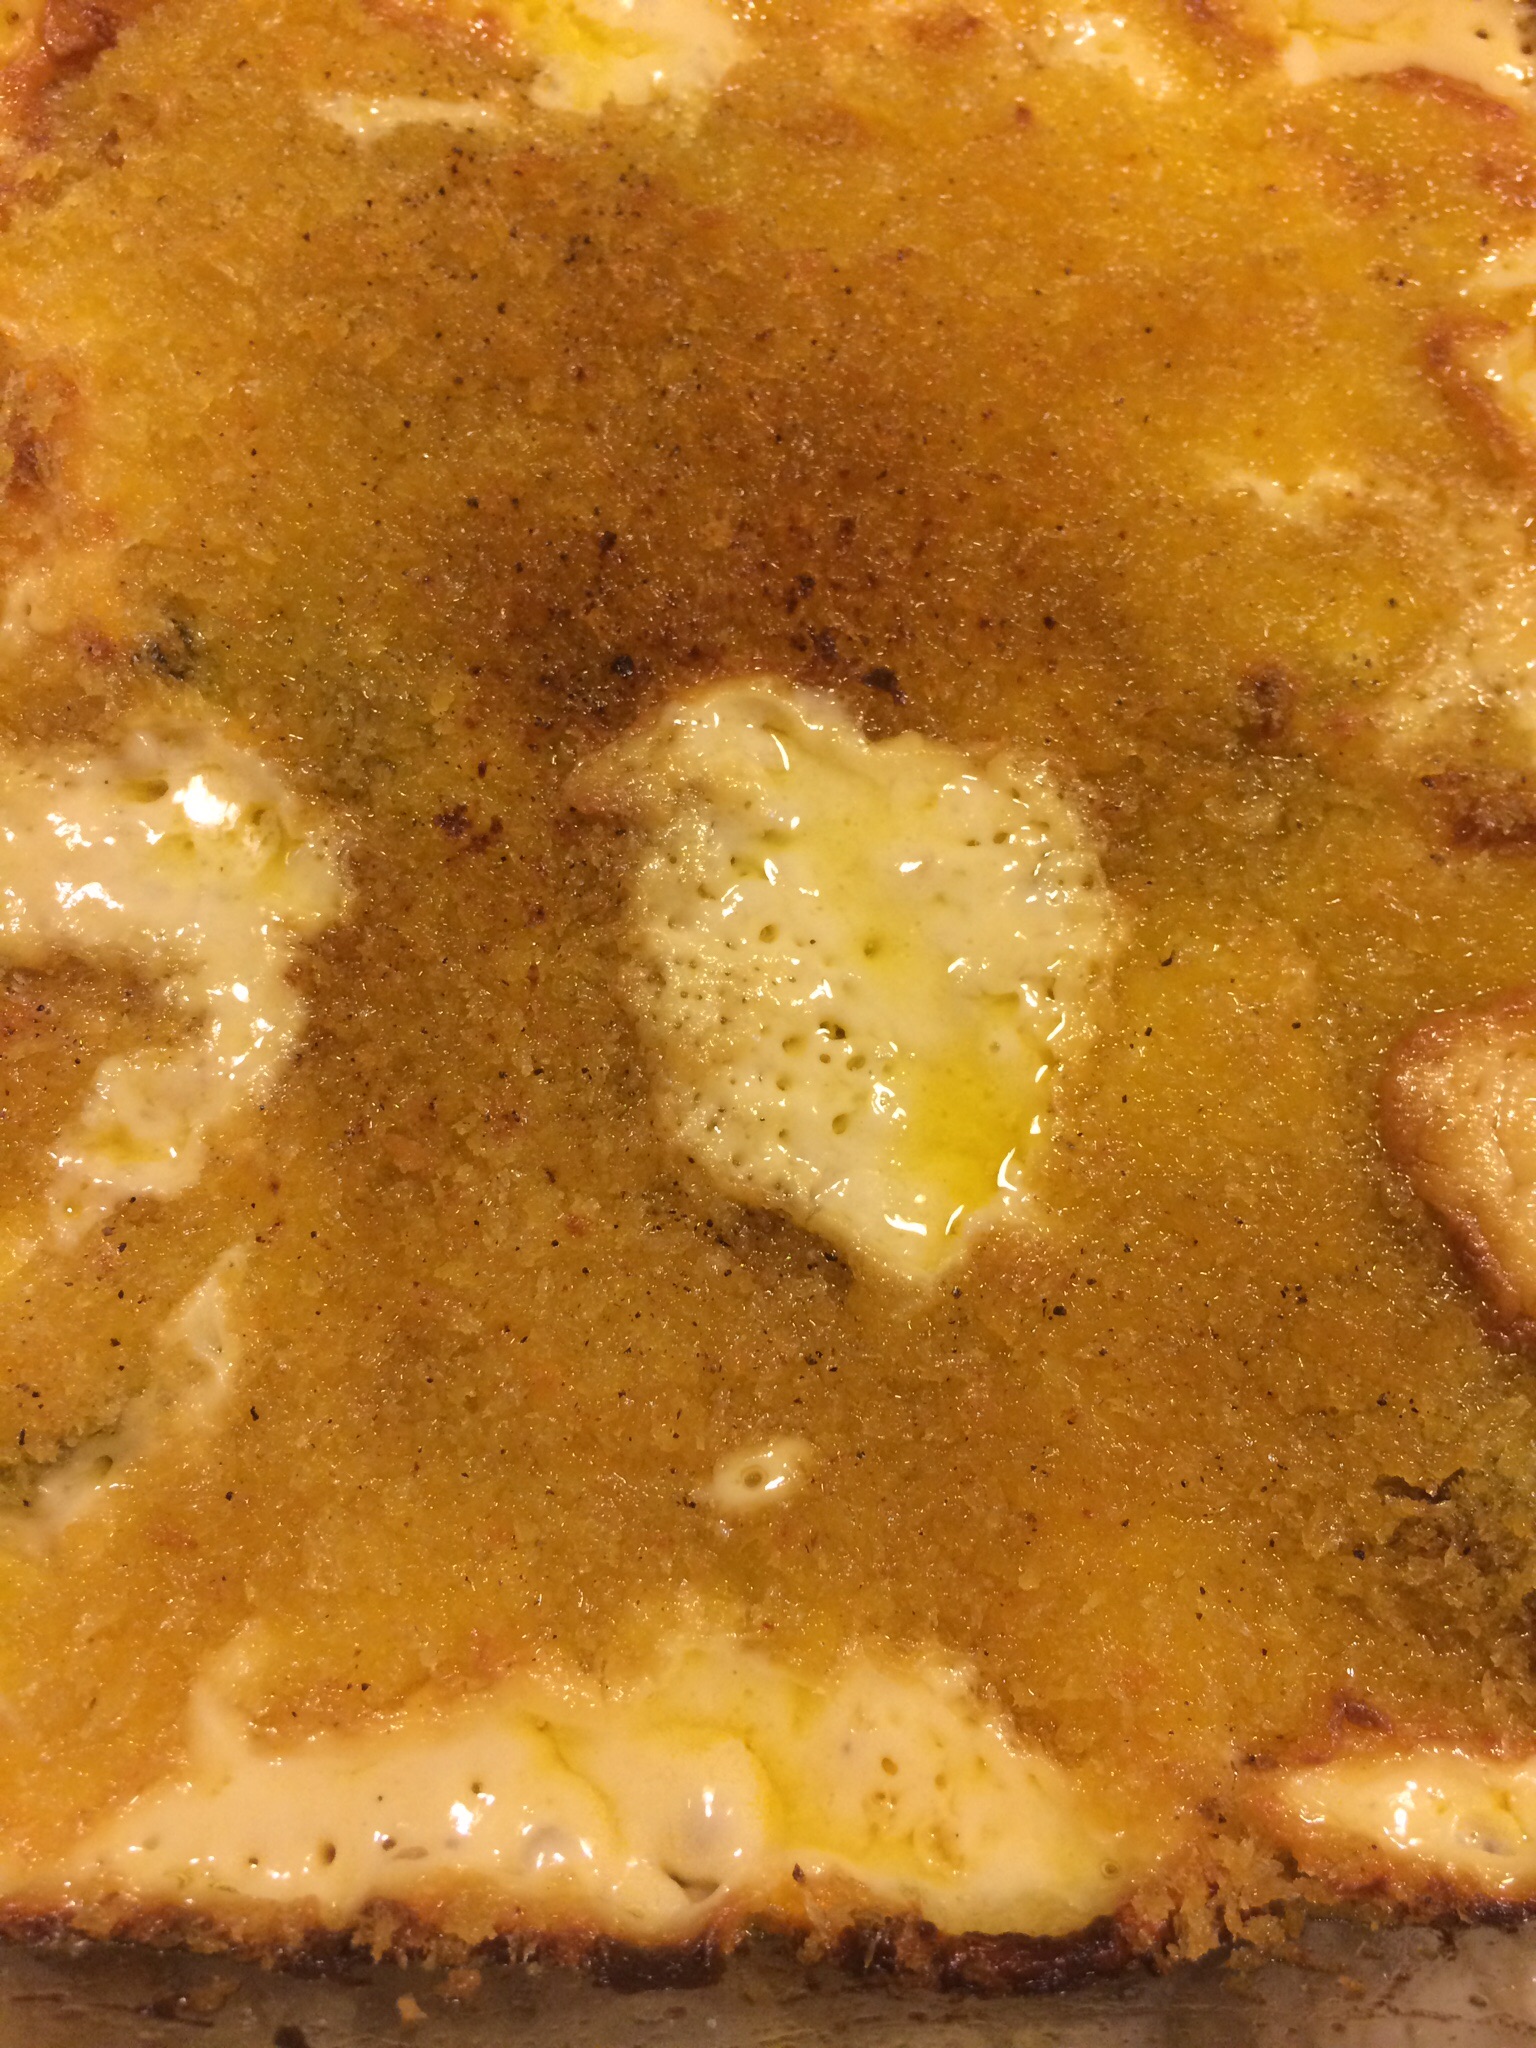
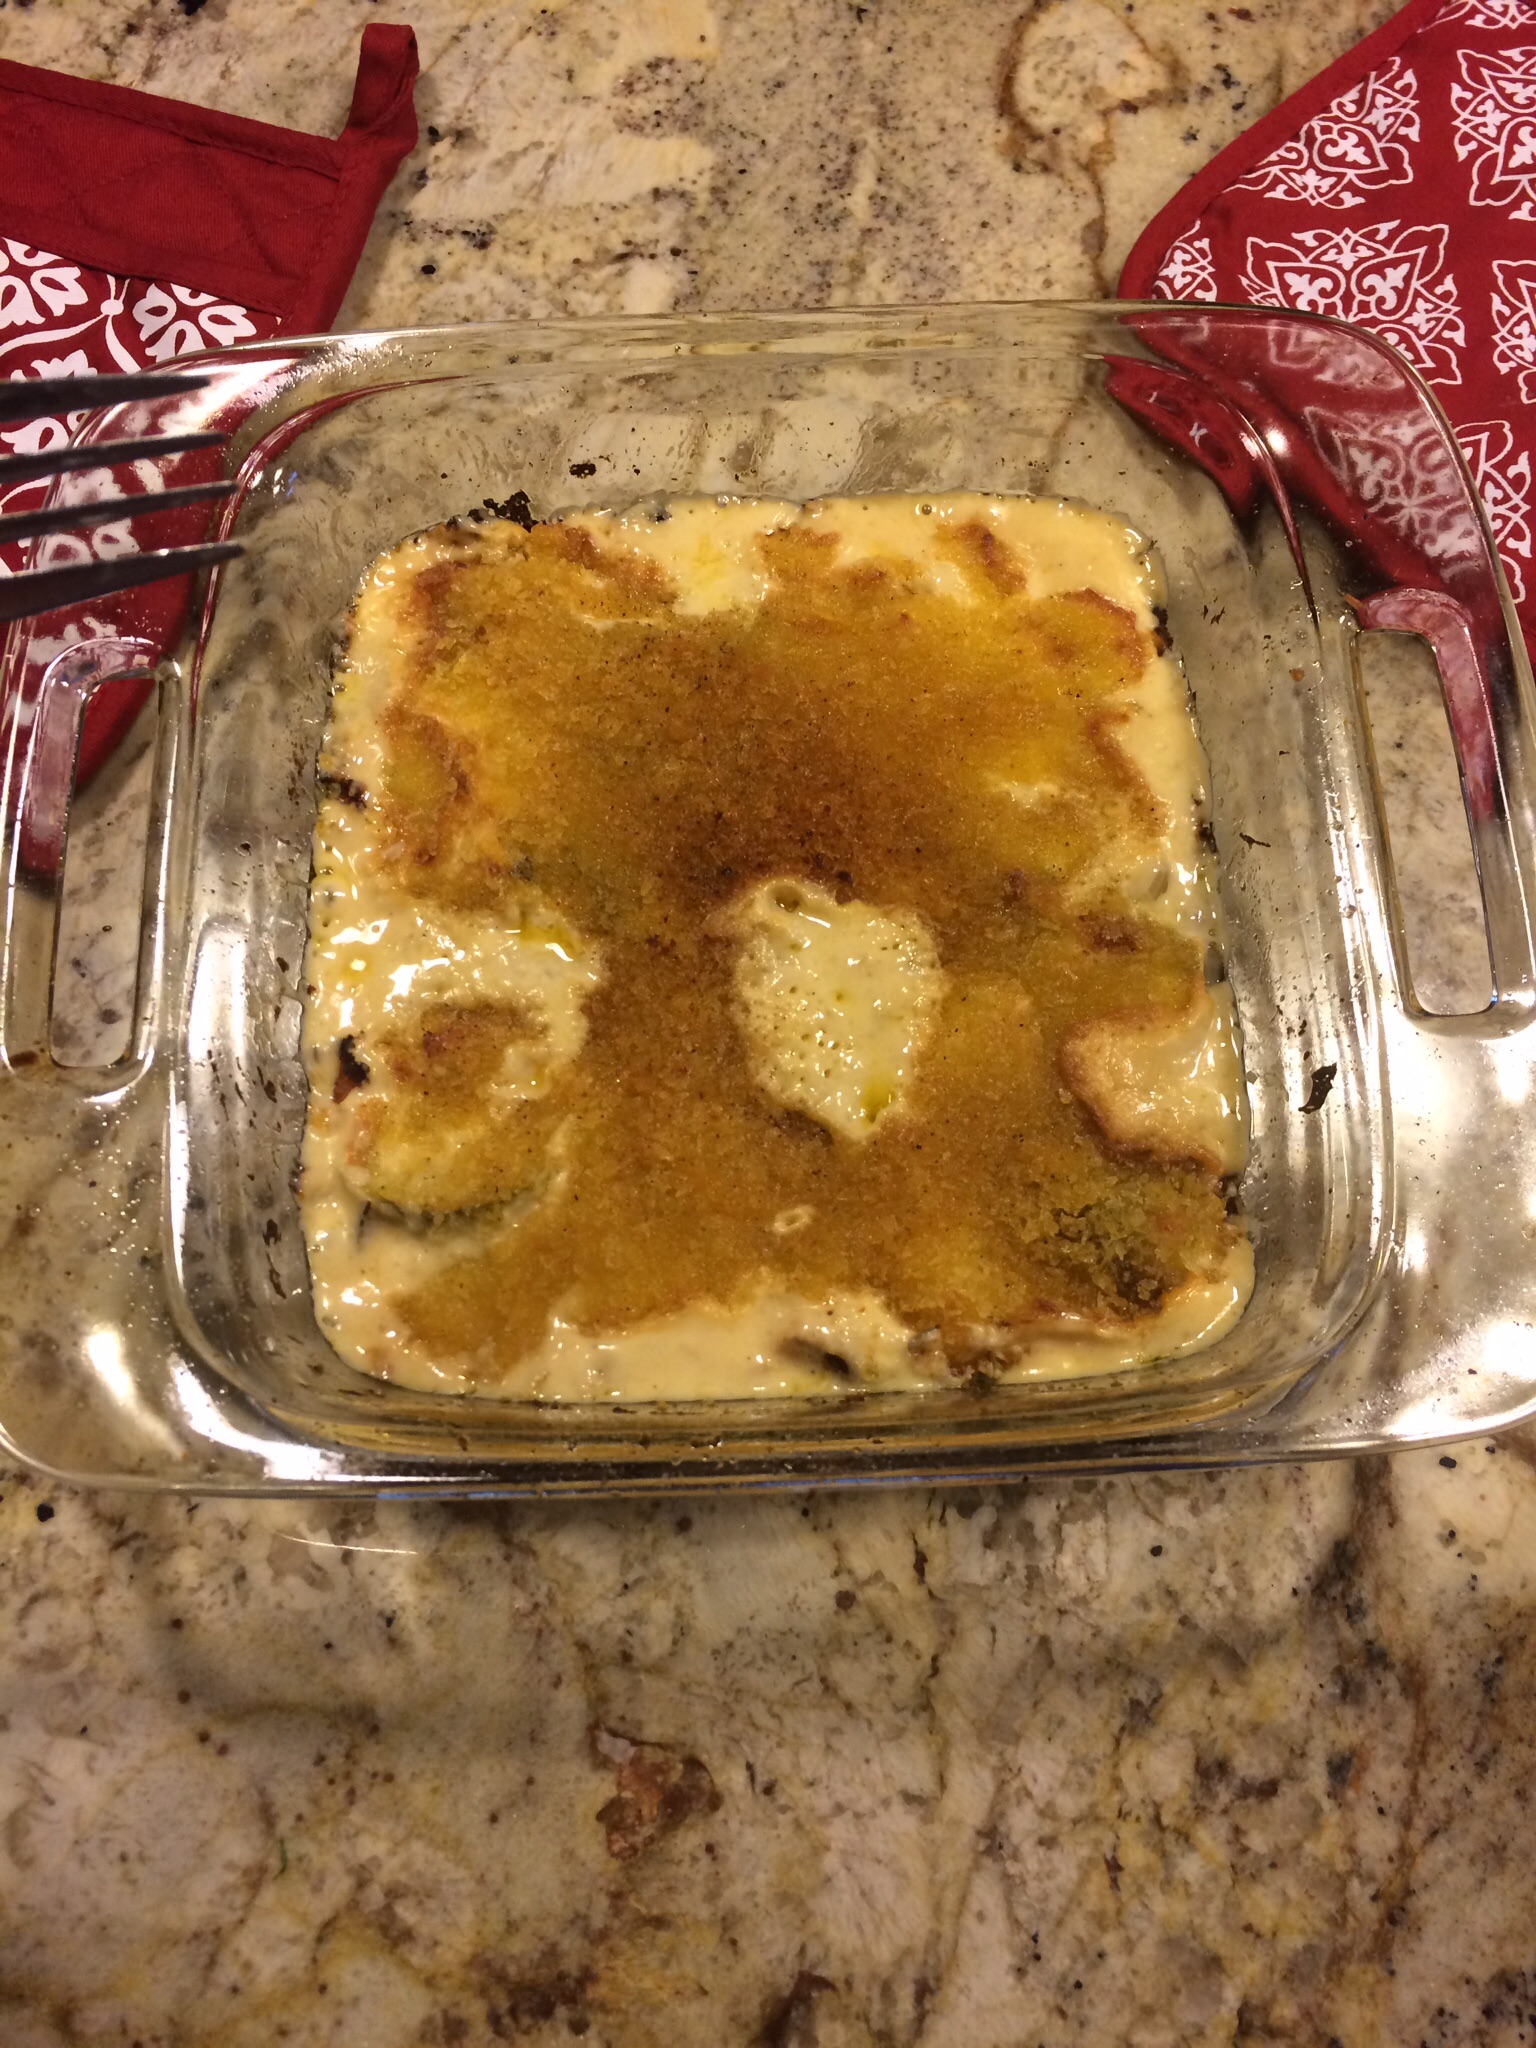
Sprinkle the top with Panko and bake for about 30-40 minutes at 400 degrees.  Let cool and enjoy this  low-cal goodness!

Enjoy!

RHC

Summer Soup!

imageimageimageimageimageimageimage

Hi Housewives!

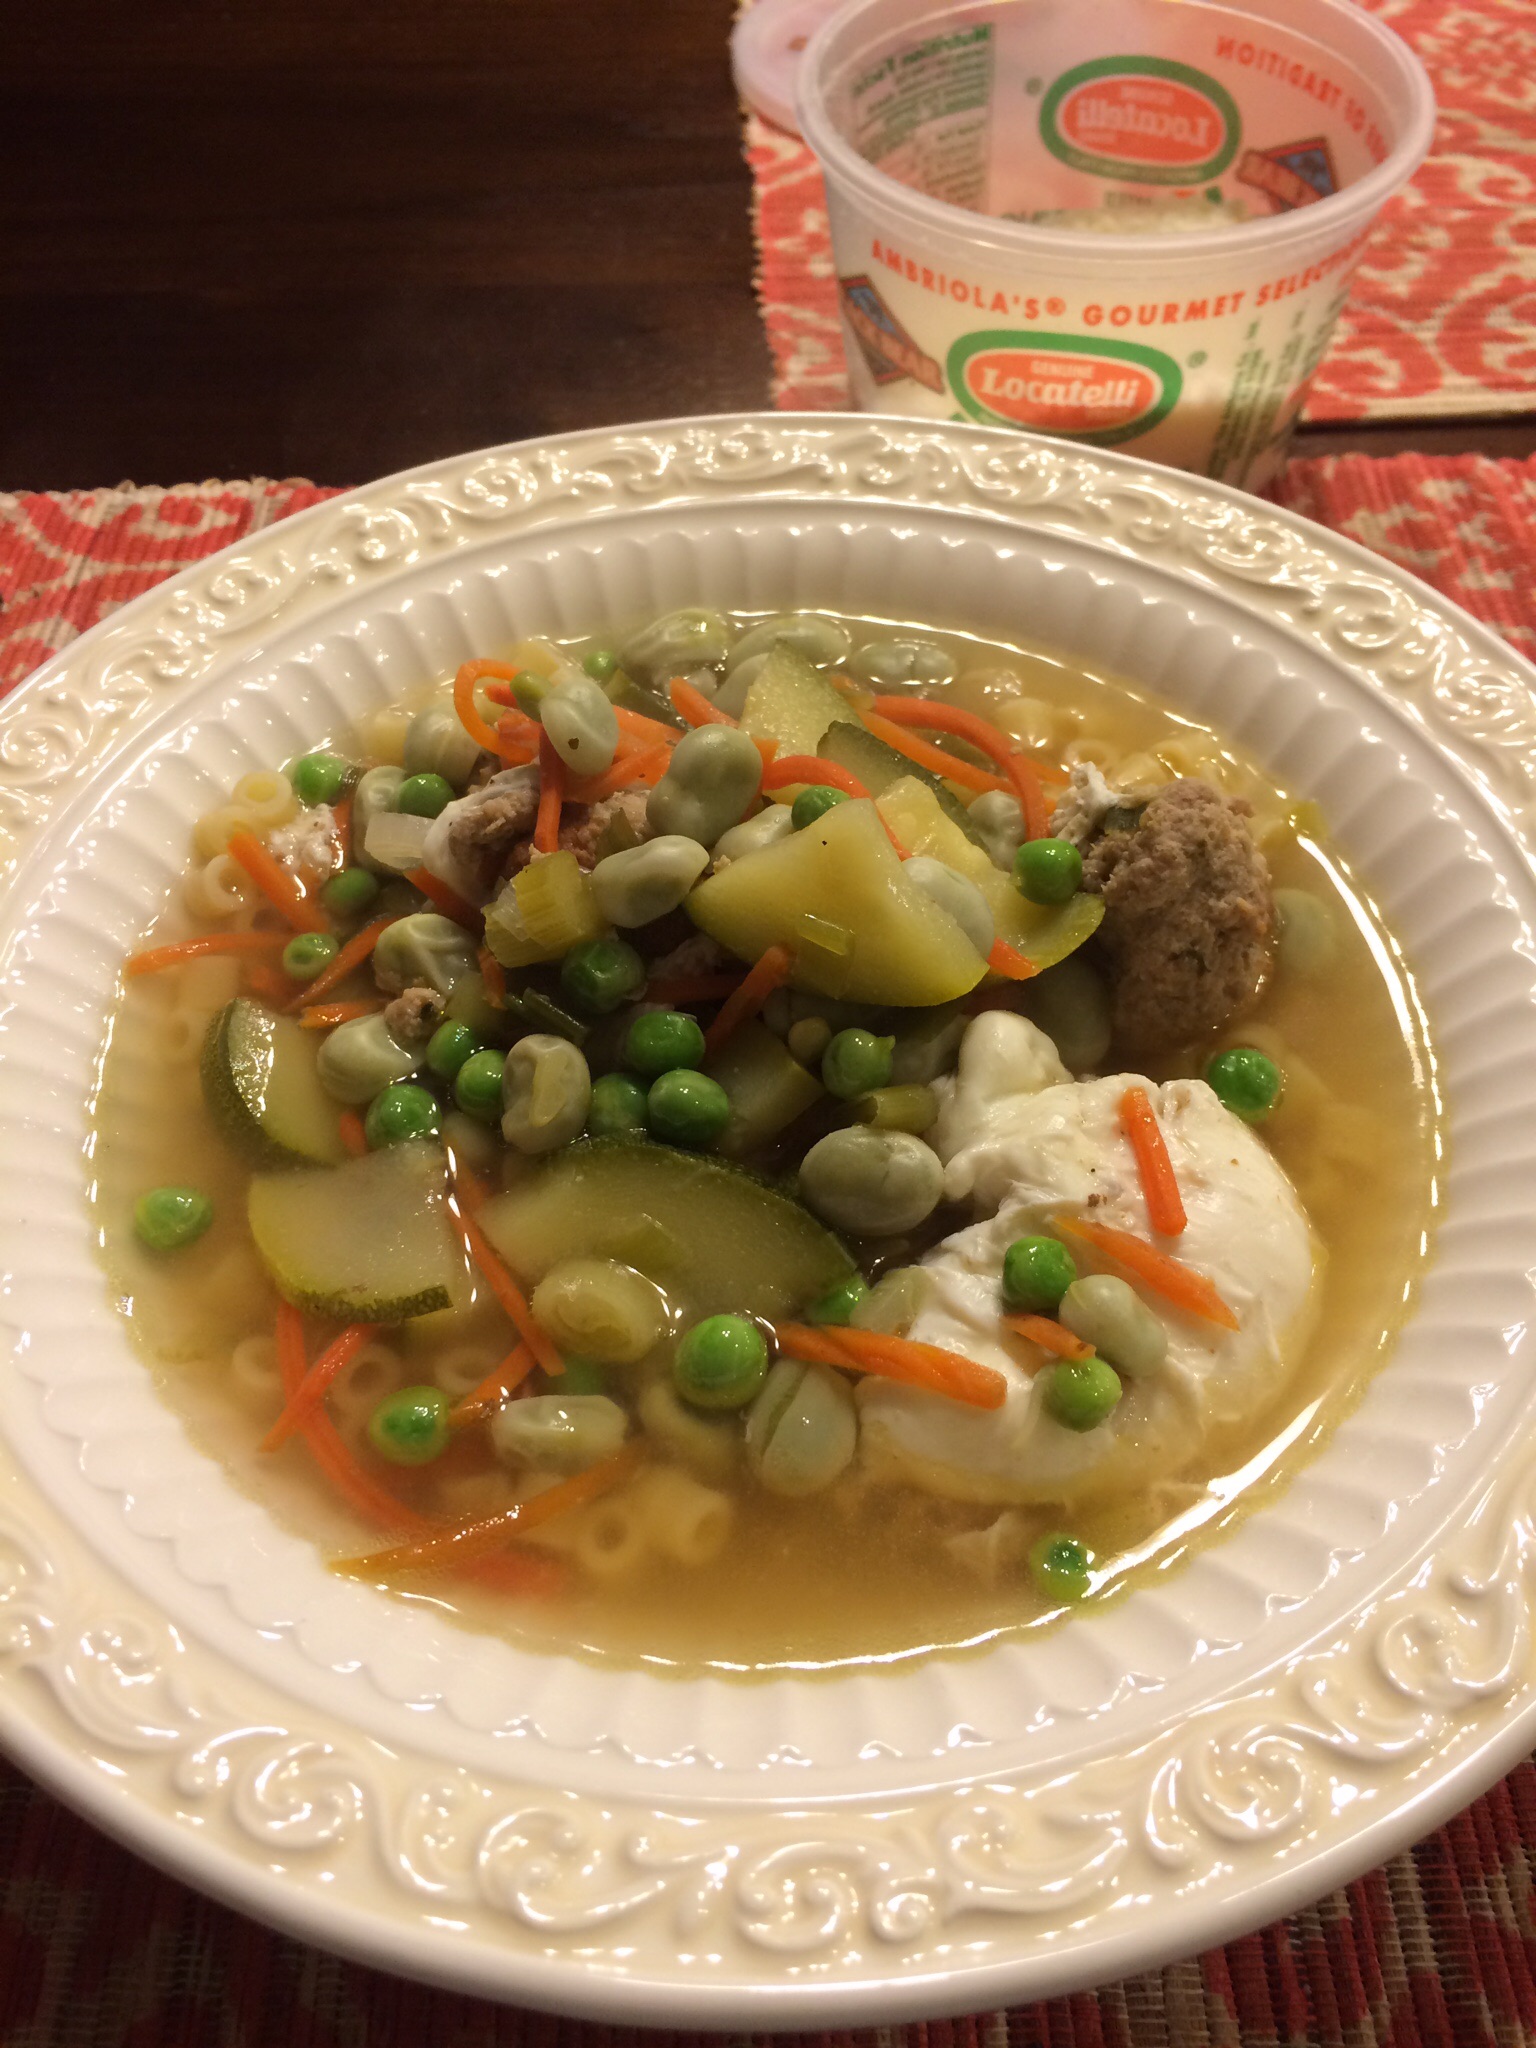
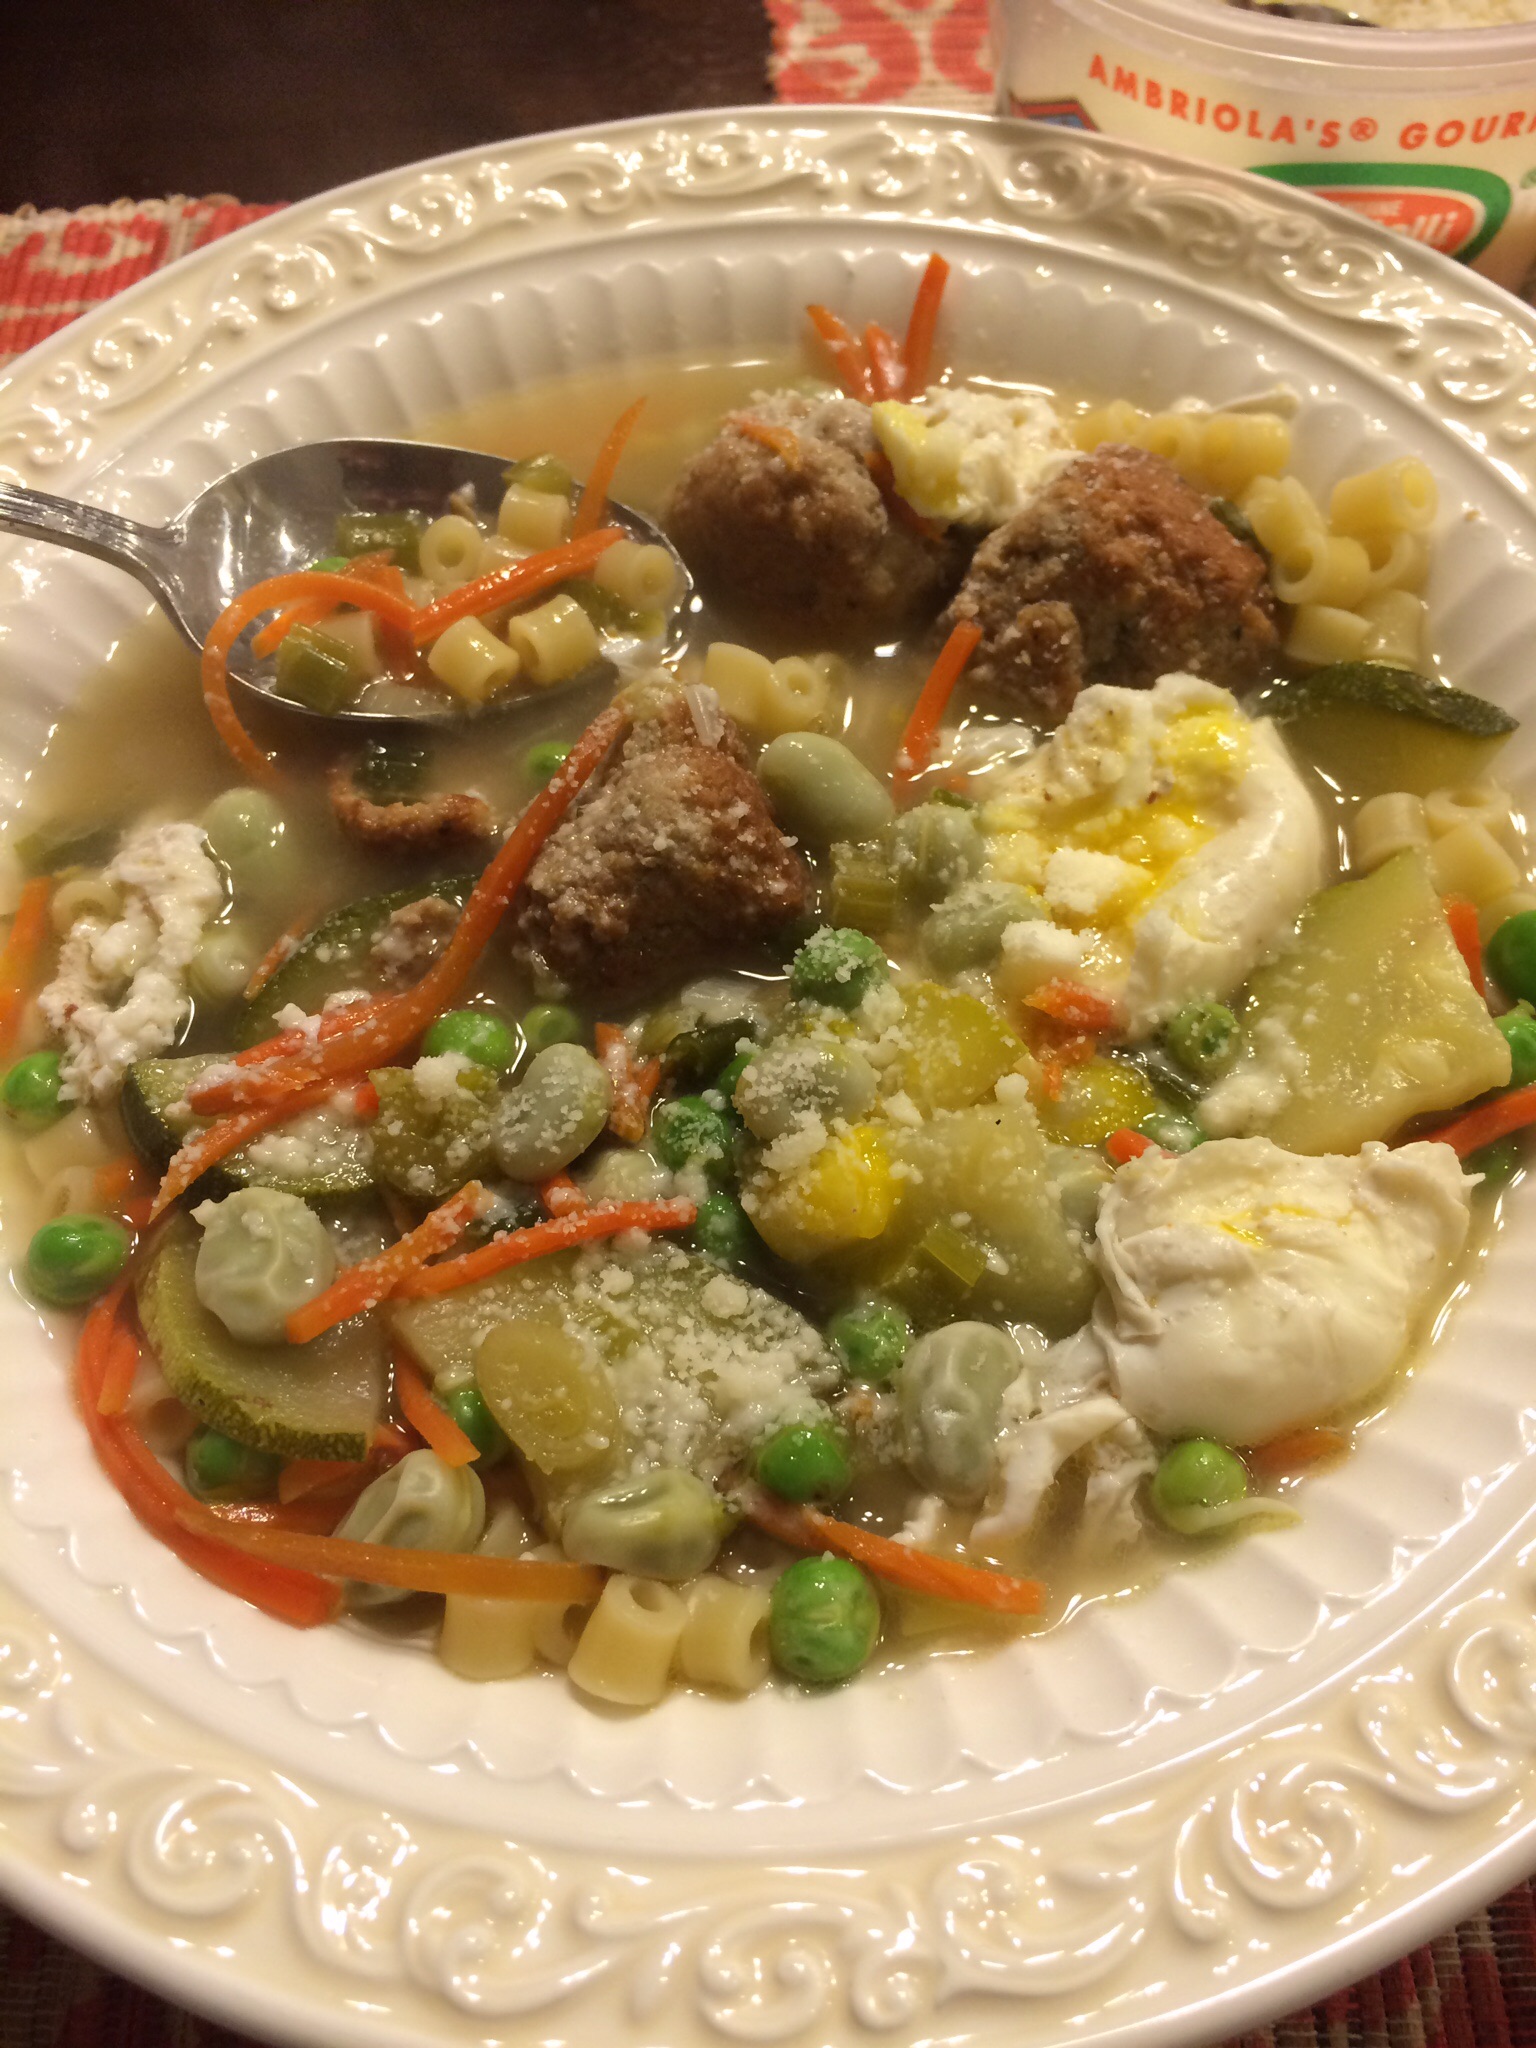
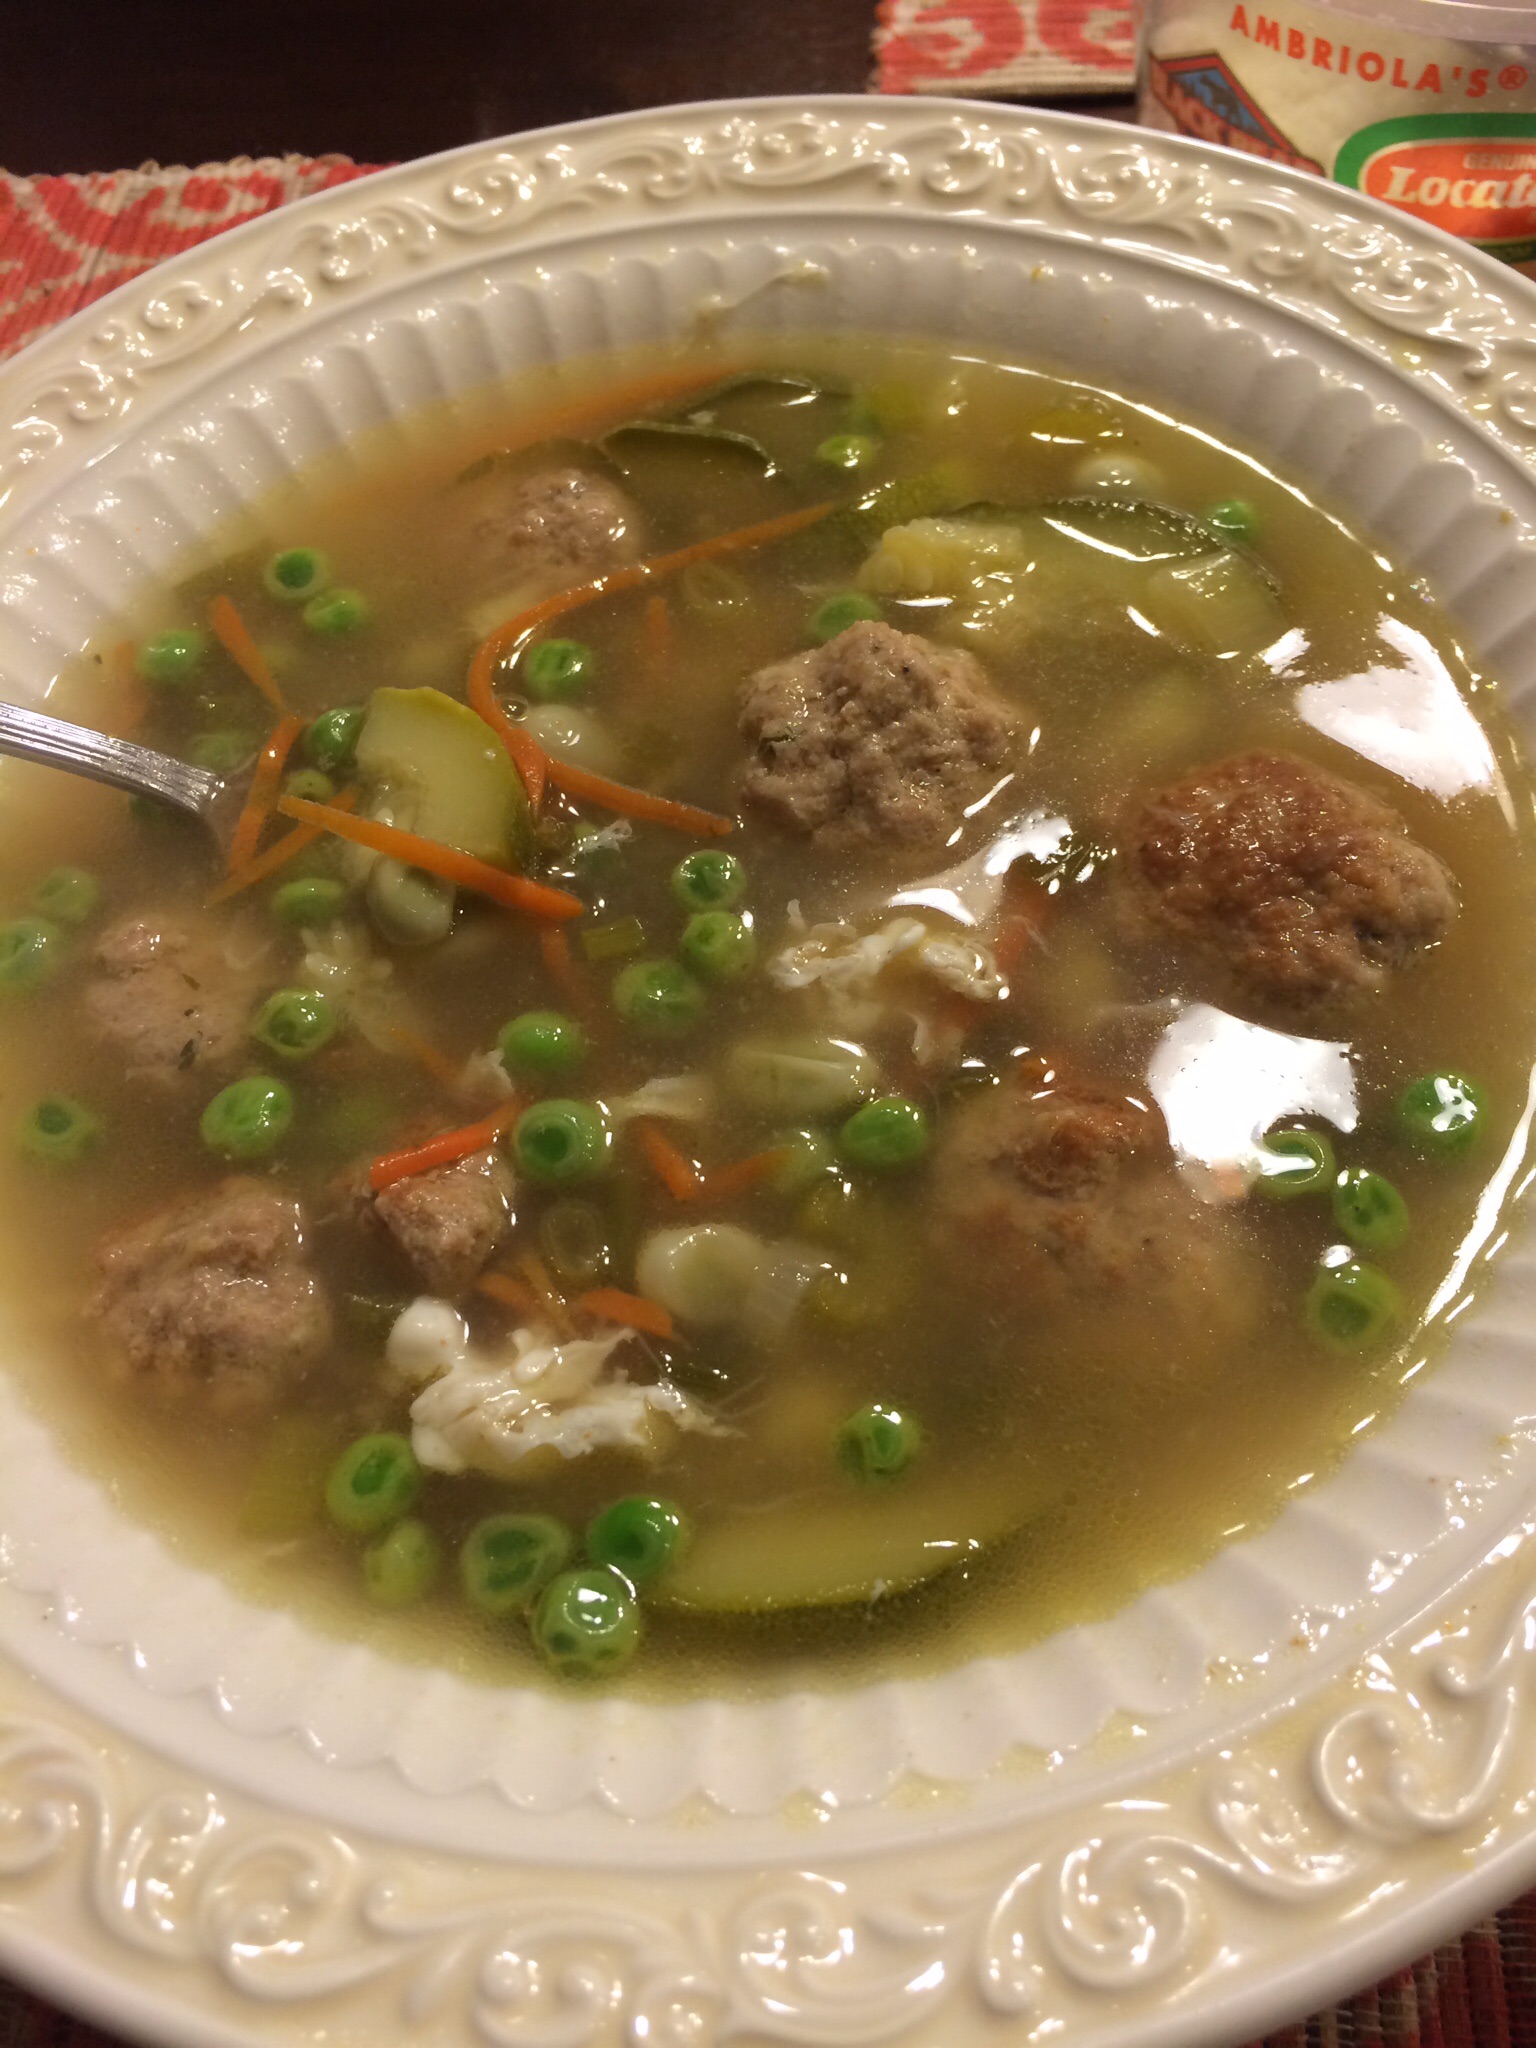
Today’s recipe is for a summer soup.  Just the thought of soup during the summer makes some of you cringe, I know, but there are always those dreary, rainy days that make it a good day for soup.  This is a primarily green soup and incorporates lots of veggies.  I made this with little meatballs and eggs for protein but you can omit either of the 2 if you prefer.

  • green onion
  • 1 zucchini
  • 2 cups of fava beans
  • 1 bag of English peas
  • 1 rib of celery
  • 1 cup of shredded carrots
  • 2 eggs
  • 2 cans of chicken broth
  • 2 cans of vegetable broth
  • water
  • turkey meatballs
  • ditalini pasta
  • Salt and pepper to taste

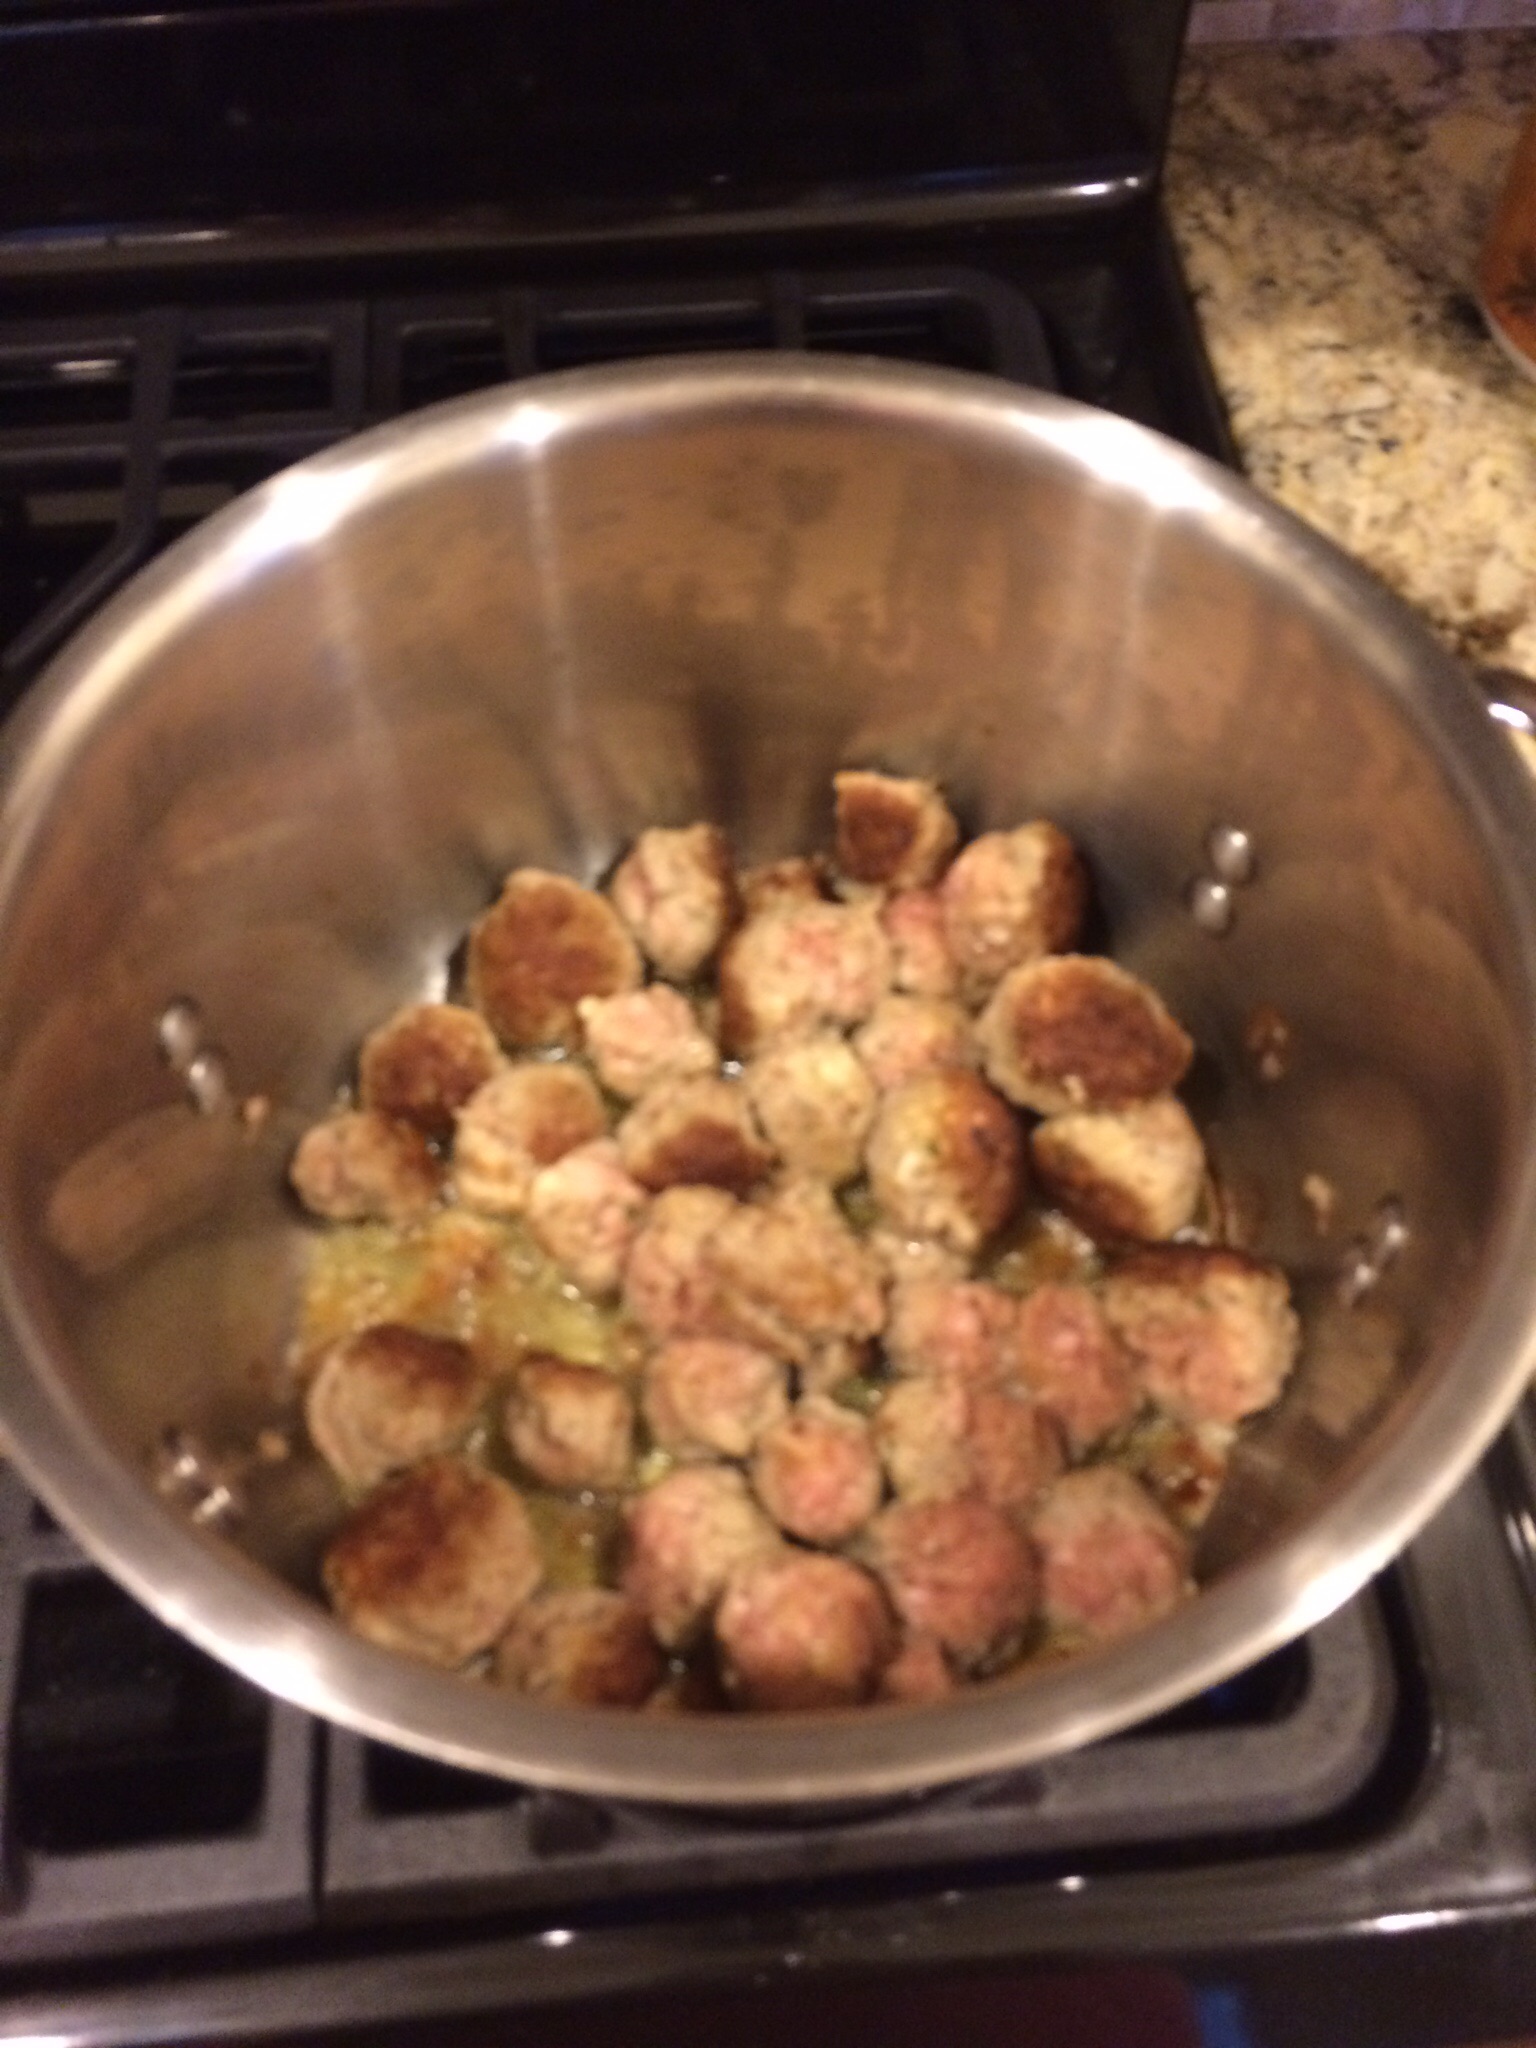
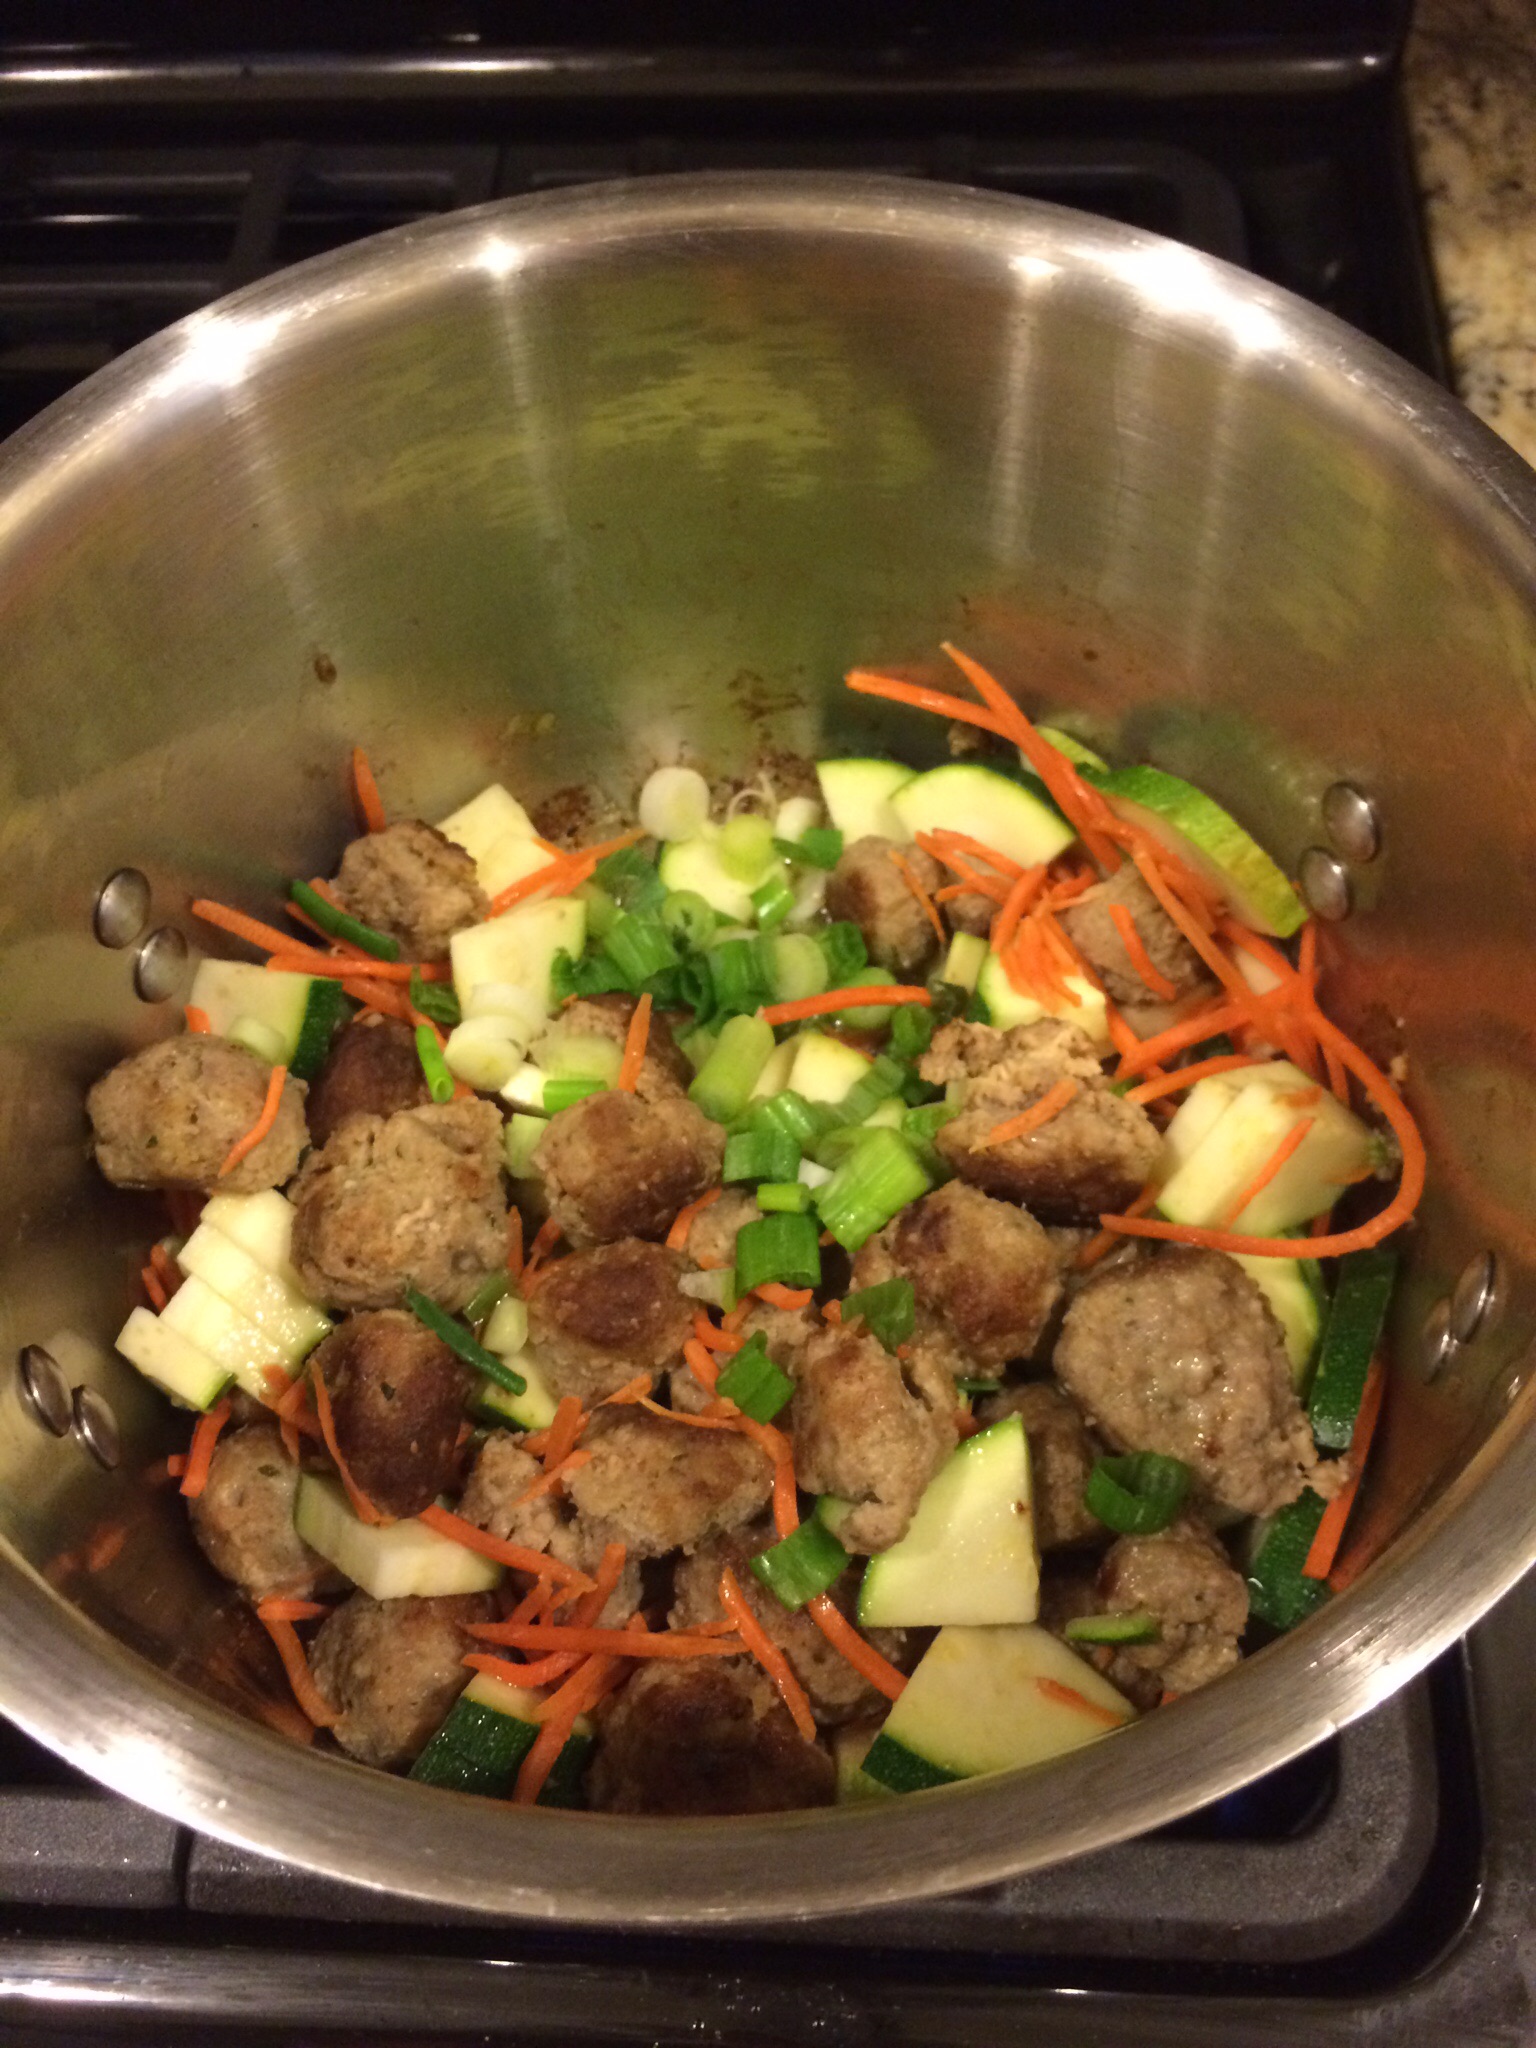
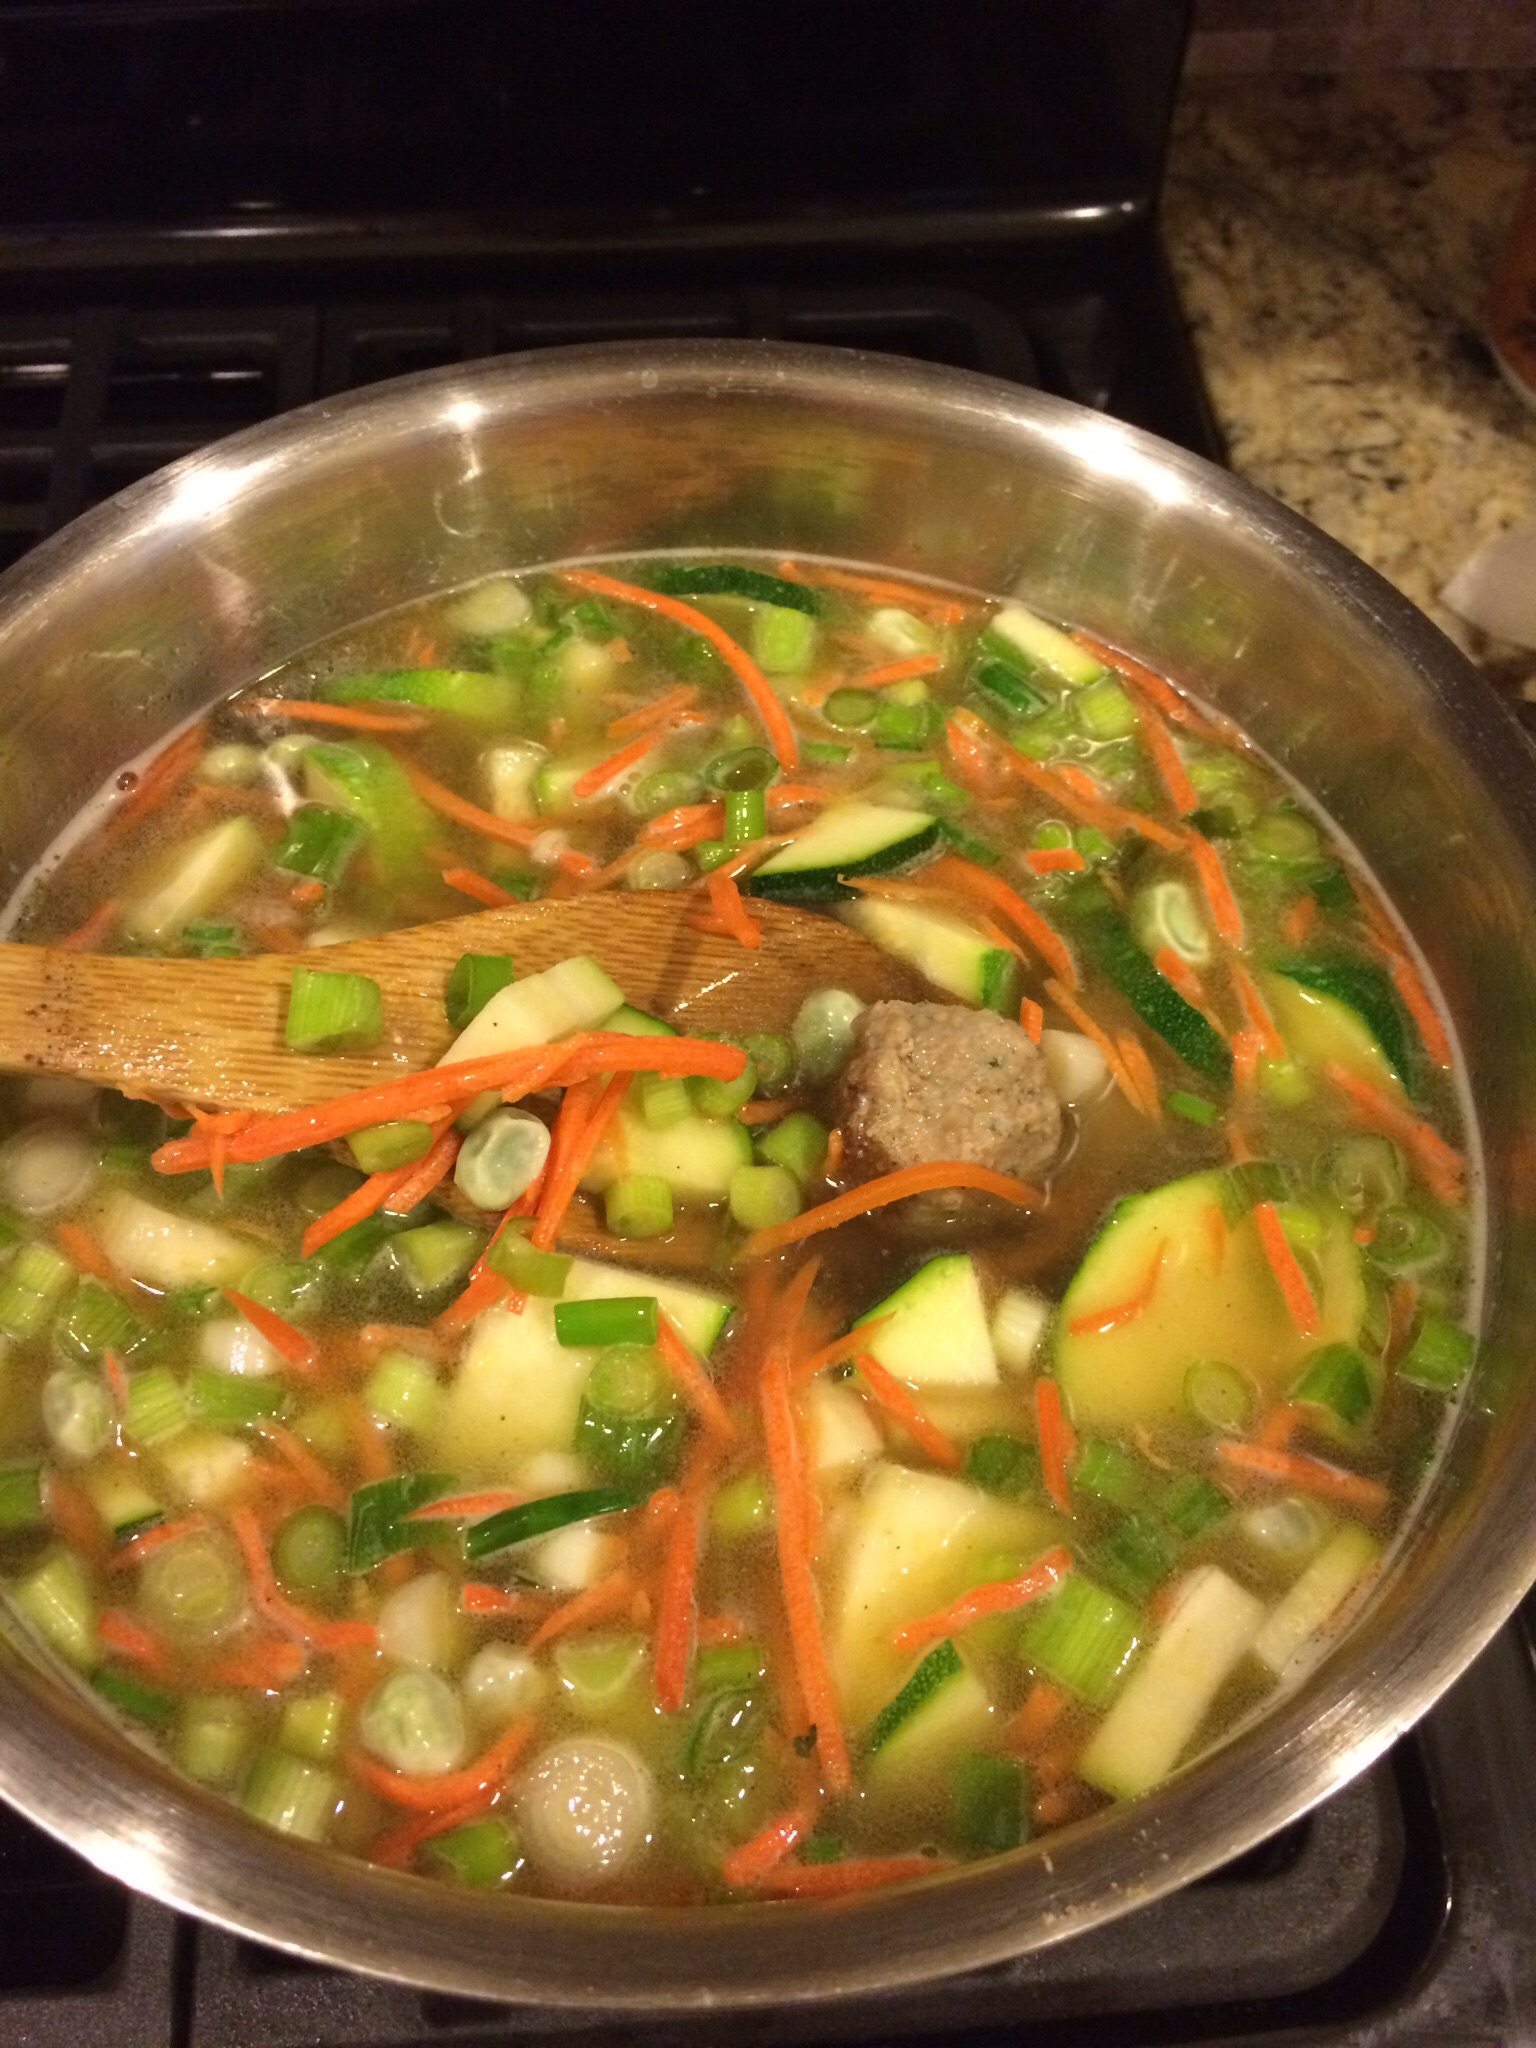
Prepare your turkey meatballs how you usually do and start frying them in a big pot.  When almost cooked through start adding your veggies – zucchini, carrots, green onion, English peas, Fava beans, celery.  Cook for a few minutes and when veggies are softened add your chicken and veggie broth.  I usually add about 4 cups of water as well.  Let cook on low for at least an hour.

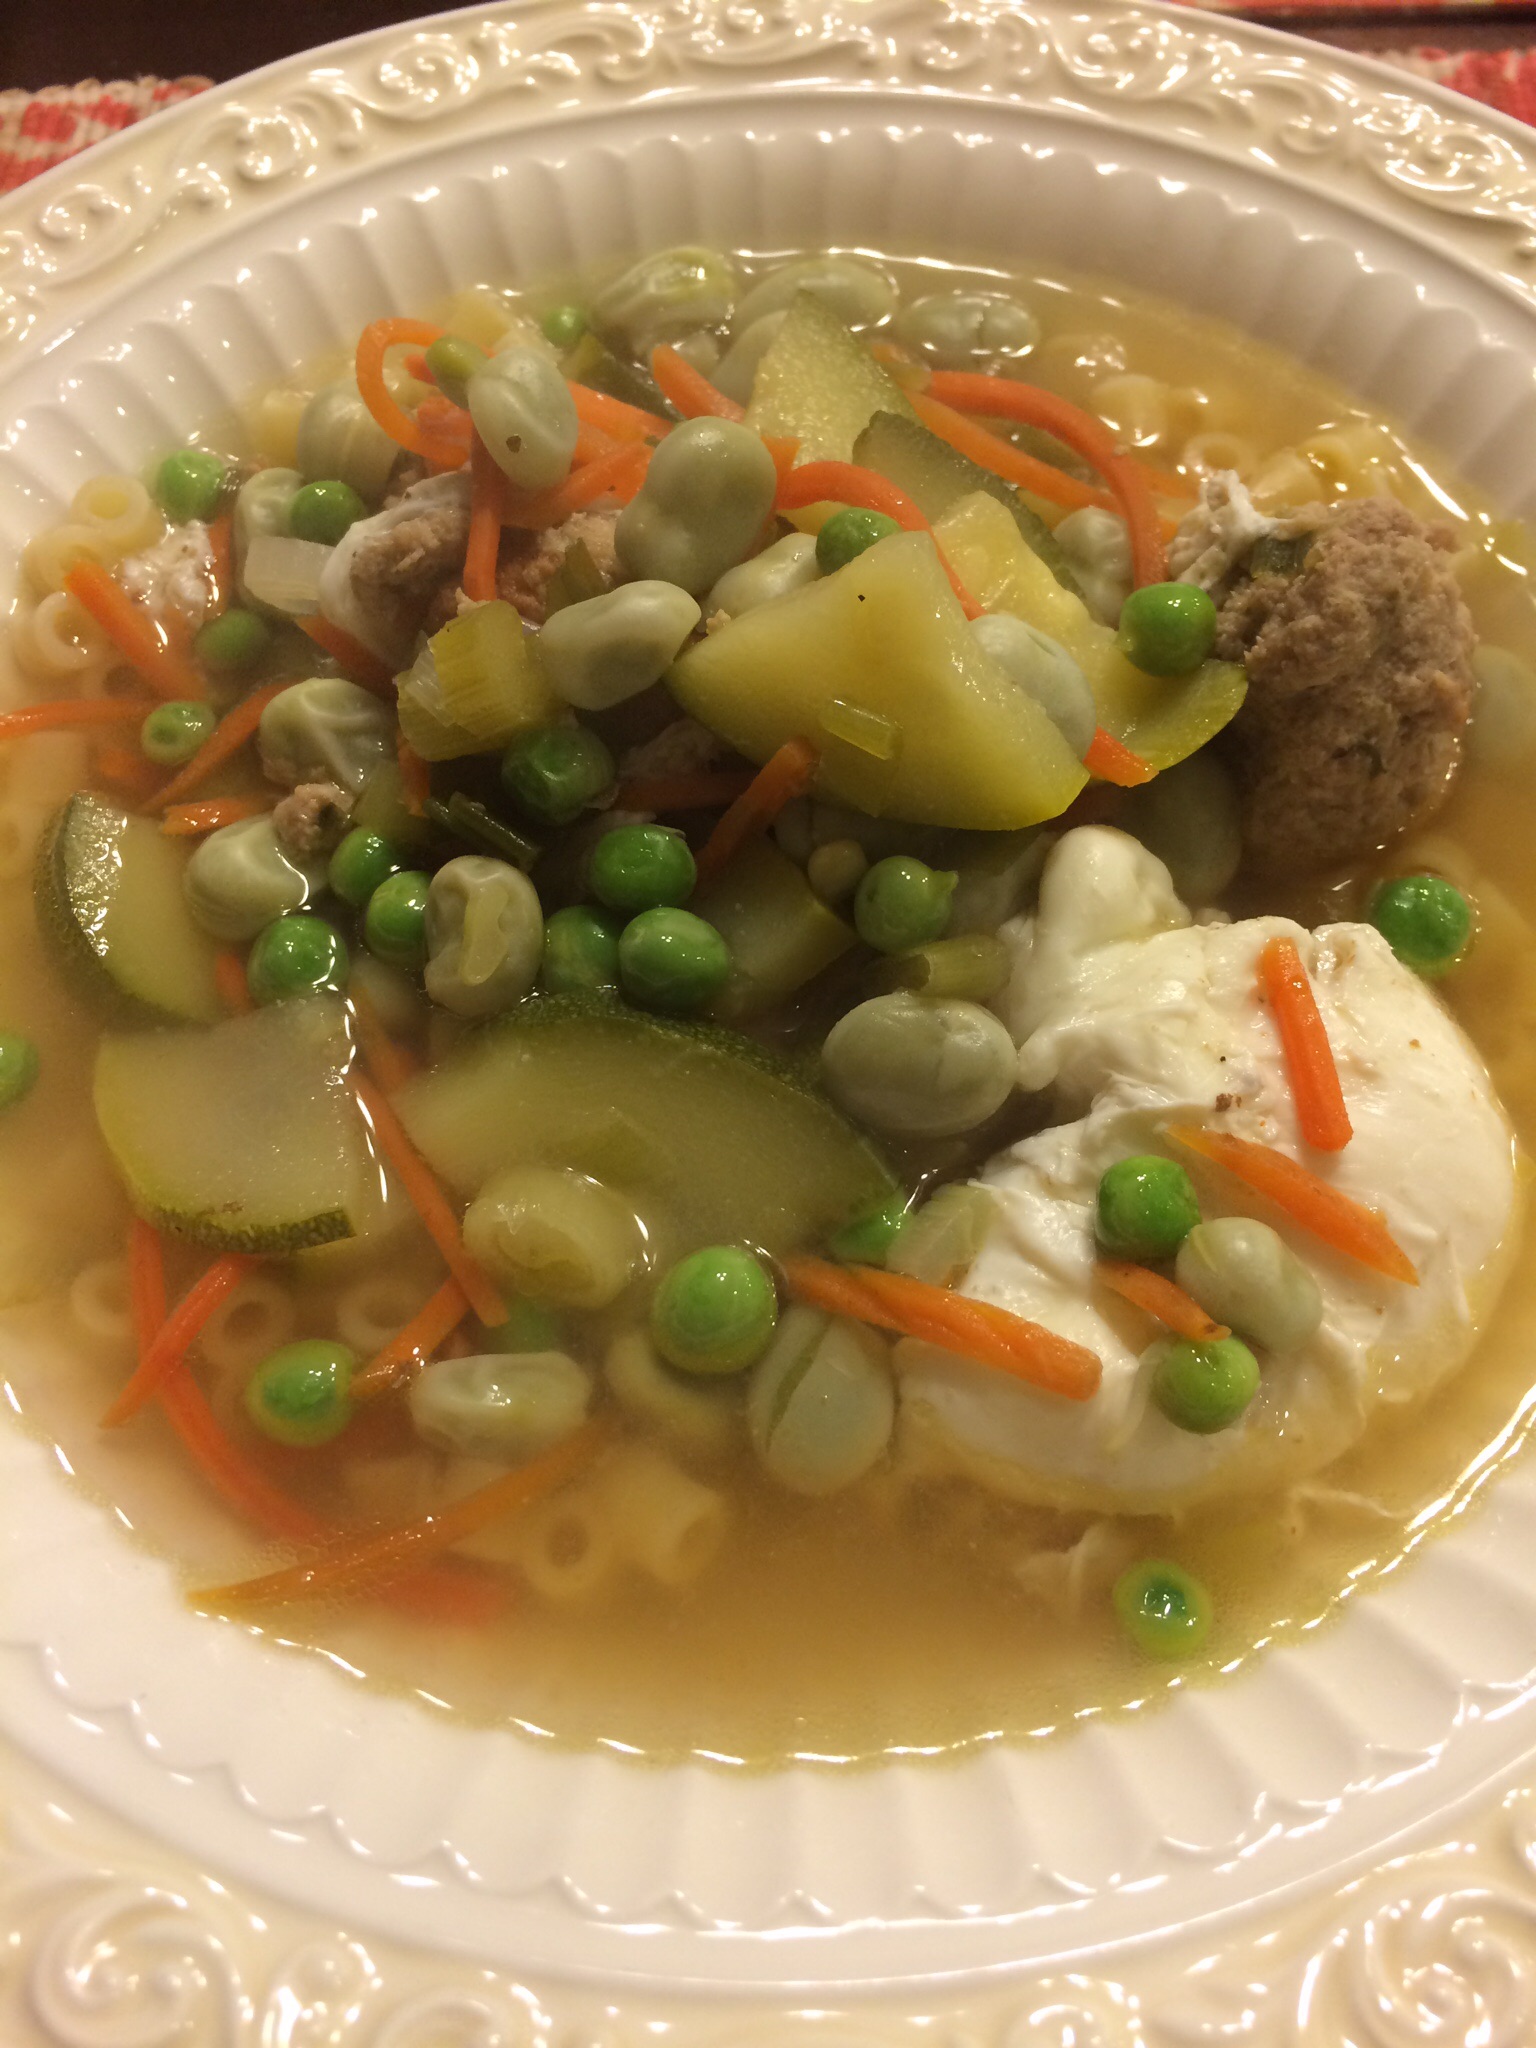
About 10-15 minutes before done add the egg to soup.  Break 1 egg at a time into a small bowl and then gently slide into the soup and let it cook.  This is a great source of protein and adds a nice, different twist to your soup.  Don’t knock it until you try it! LOL

Boil water for your pasta and cook that until al dente.  I never add my pasta in my soup because it continues to cook your pasta and then you end up with a mushy mess.  Just scoop a cup of pasta in your soup bowl and then add the soup to it when you are ready to it.  Plus, if you have leftovers the pasta then soaks up all the broth.  So store pasta in a separate container to avoid that. :)

Enjoy!

RHC


Bacon and Egg Quiche!

image  image

imageimage

Hi Housewives!

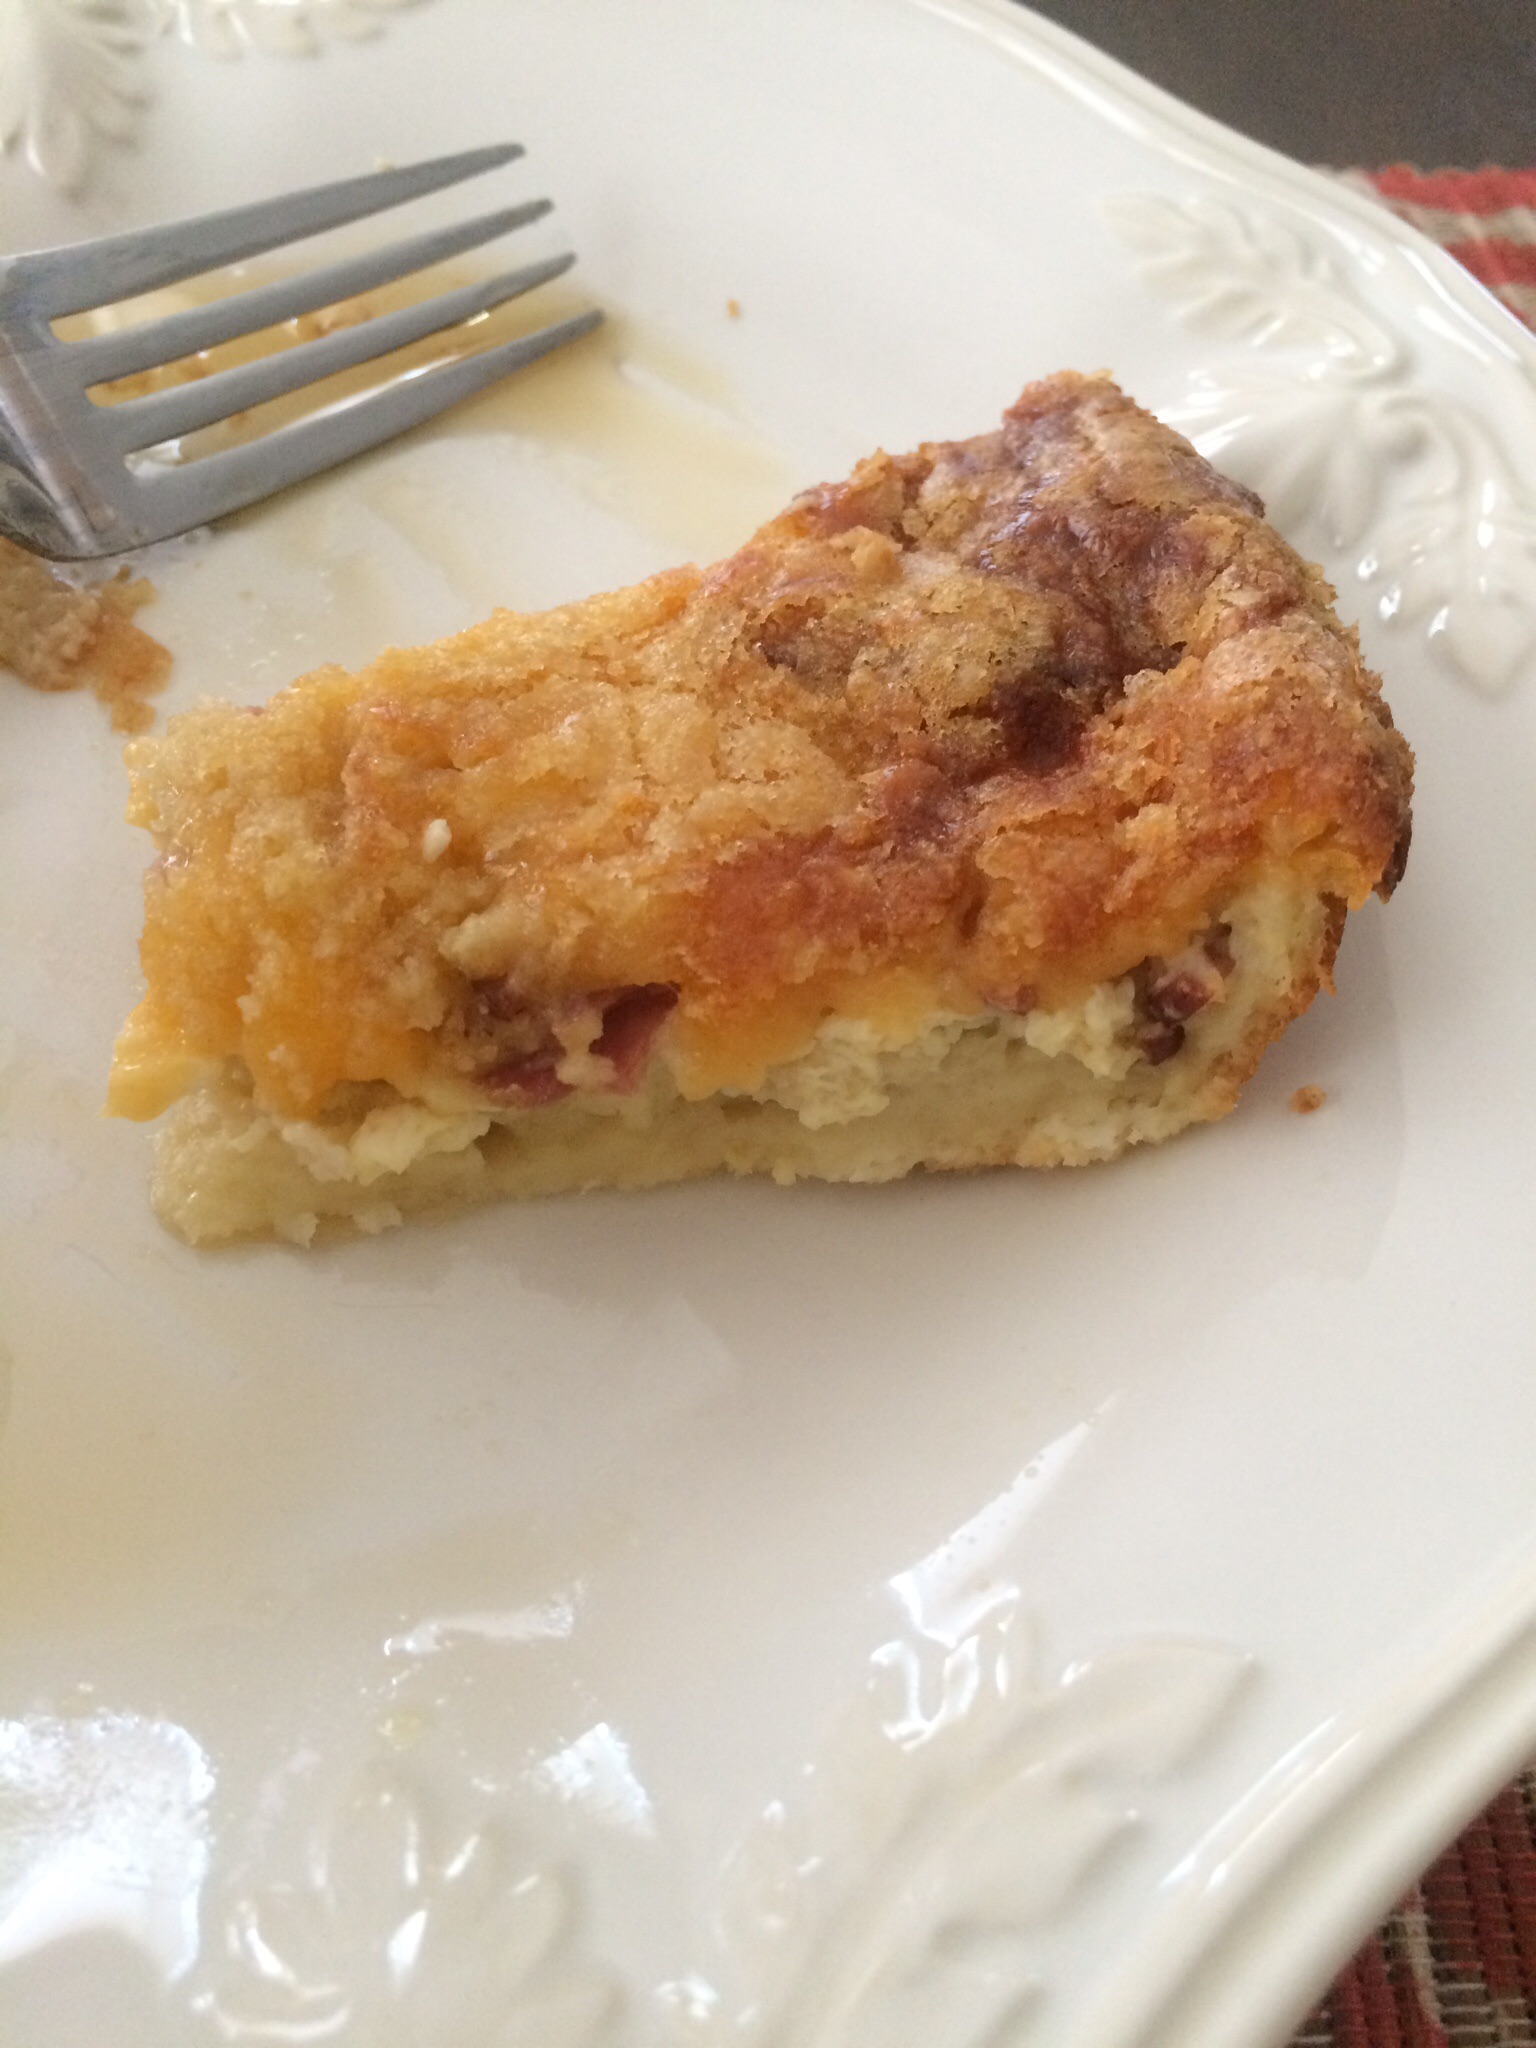
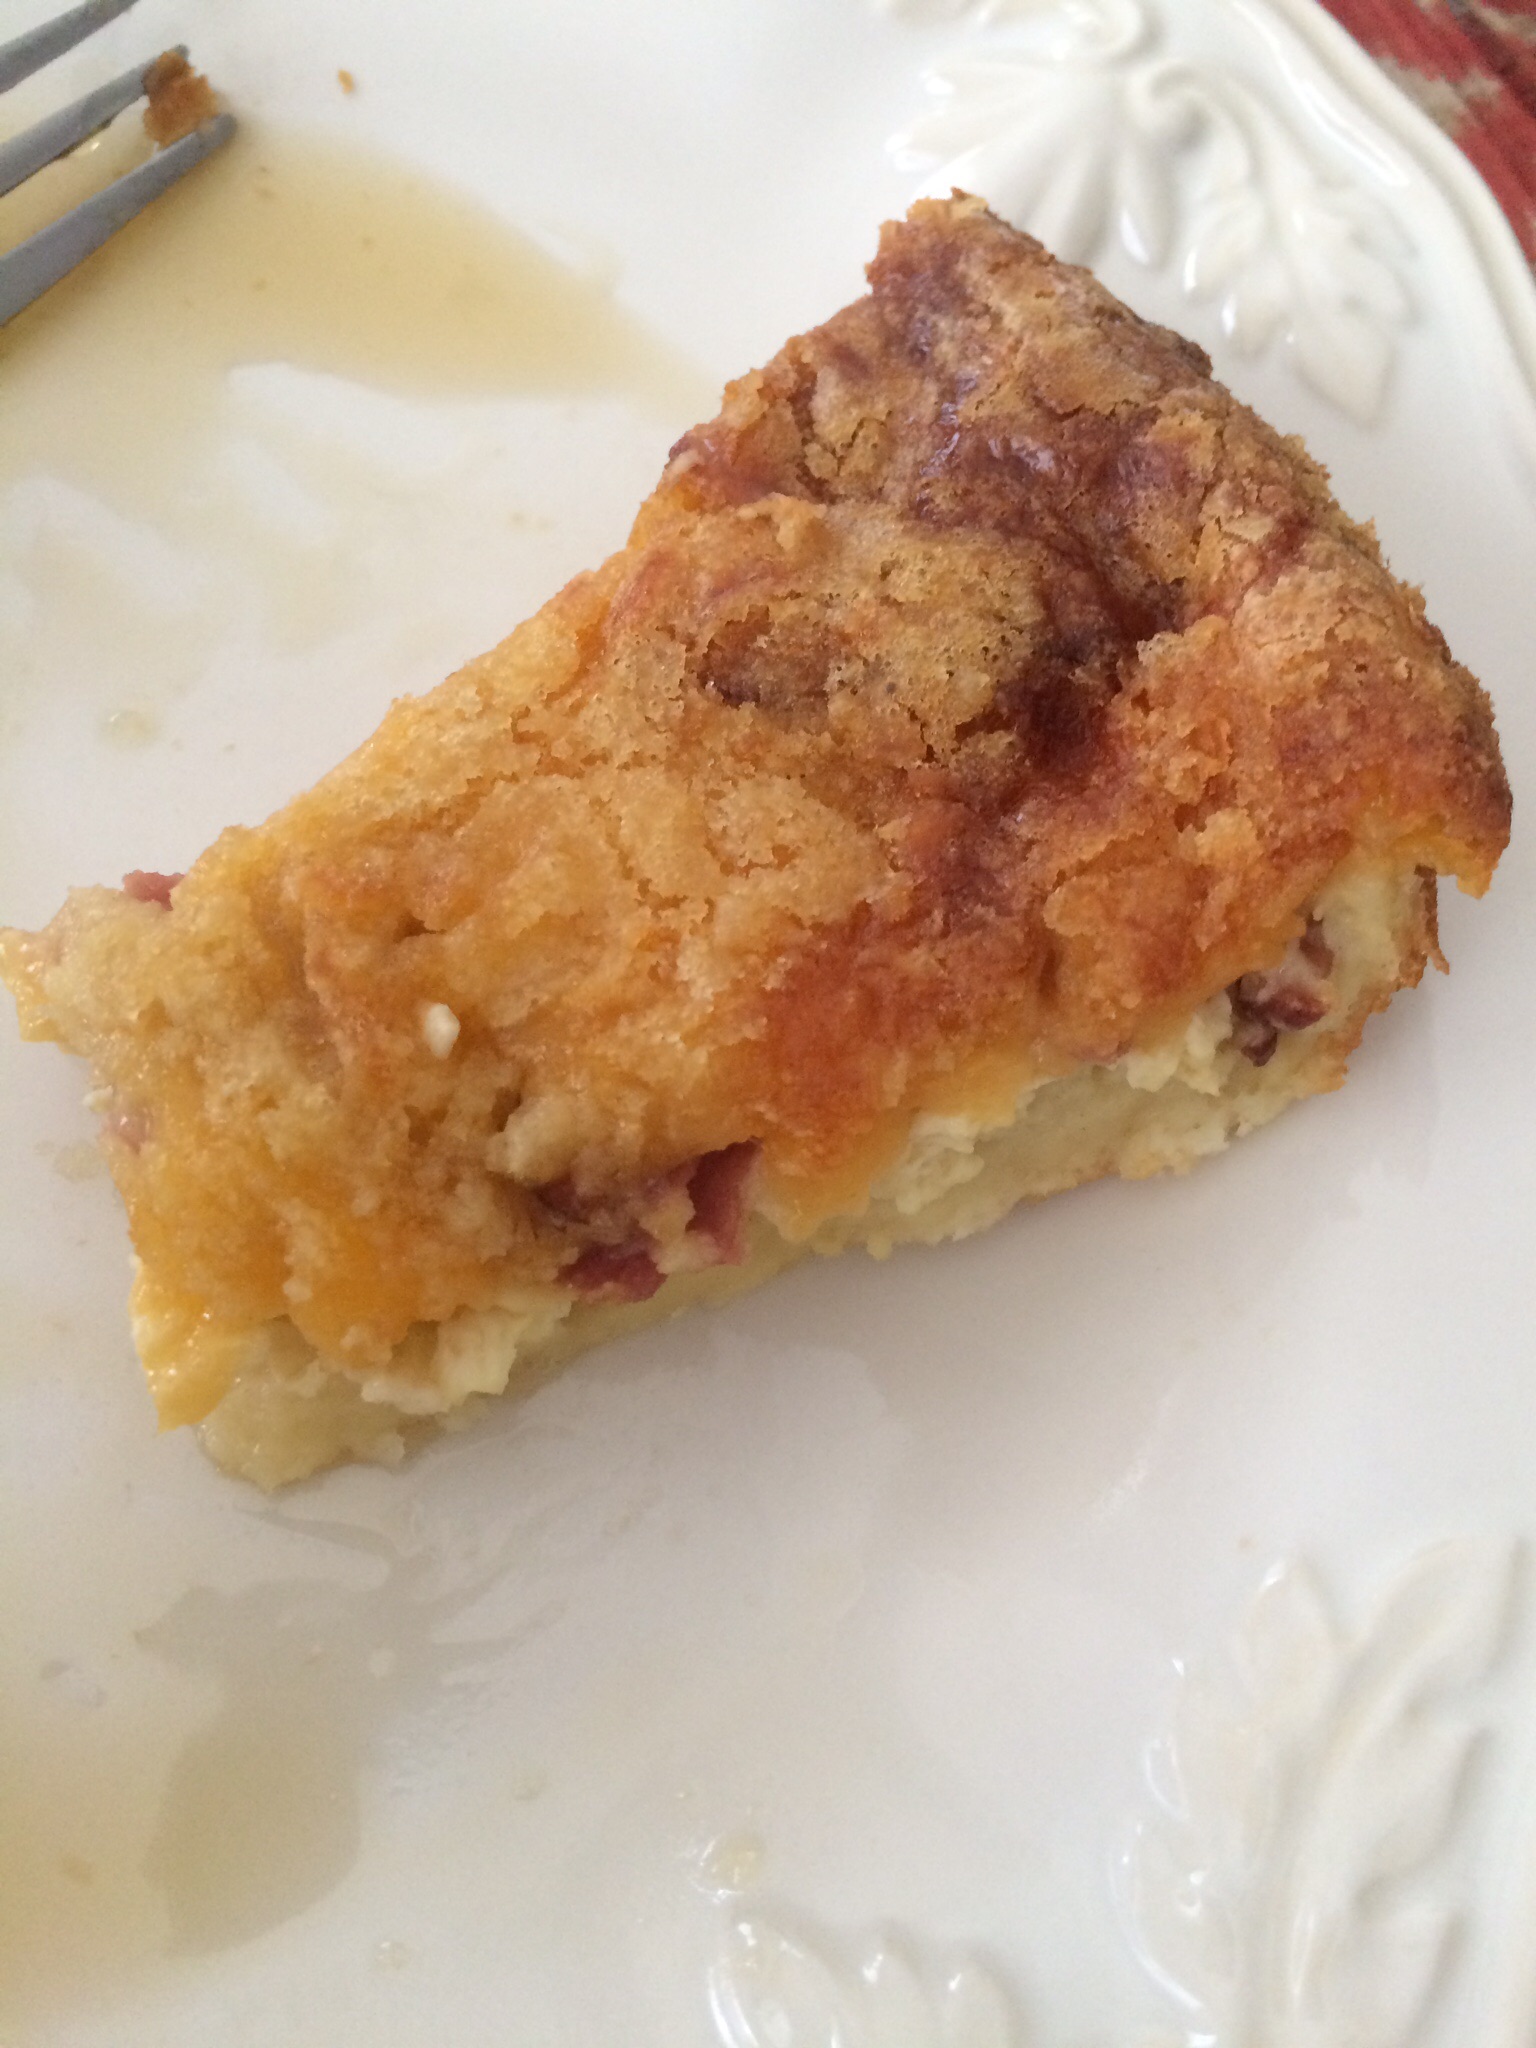
Today’s recipe is for an easy and yummy egg quiche.  I made this yesterday for a Ladies Tea Party that I hosted and it was a hit!  This dish is so simple and uses staple ingredients so its perfect for that spur of the moment breakfast.  Serve it for brunch, lunch or even dinner!  Best of all its easy, simple and quick!  Your guests won’t be disappointed with this.

  • 7 strips of cooked turkey bacon
  • 1 1/2 cups of shredded cheddar cheese
  • 1/2 cups of Bisquick
  • 1 1/2 cups of milk
  • 3 Tablespoons of melted butter
  • 3 eggs

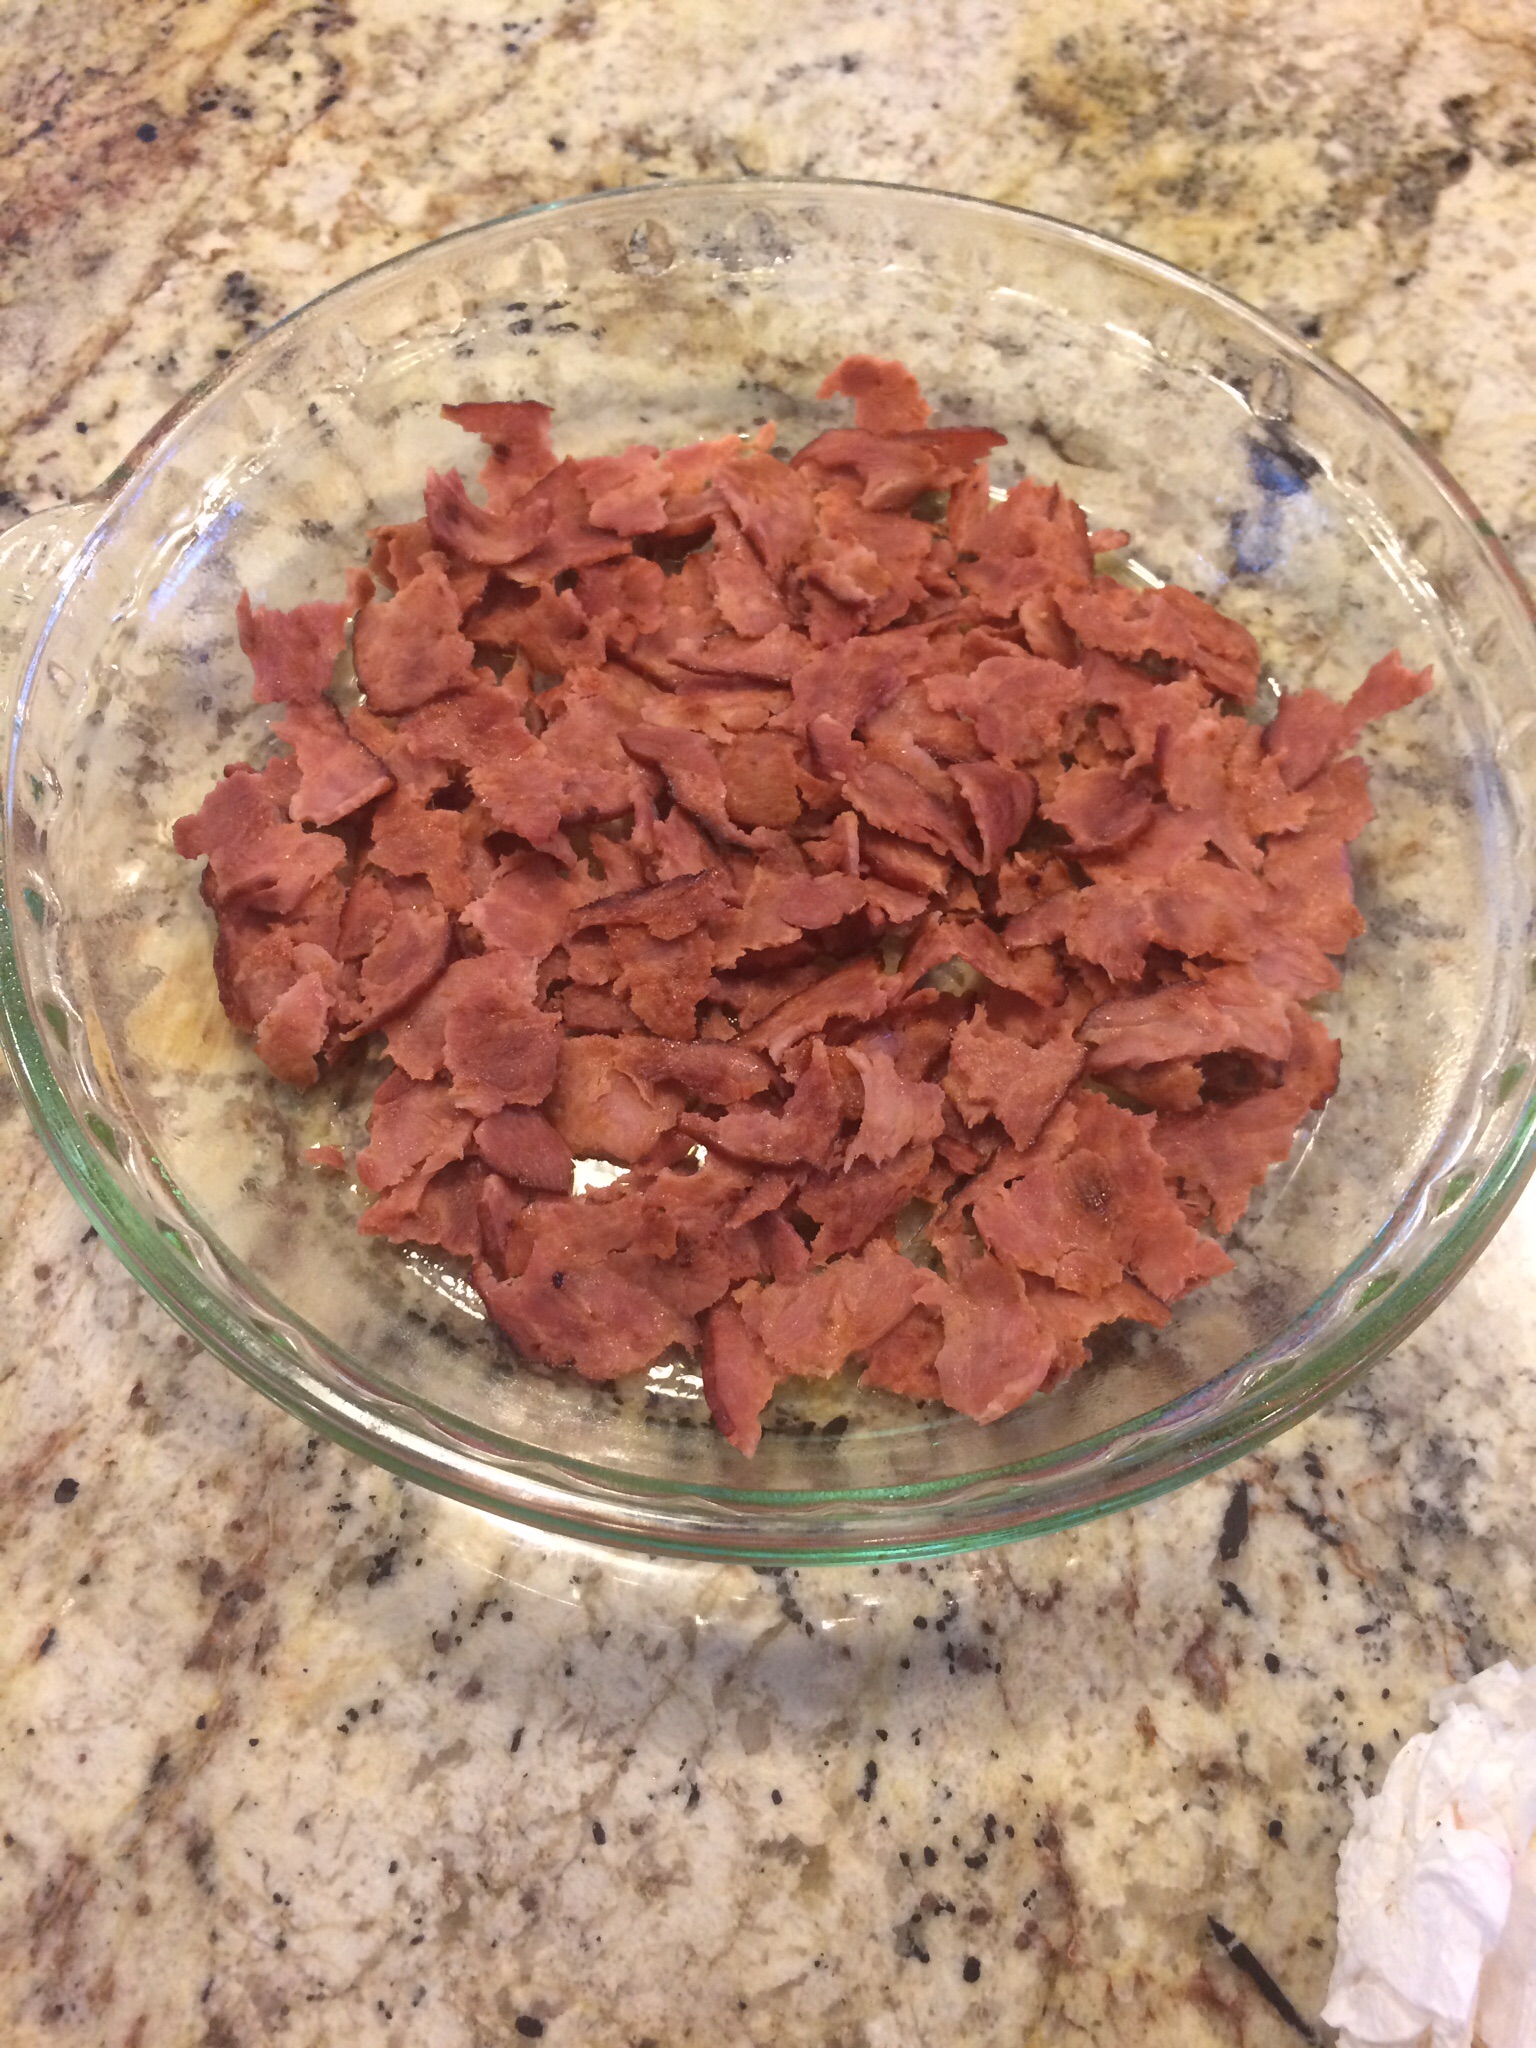
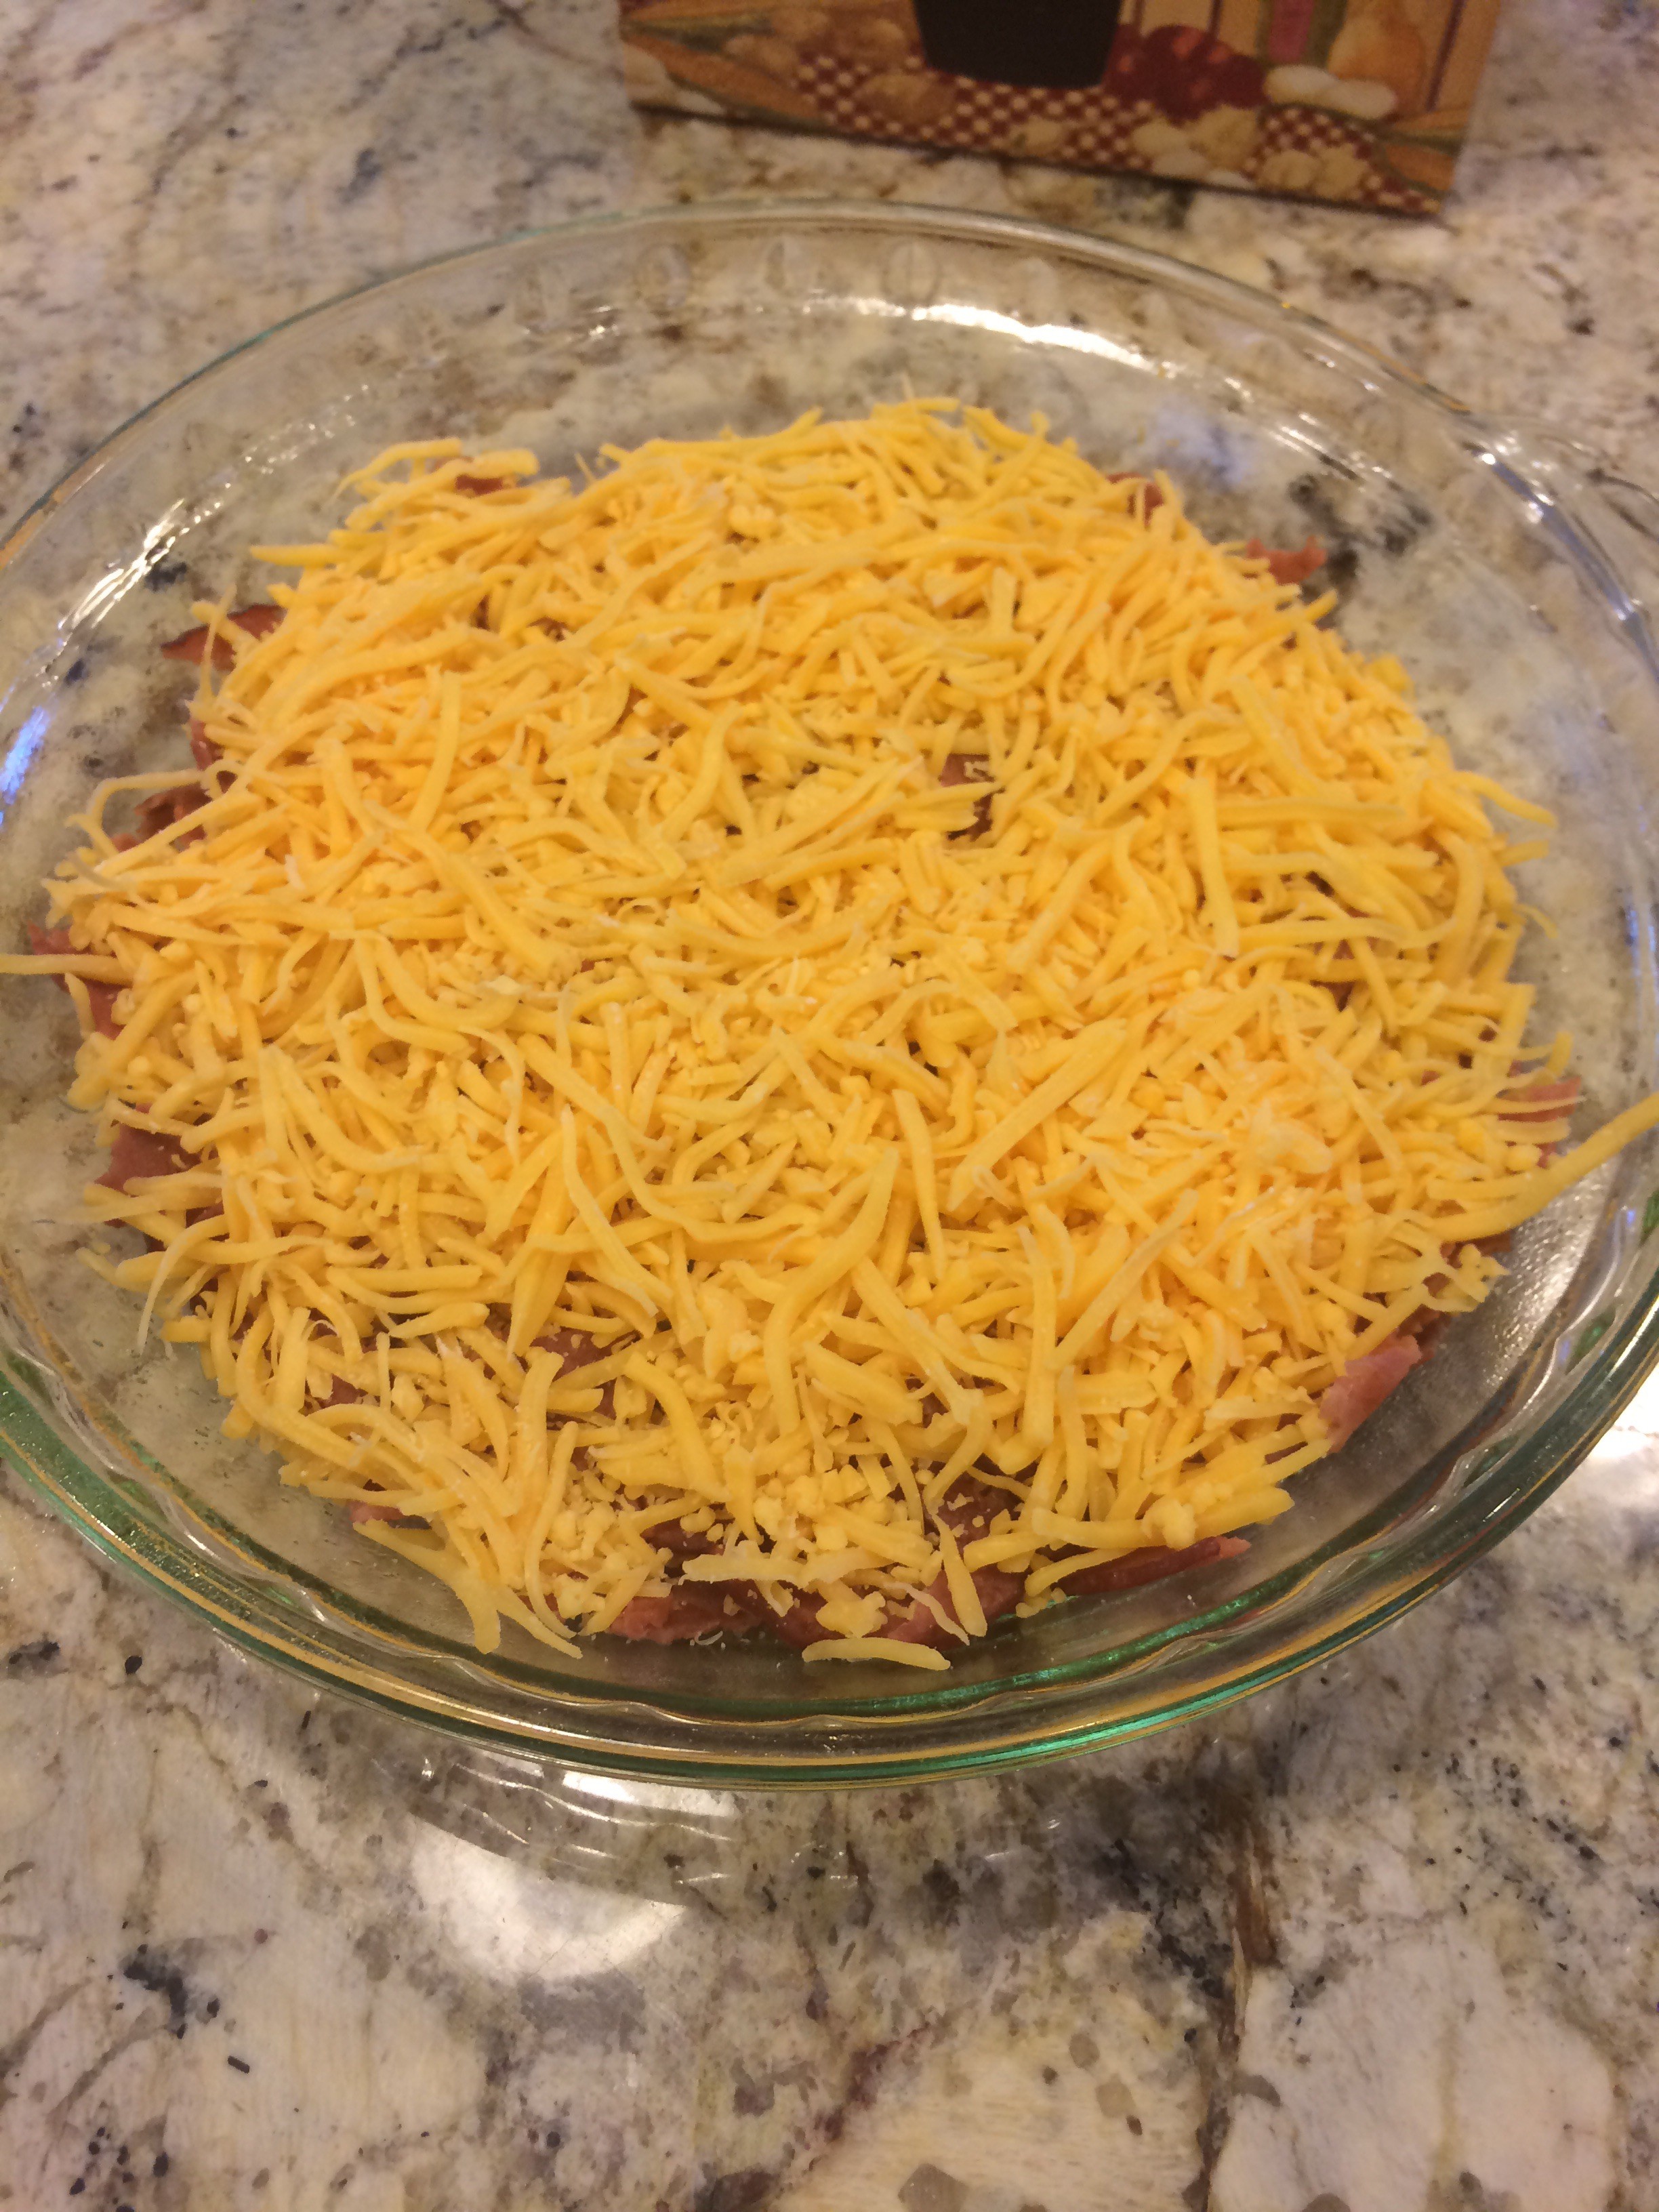
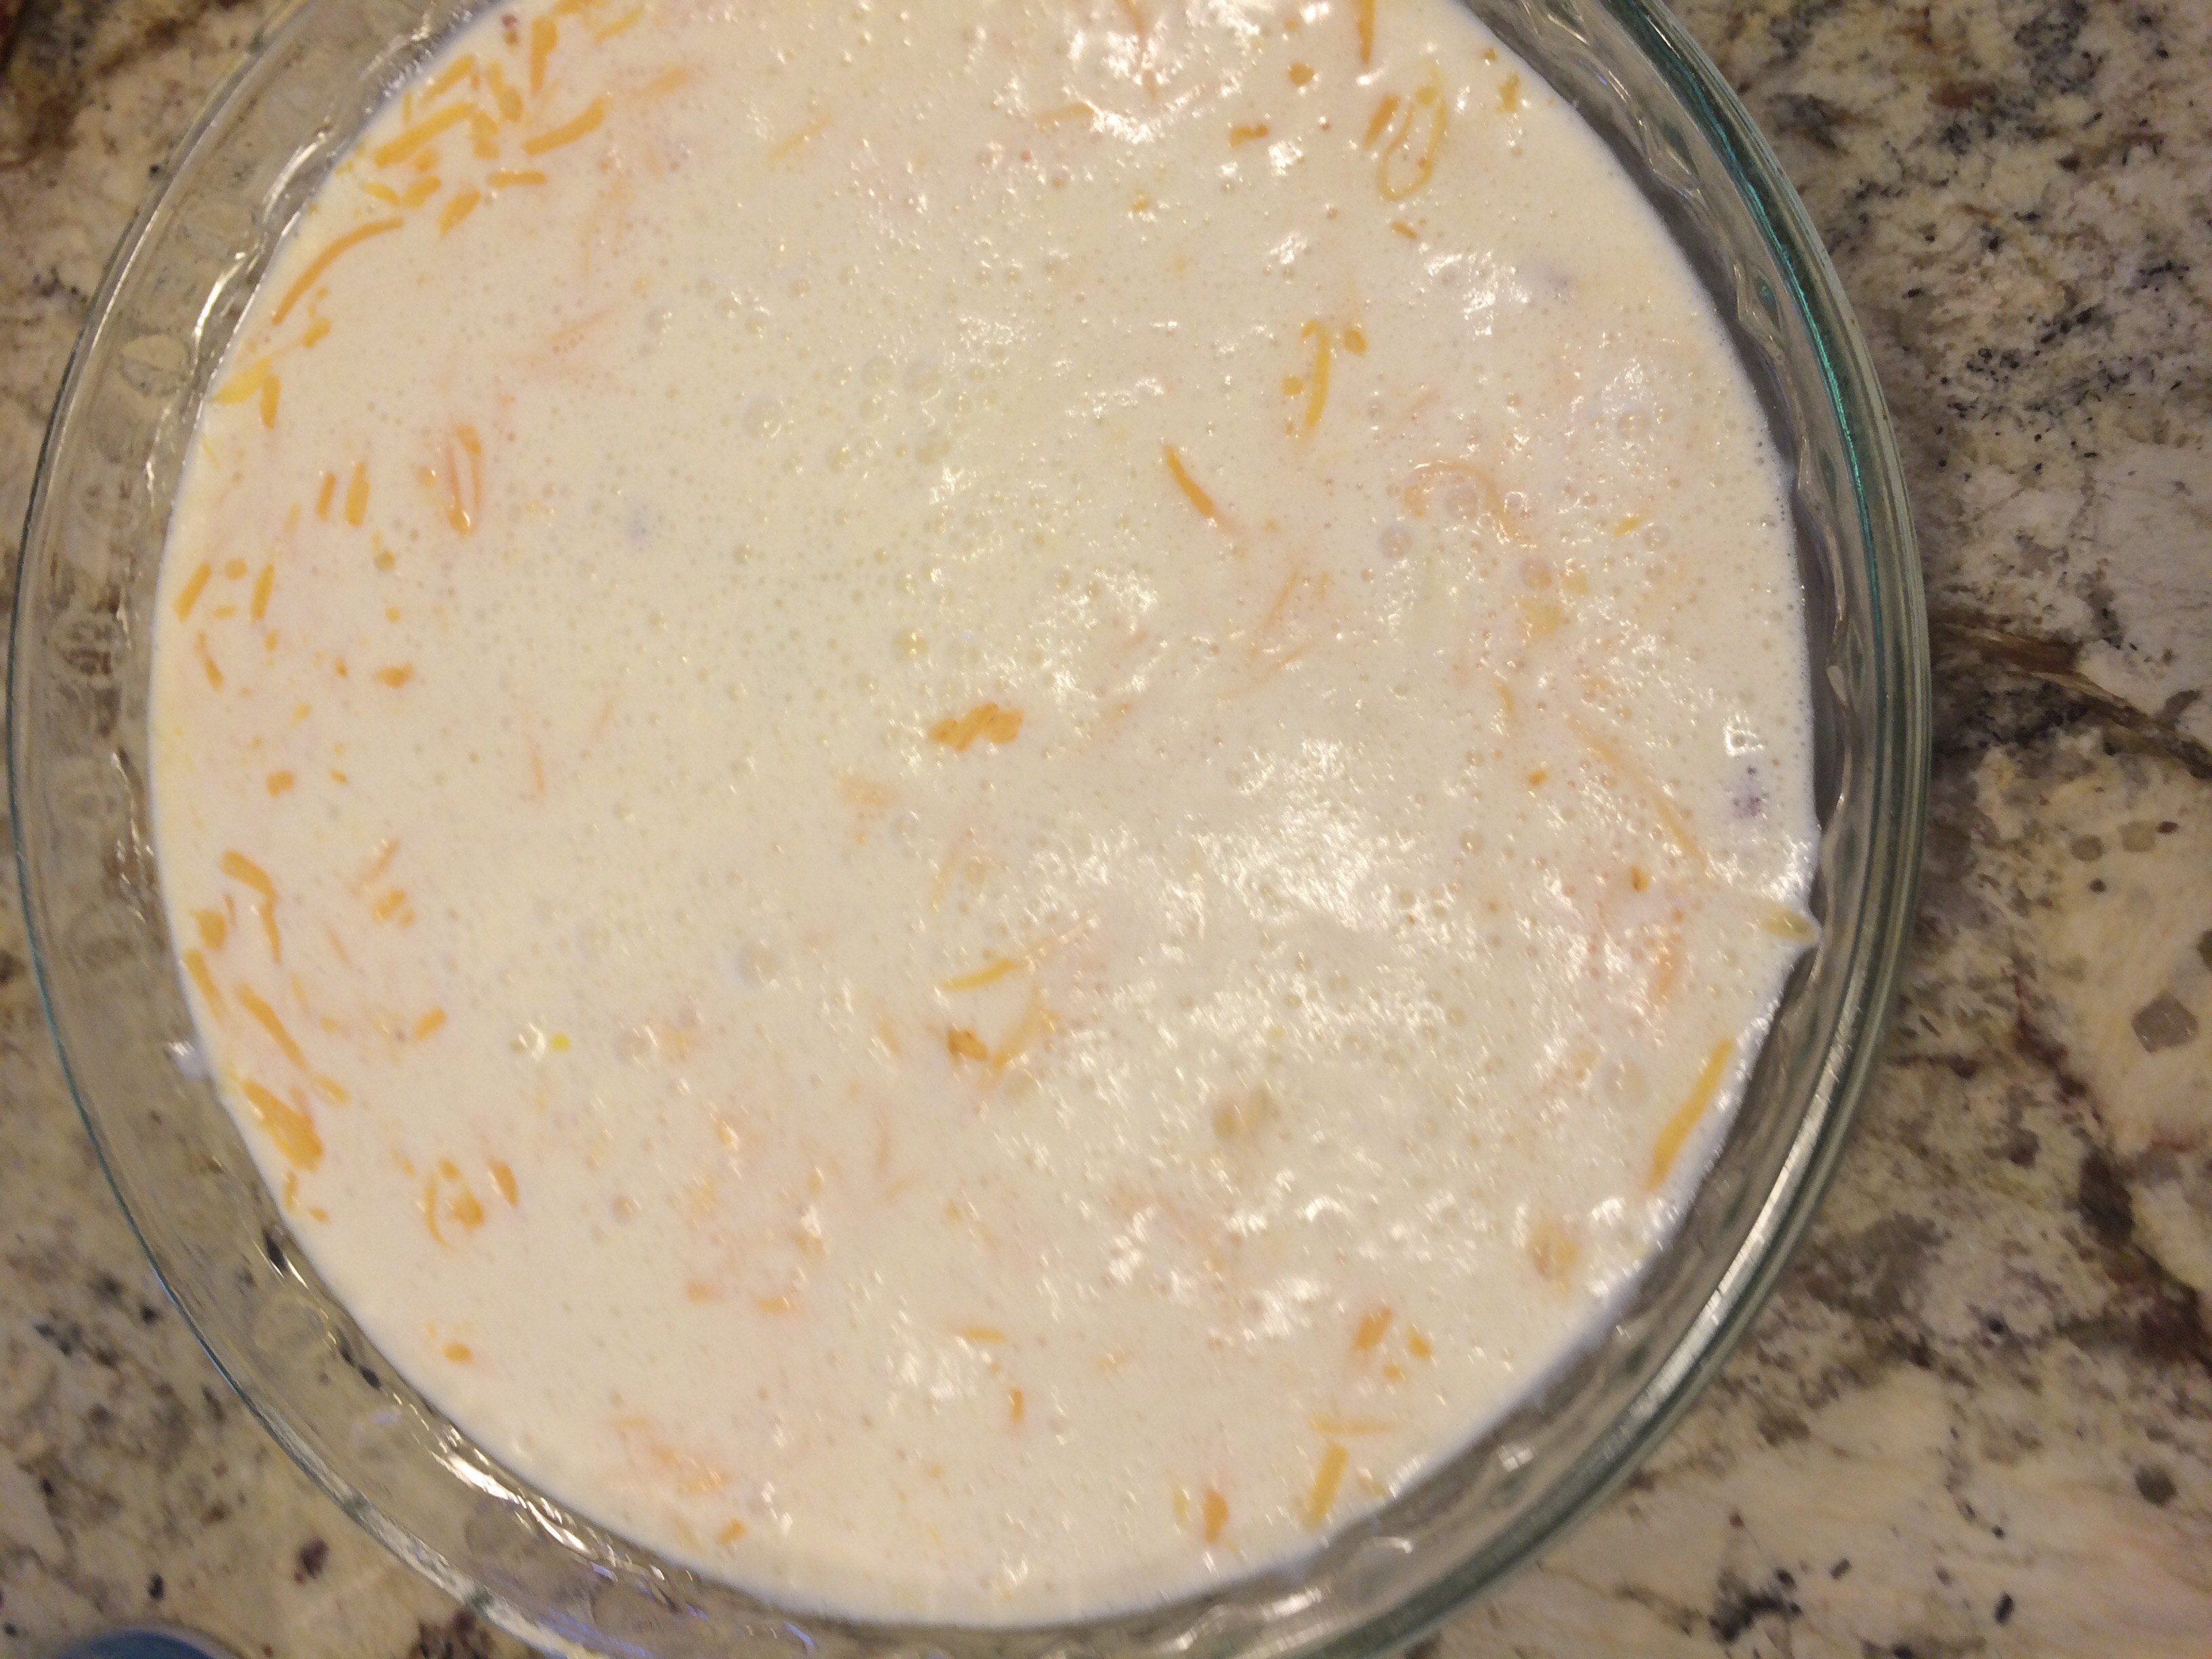
Cook your bacon and then let cool.  Then crumble the bacon into buttered or greased pyrex or pie tin.  Add the shredded cheddar on top of this.  Add the eggs, Bisquick, milk, and butter to a mixing bowl and blend with a hand blender for a minute or two (you can use a regular blender or even a mixer for this).  Pour over the bacon and cheese.  Bake at 325 degrees for 45 minutes or until golden on top.  Let cool for a few minutes before cutting.  Enjoy!

RHC

image


Chia Seed Pudding

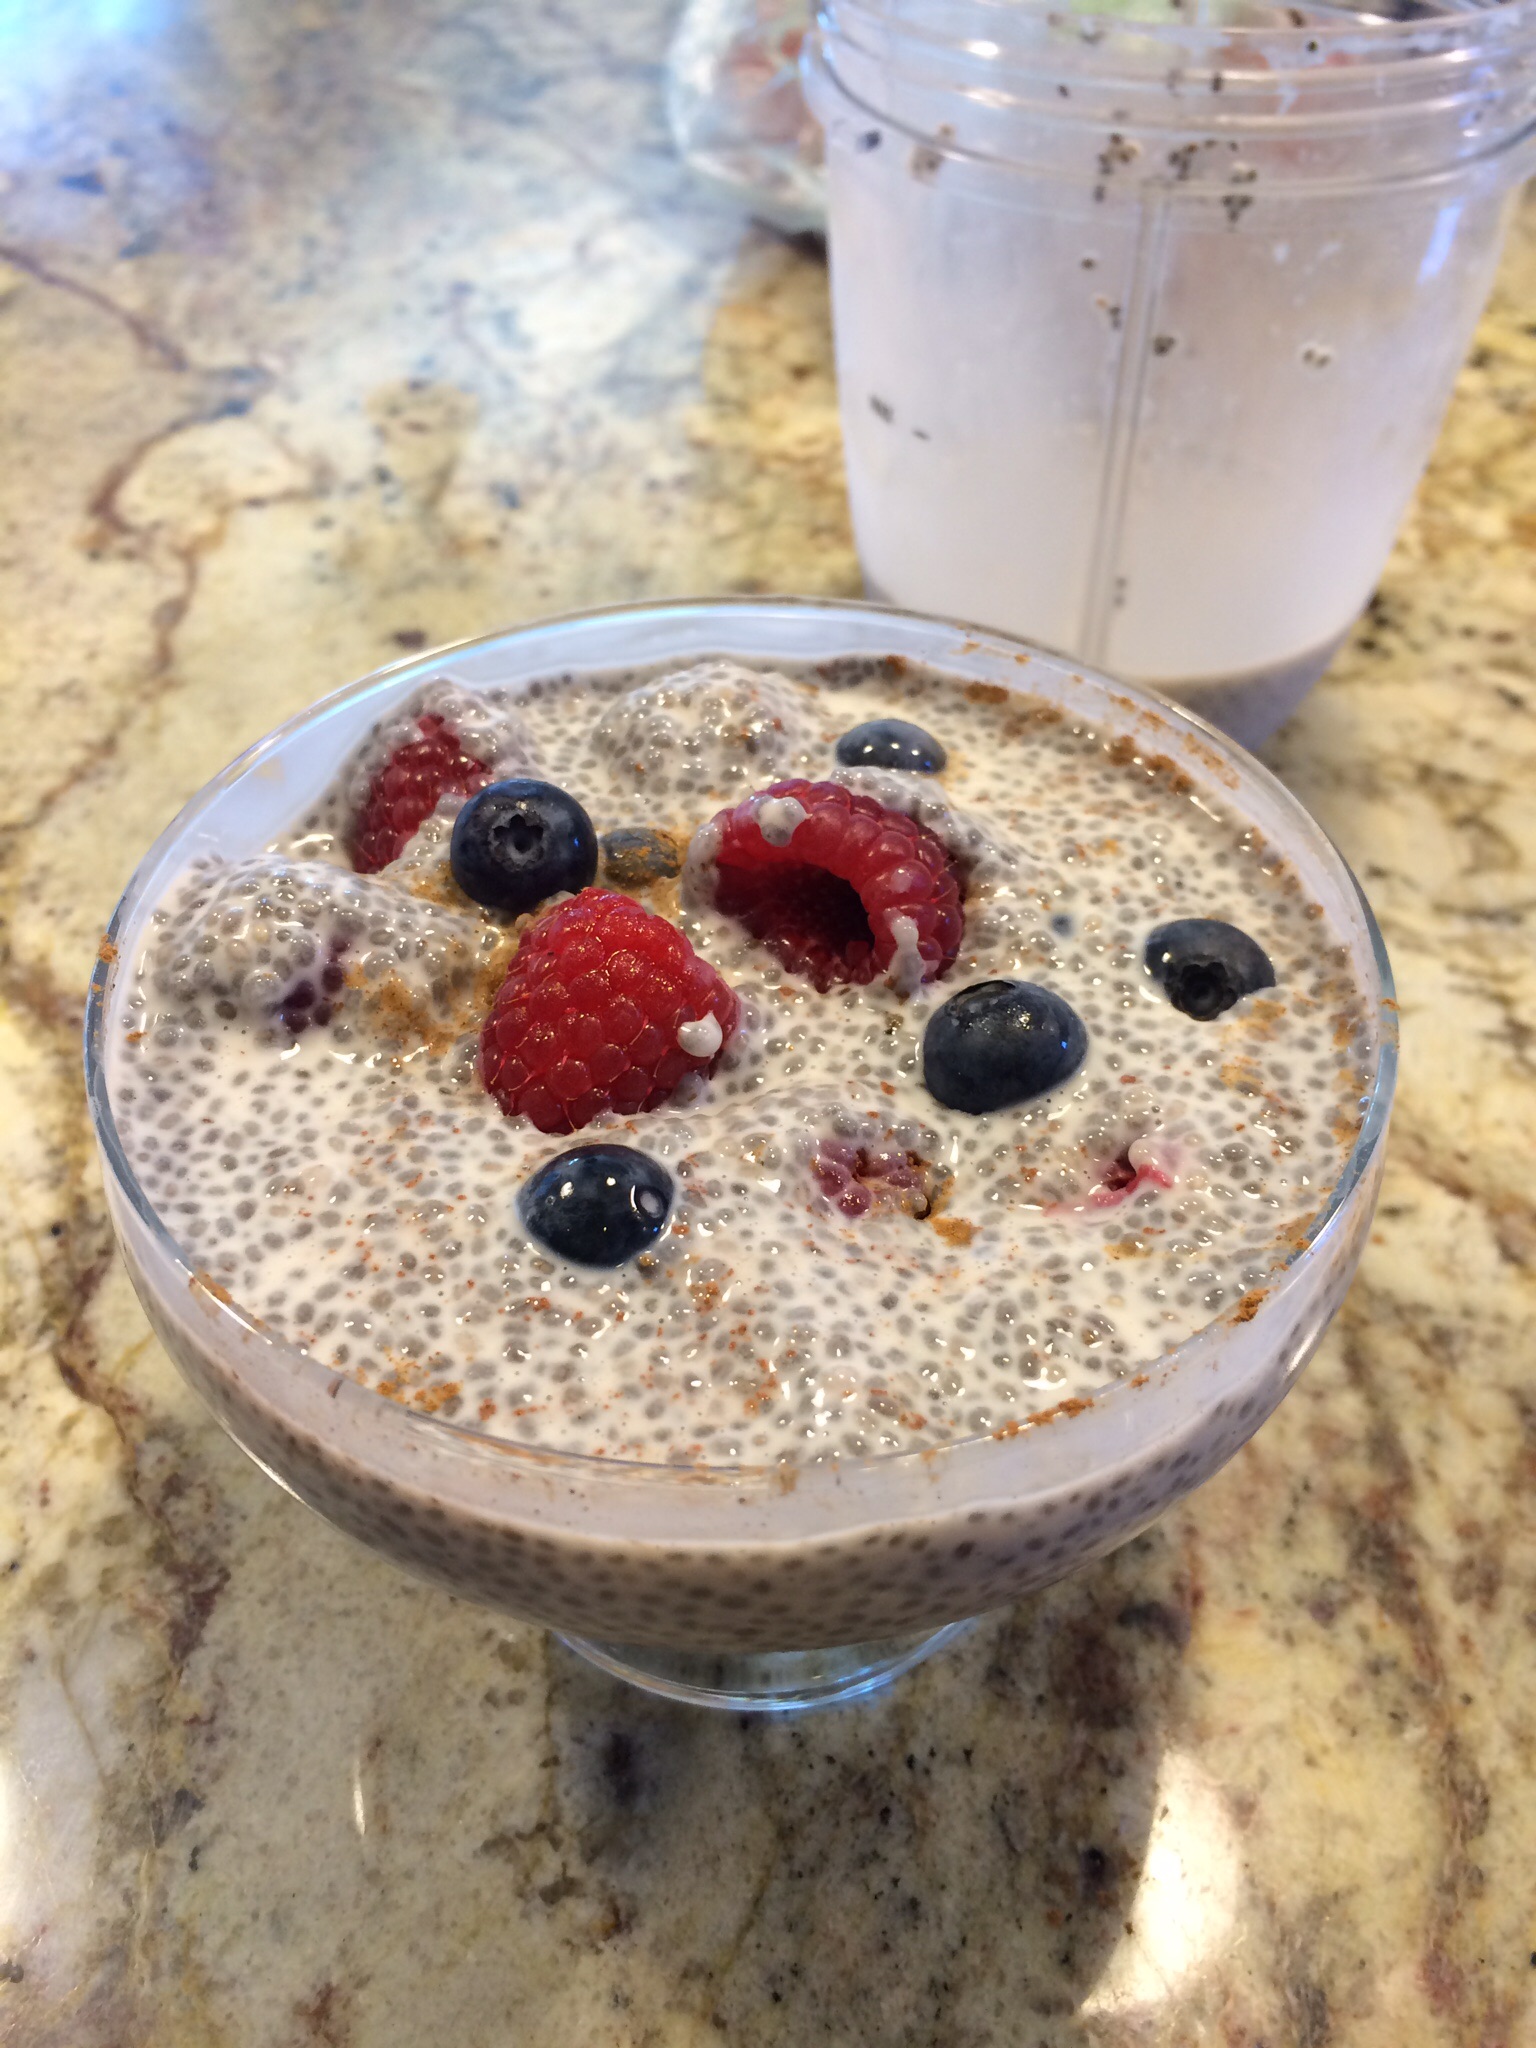
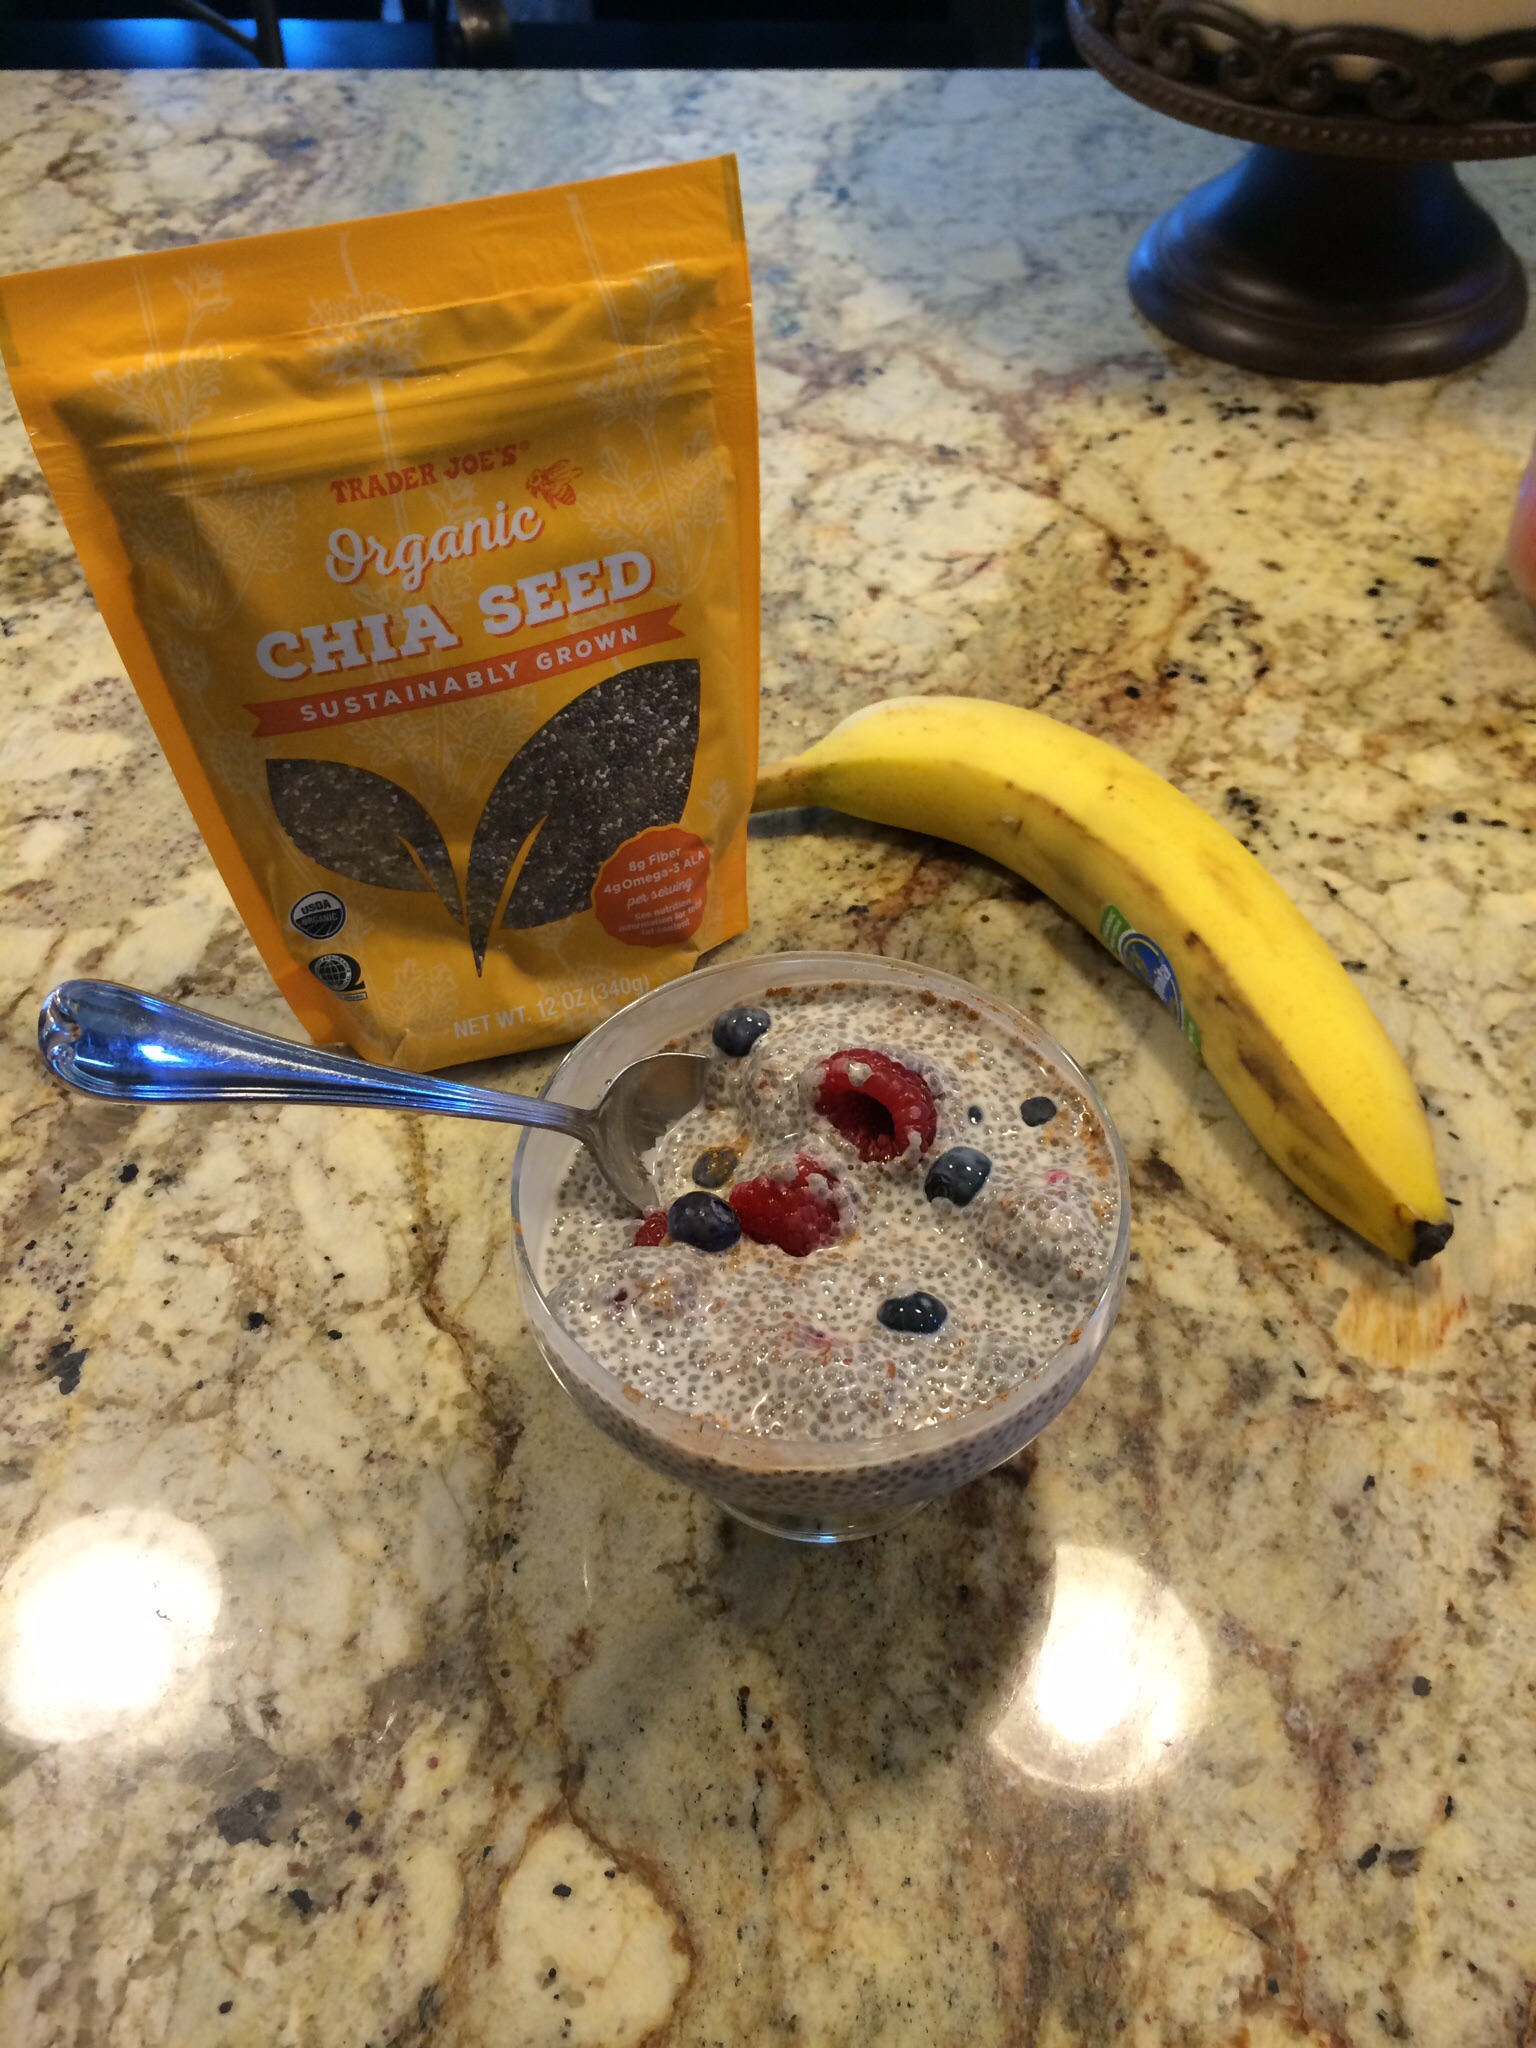
image image image


Good Morning Housewives!

This week’s recipe is for Chia Seed Pudding!  I know, I know I’m a little late on joining the bandwagon on this super food but hey, better late than never.  Chia seed is said to be a metabolism booster!  Who doesn’t love that?  I have actually tried chia seeds before but not in this way.  I’ve added some chia seeds to my smoothies but wasn’t impressed with the added crunch.  I’ve heard you can put them in salads, again, that wasn’t exciting me.  Then I stumbled across some recipes for chia seed pudding.  Now that peaked my interest.  So this week I decided to tamper with that and give it a go.  To my surprise, I REALLY enjoyed it.  It’s a great breakfast especially on mornings when you are on the go because the easy prep is done the night before, leaving only for you to add some fresh fruit if desired and go!

  • 1/4 cup chia seeds
  • 1 cup of coconut milk
  • 1 tablespoon of vanilla extract or honey or maple syrup
  • fresh fruit for topping

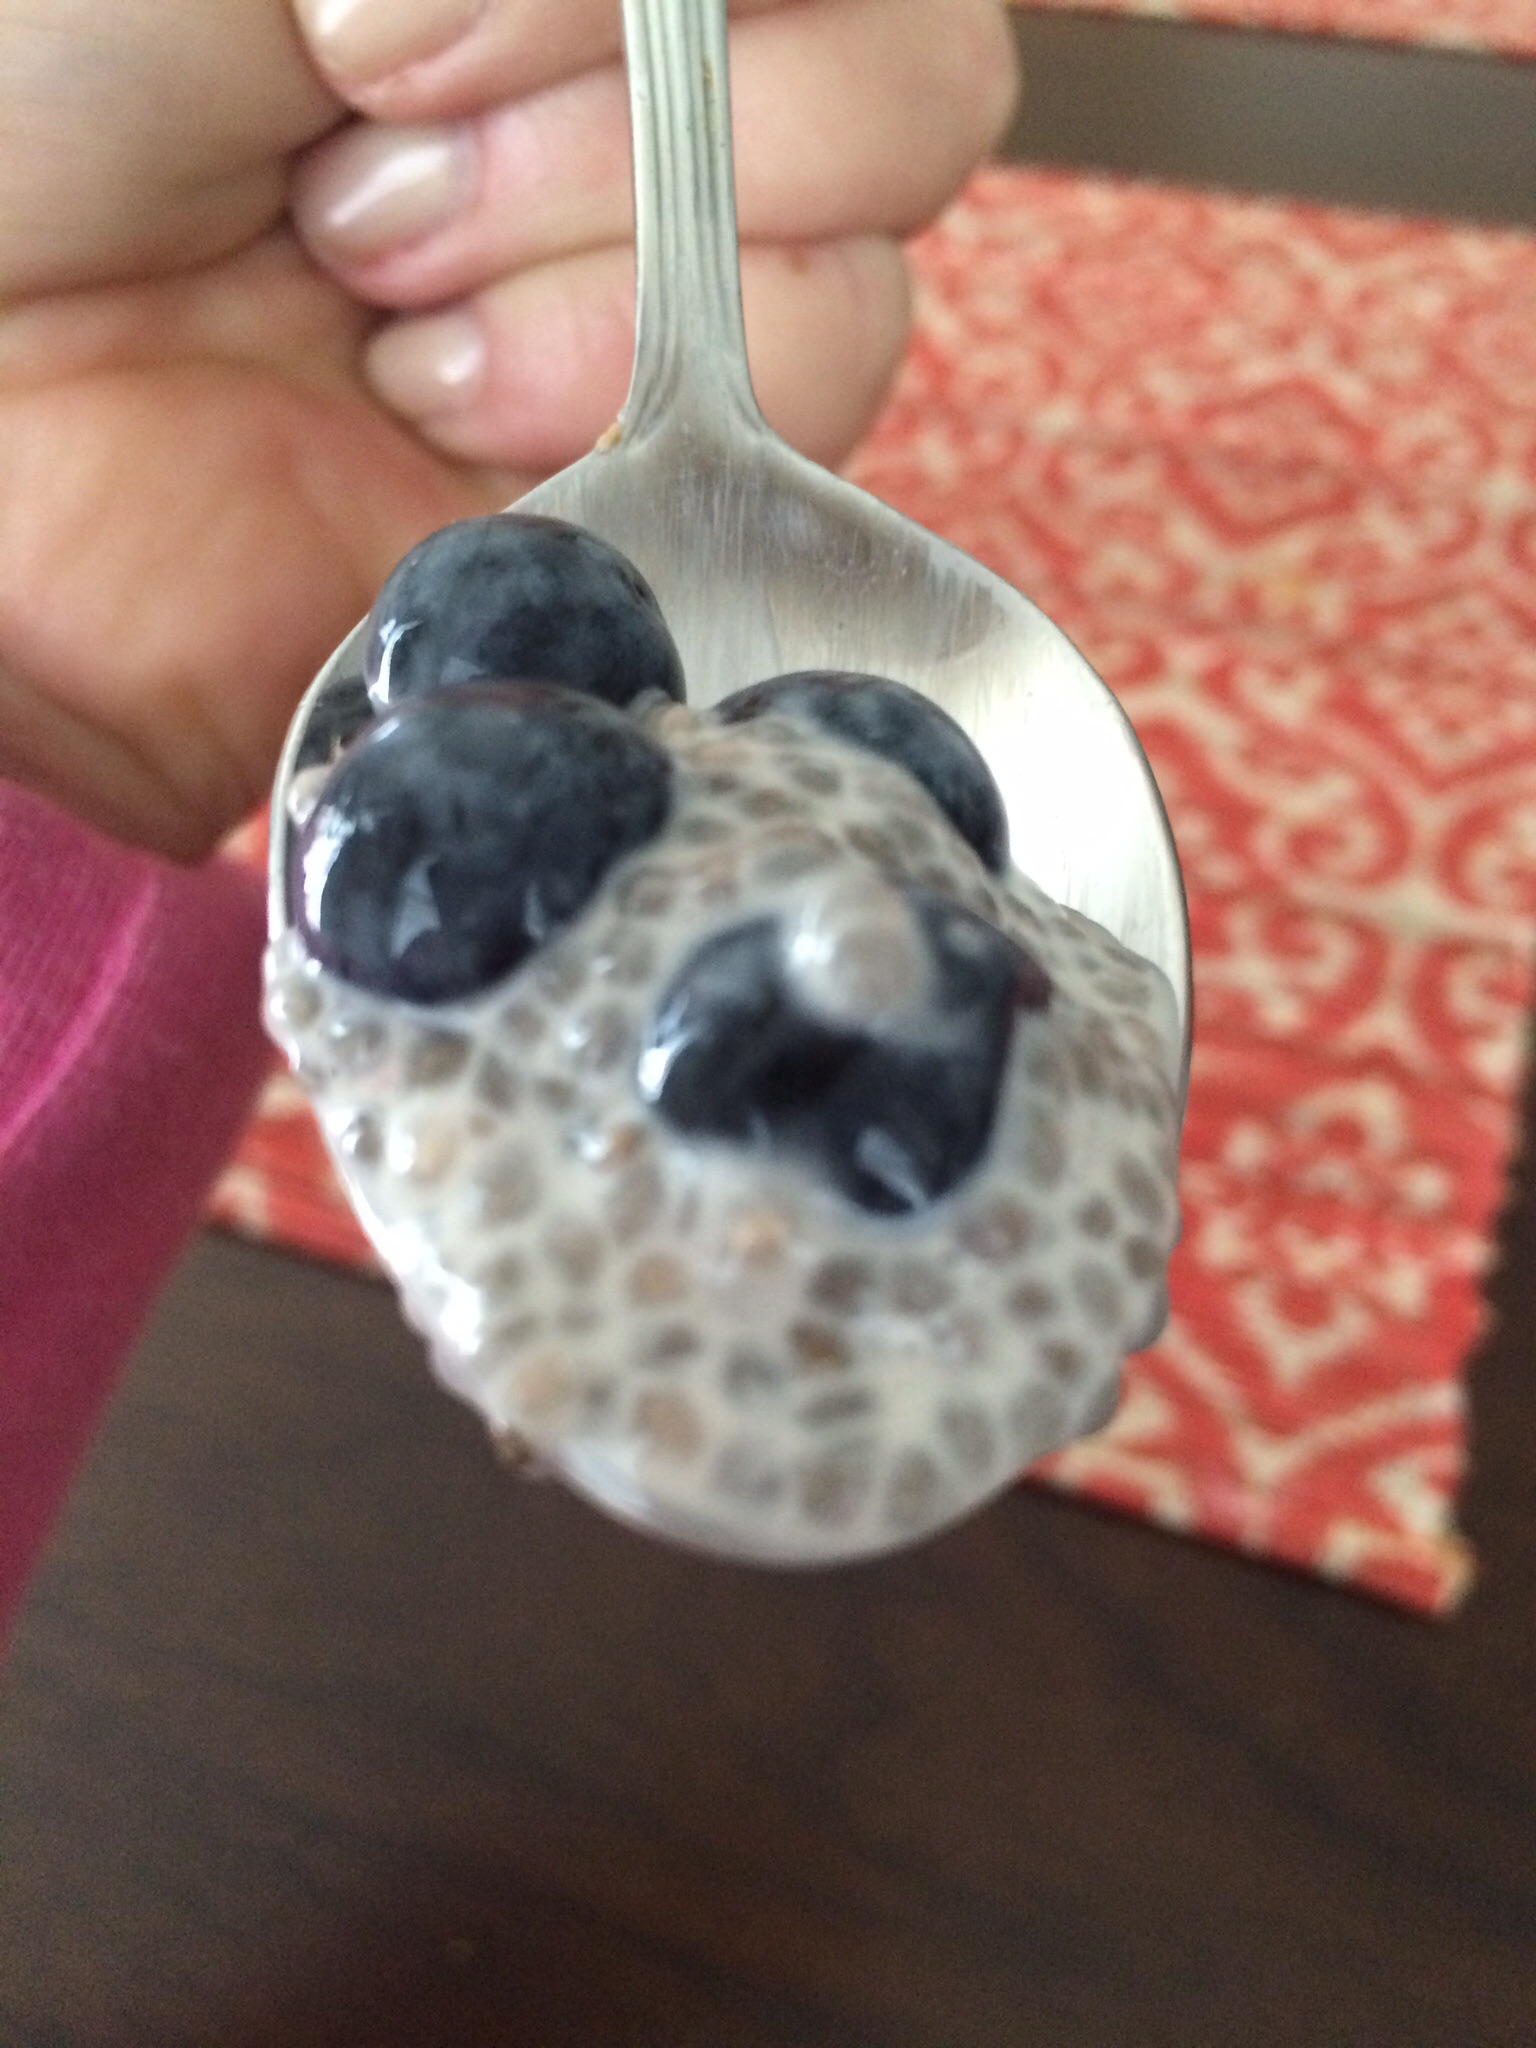
Put the chia seeds, coconut milk and vanilla in a container.  Mix all together and refrigerate overnight.  That is is!  The next morning before you are about to indulge, mix it up, chop some fruit – I like blueberries, raspberries and banana and top it.  Grab a spoon and eat!  If you need a little more added sweetness just add some more honey or syrup.  This is filled with omega -3s and fiber so its a perfect way to start your day.  Like I said I was skeptical at first but it really is a nice treat.  It is sort of like tapioca pudding but much more beneficial for you.

If you have any Chia Seed pudding recipes that you like please send them my way OR if you use them in another way let me know….I am currently looking for ways to incorporate them in other dishes as well.

Thank you!

Enjoy!

RHC

Boardwalk Steak!


imageimage image image

Hi Housewives!

Did you have Steak-Umms as a kid?  I did…maybe not the best thing for you but who knew back then…

How about the steak sandwiches from the Jersey Shore? Ummm….Delish!

Or better yet, if you’ve been to Philly, one of their amazingly famous Steak Sandwiches?  Yea!  It doesn’t get better than that….

Well, I’m here to tell you that you no longer need to trek miles for those sandwiches…you can now make them in the comforts of your own home.  And the best part is you can make them as healthy or as unhealthy as you like! Who knows what is put into those Boardwalk sandwiches and how much fat you are consuming unnecessarily….LOL!  When you make your own you are in control and know exactly what you put into your meal and you don’t sacrifice taste.  When I ate this it was just as good and maybe even better, definitely less greasy! :)

Another plus is that this is Super Quick to cook!  No need to slave over the oven….it’s perfect for when you are busy and need a fast meal.

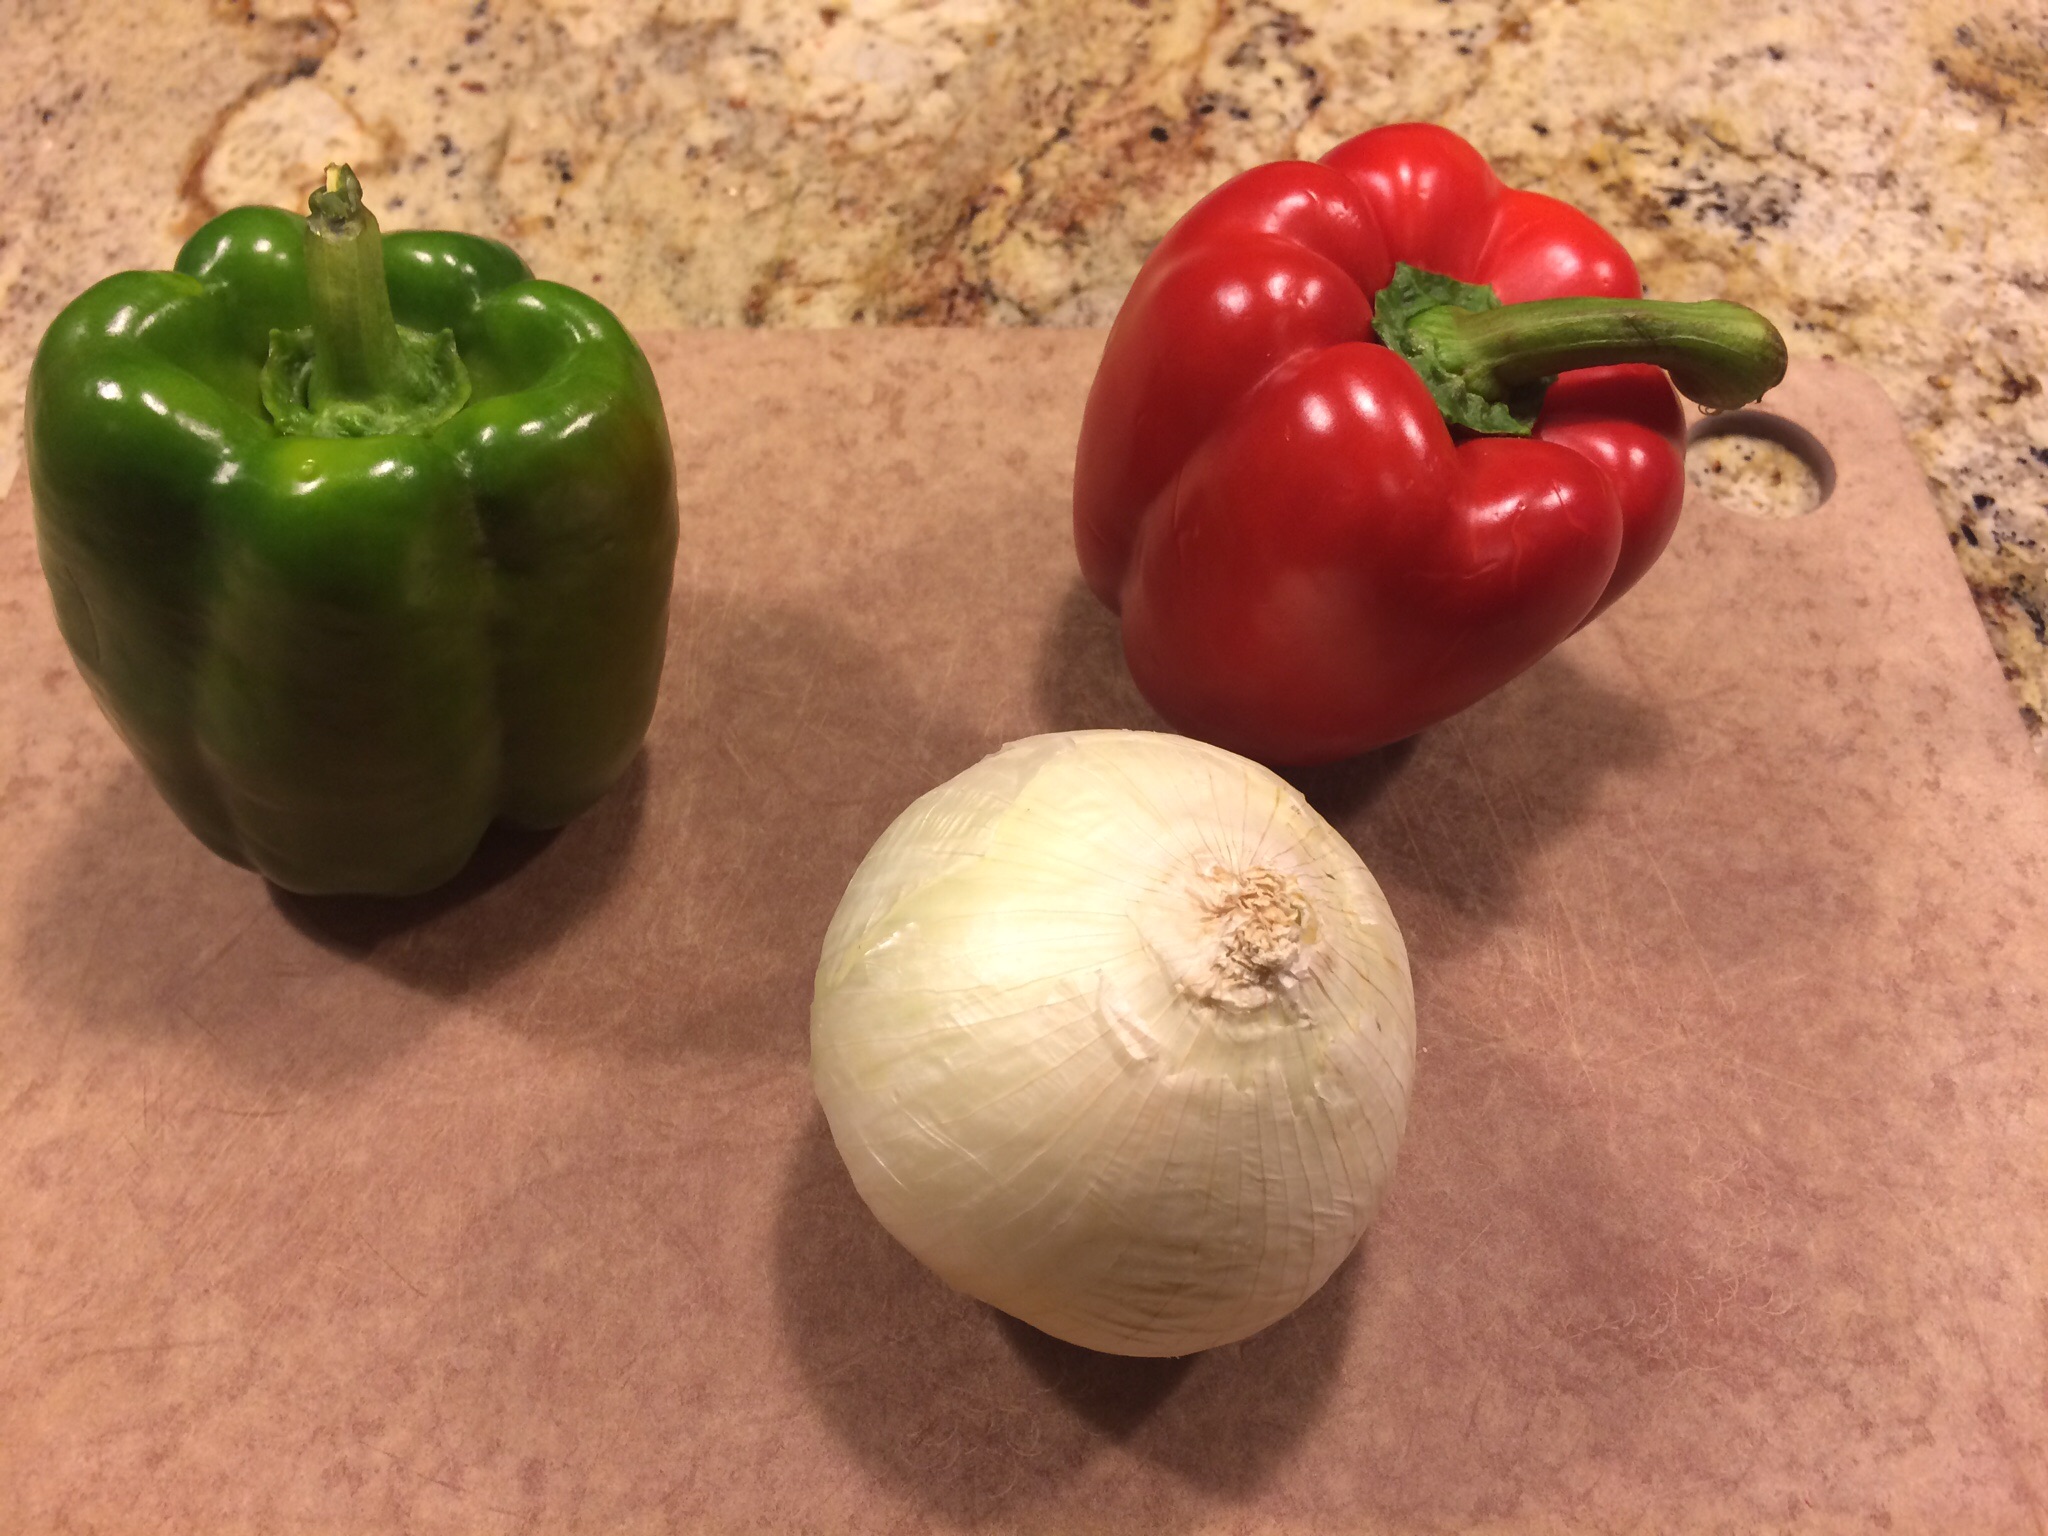
One day, in the supermarket I stumbled across this shredded steak in the meat section.  It was very thinly sliced steak.  I was skeptical at first but it looked good so I decided to give it a whirl.  Memories of Seaside Boardwalk steak sandwiches danced in my head at that moment so I bought an onion, two peppers and some cheese and decided to try to make my own steak sandwich.

  • 1 package of the steak (I’ve found this at Shop-Rite and Trader Joe’s)
  • 1 onion chopped
  • 2 peppers (I usually get 2 different color peppers just to give it more color)
  • olive oil
  • cheese (American, mozzarella whatever you like) optional
  • Italian Bread (optional)

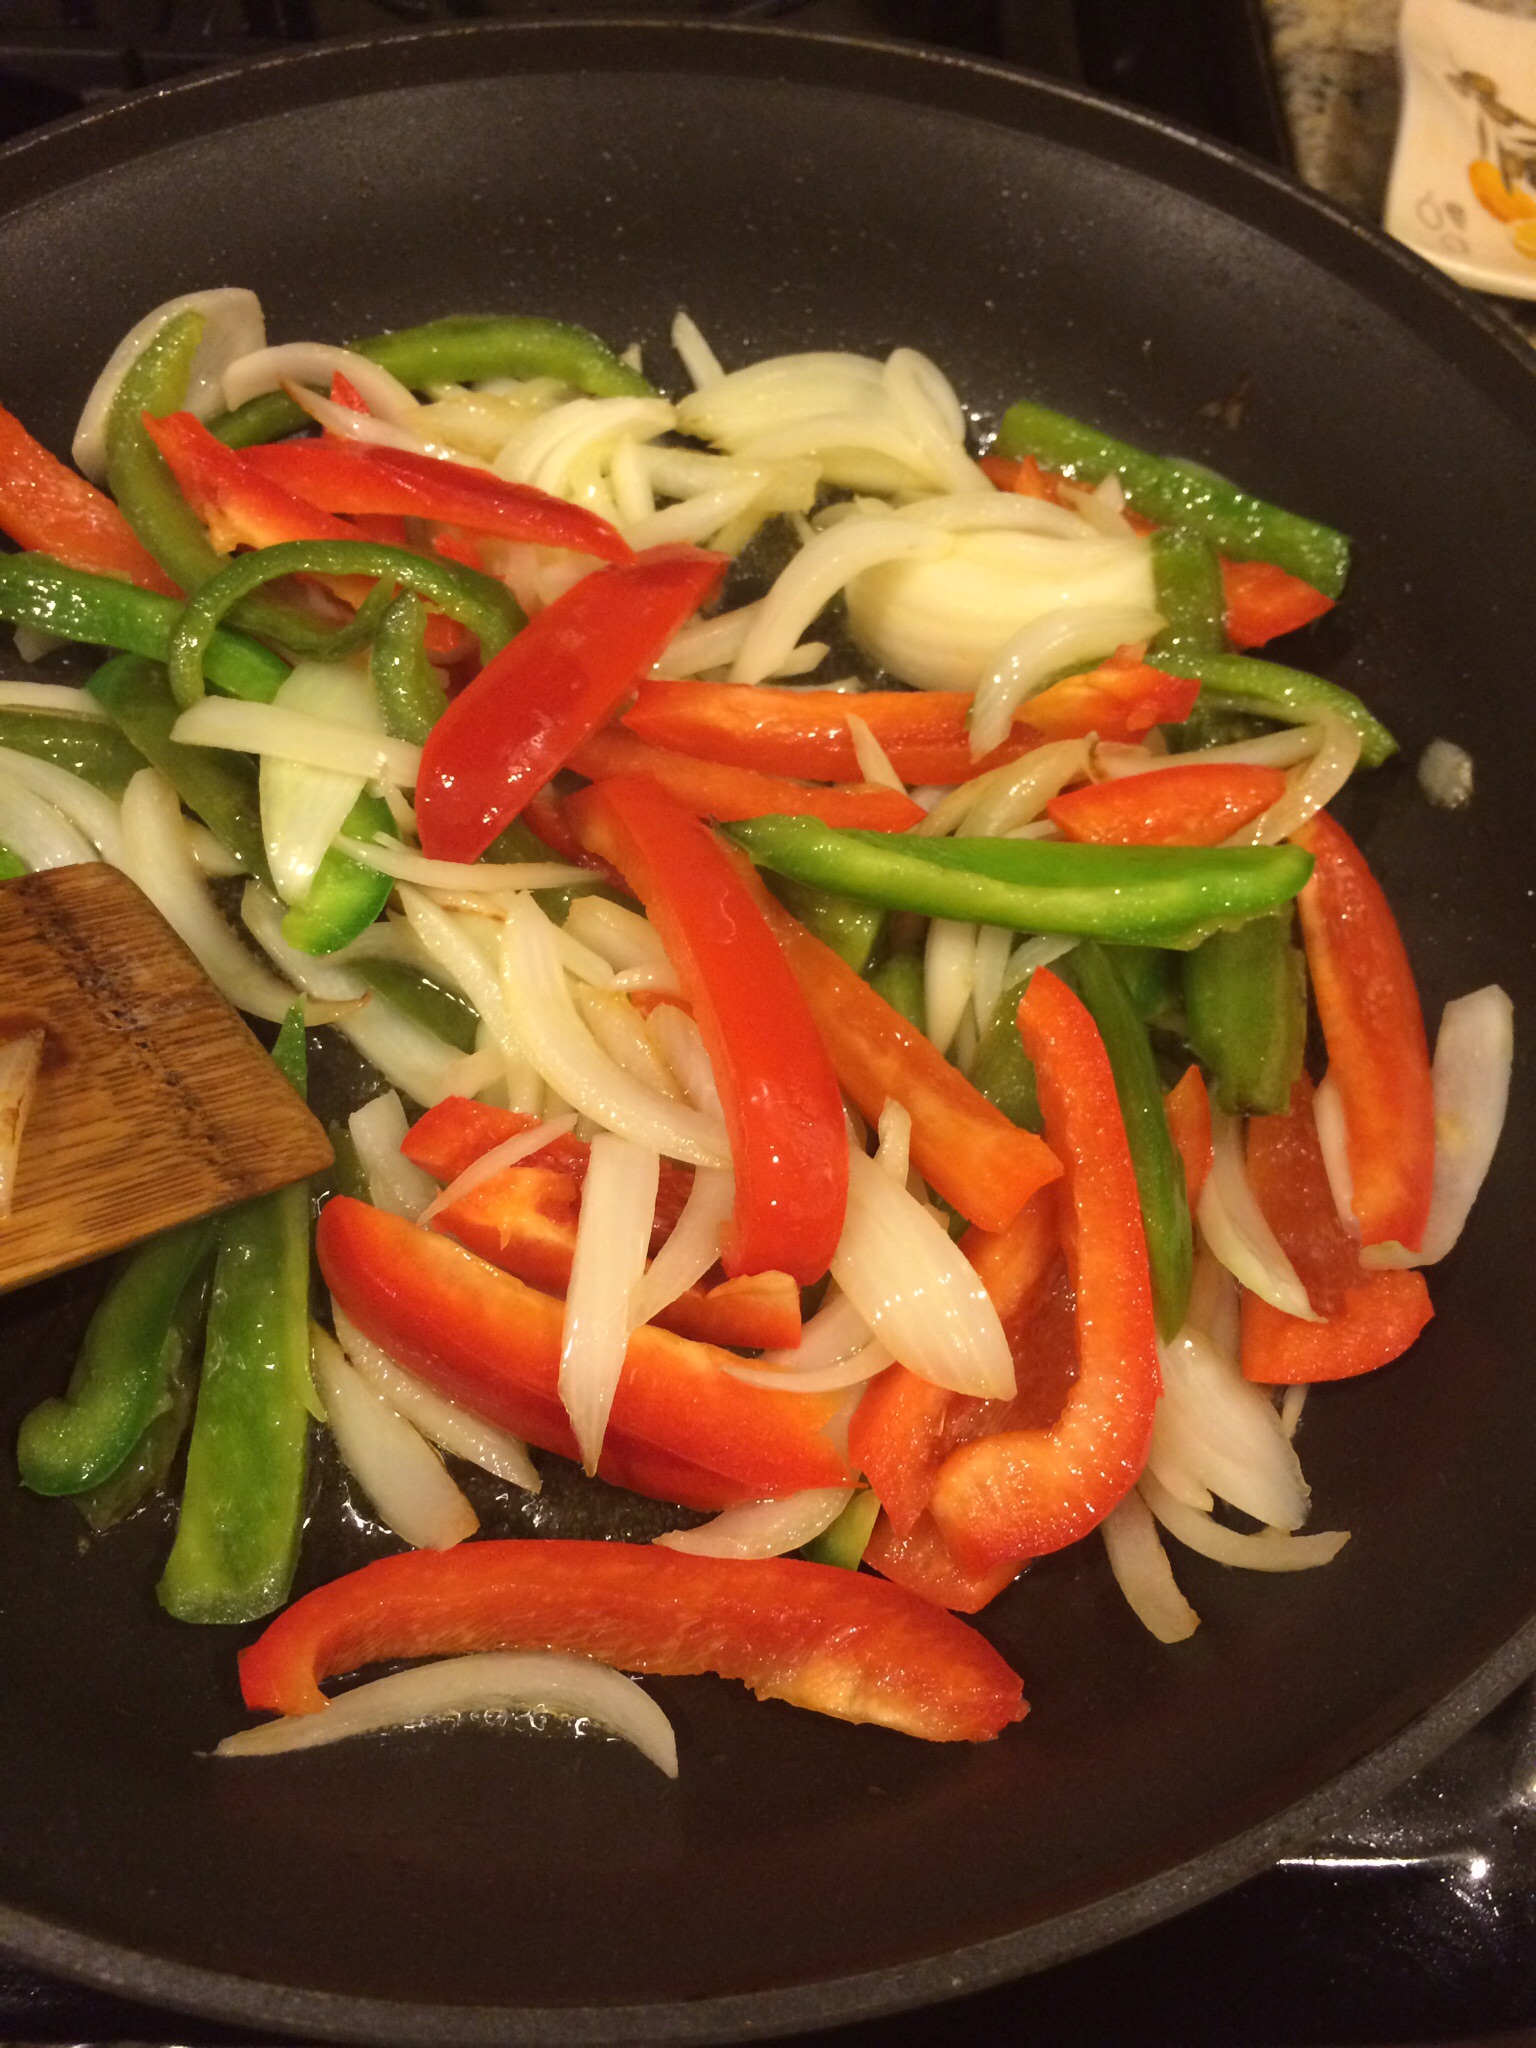
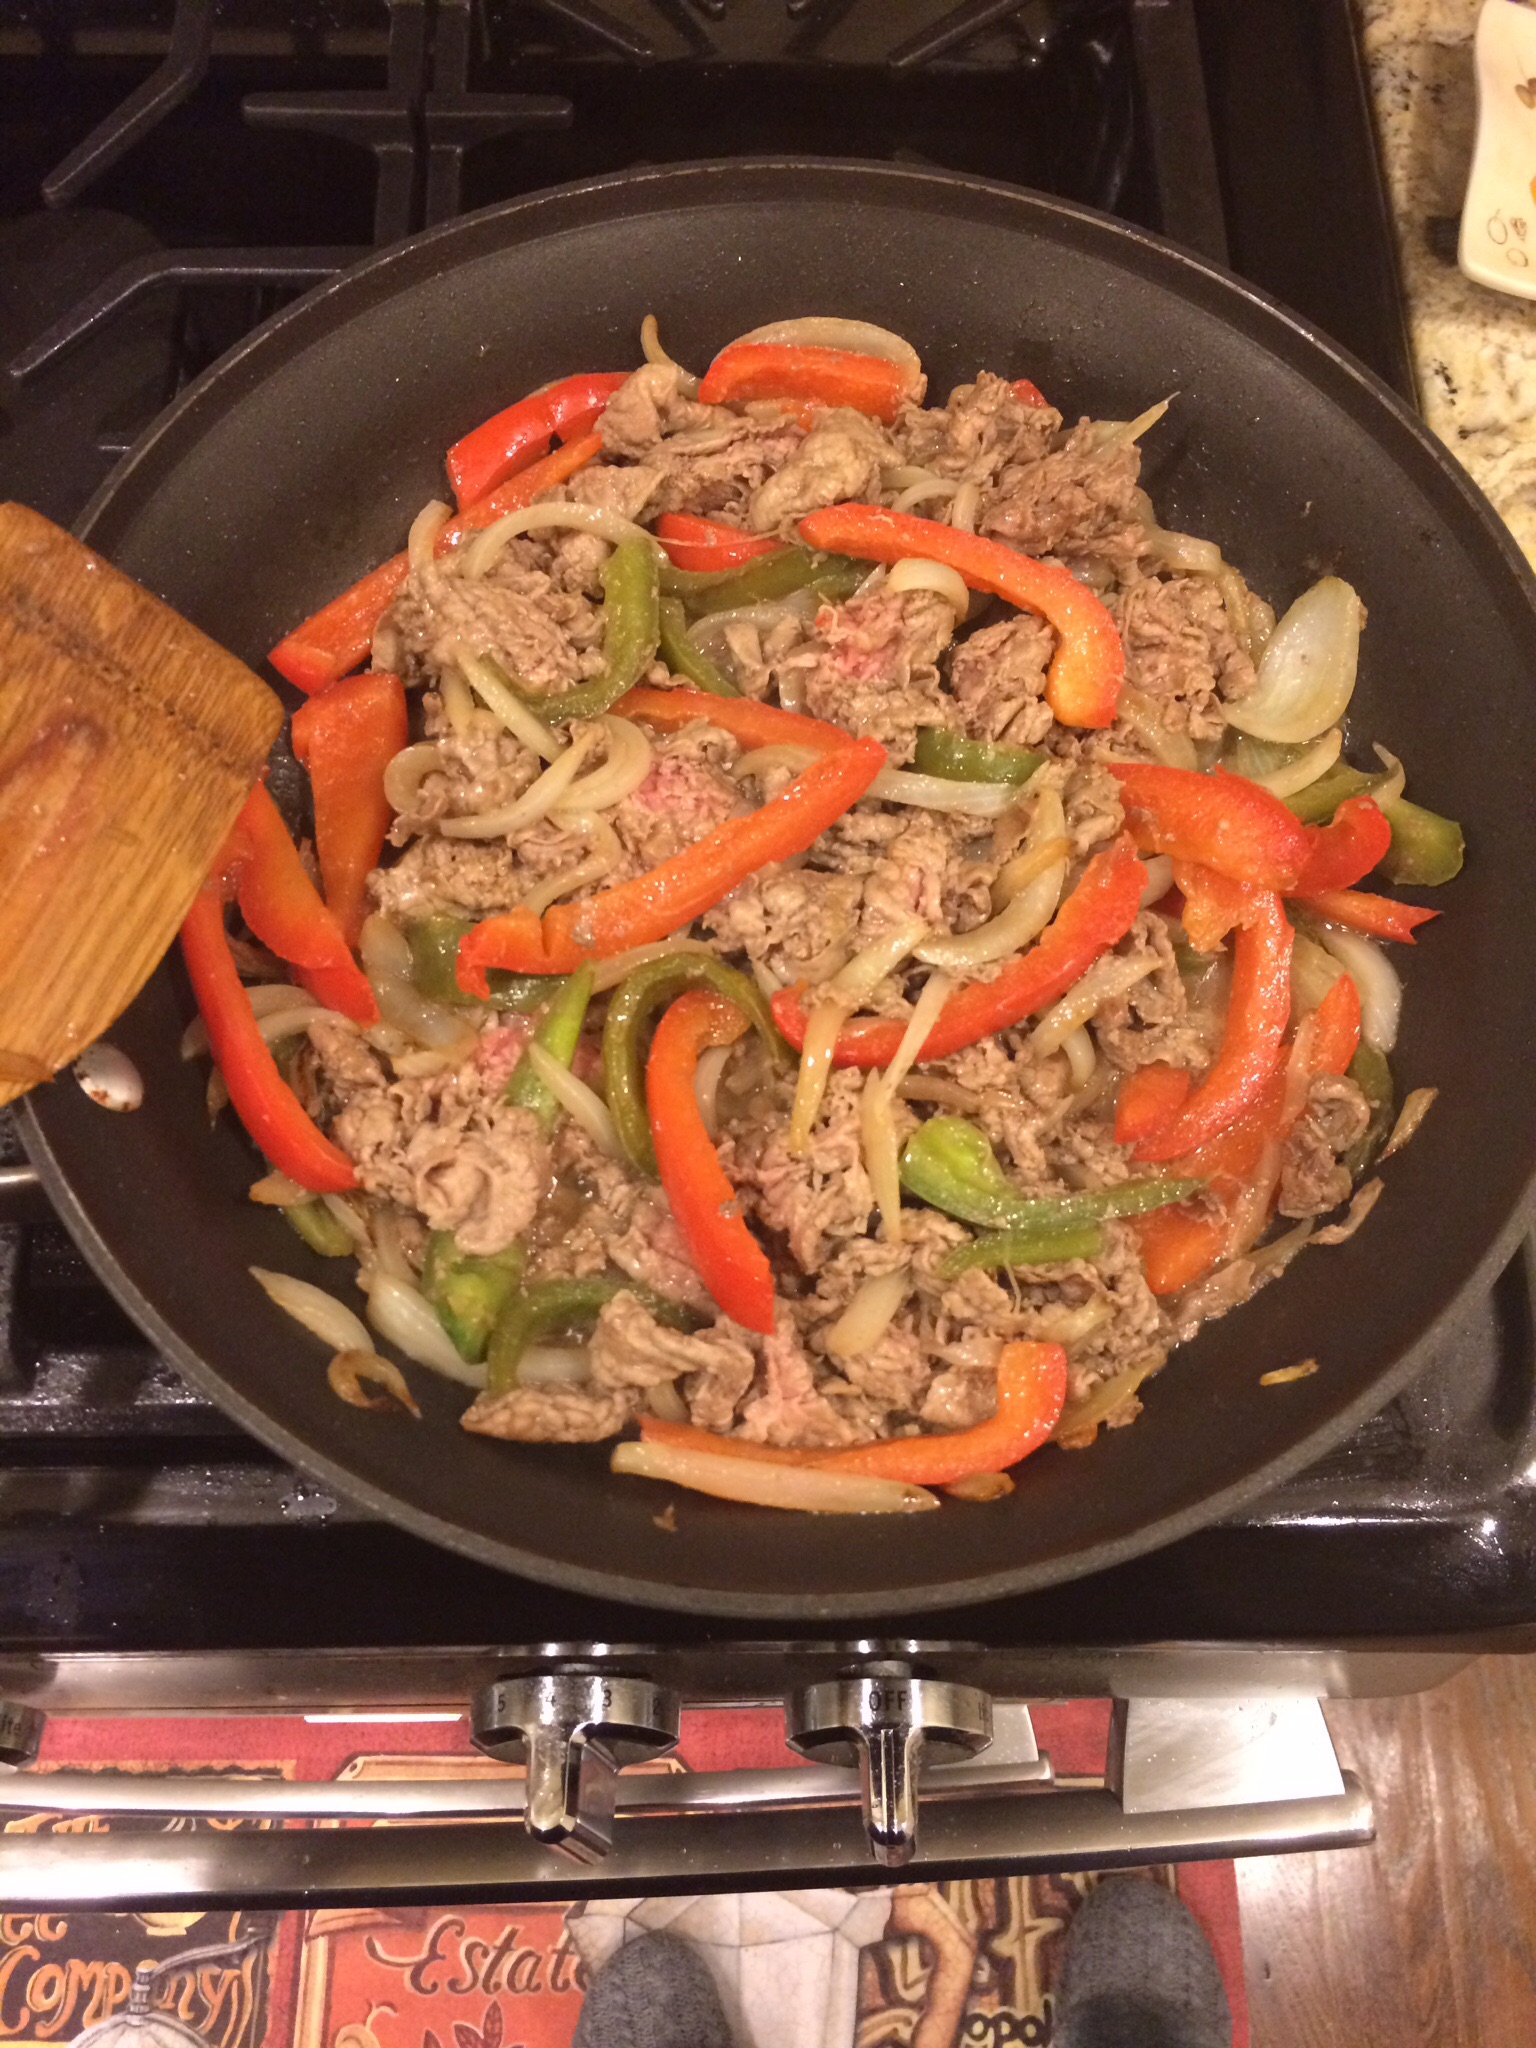
Heat a little olive oil in a pan and when heated through add your chopped onion and peppers and cook.  When almost cooked, add your shredded steak and cook until no longer pink.  YOU ARE DONE cooking at this point!  Now what you decide to do here is entirely up to you.  You can make a sandwich or just plate it.

I usually skip the bread and just plate it.  I add some shredded cheddar to the top and enjoy!

If you like put it on some Italian bread and top with your favorite cheese! Delish!  You can also be creative and add anything else you like….

Enjoy!

RHC

A Spaghetti Squash “How to”!

image image imageimageimage

Hi Housewives!

The intimidating, obscure yet delectable spaghetti squash.  It’s hard outer layer has long kept most away from enjoying the surprise that lies inside.  I think today’s recipe will help a lot of you come to LOVE this veggie as much as I do because to my surprise most people do not know this “trick” on how to prepare it.  and so today I am sharing that with you.

The traditional way of preparing this is to roast it in the oven which is time consuming and then even so is still extremely hard to cut and most people fear they will end up cutting their hands and fingers off while wrestling with this veggie.

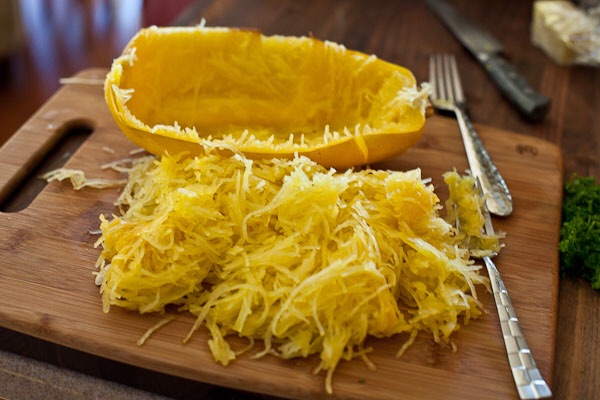
My way is to microwave it which, once tried, will be your way of preparing it too I am sure.  Take your squash and with either a fork or a knife stab it to make little holes or slits throughout all sides of it.  Then place it on a microwave safe plate and cook it for 15 minutes in your microwave. That’s it!!! When done the skin will be soft and you will be able to cut it open with great ease!!!!  But be careful…it will be extremely hot so let it cool for a while or use gloves to cut it open.  I usually cut the ends off first then cut it down the middle.  Use a spoon to remove all the seeds and then with a FORK rake back and forth to remove its flesh in strands….this will give it that spaghetti look! Hence the name!

Once that is done the possibilities are ENDLESS!  You can have it as a side or a substitute for pasta.  You can prepare it with tomato sauce, garlic and oil or even with ground meat.  Whatever you like….one of my favs is to season it with black pepper and add grated cheese….a mock “cacio e pepe” recipe.

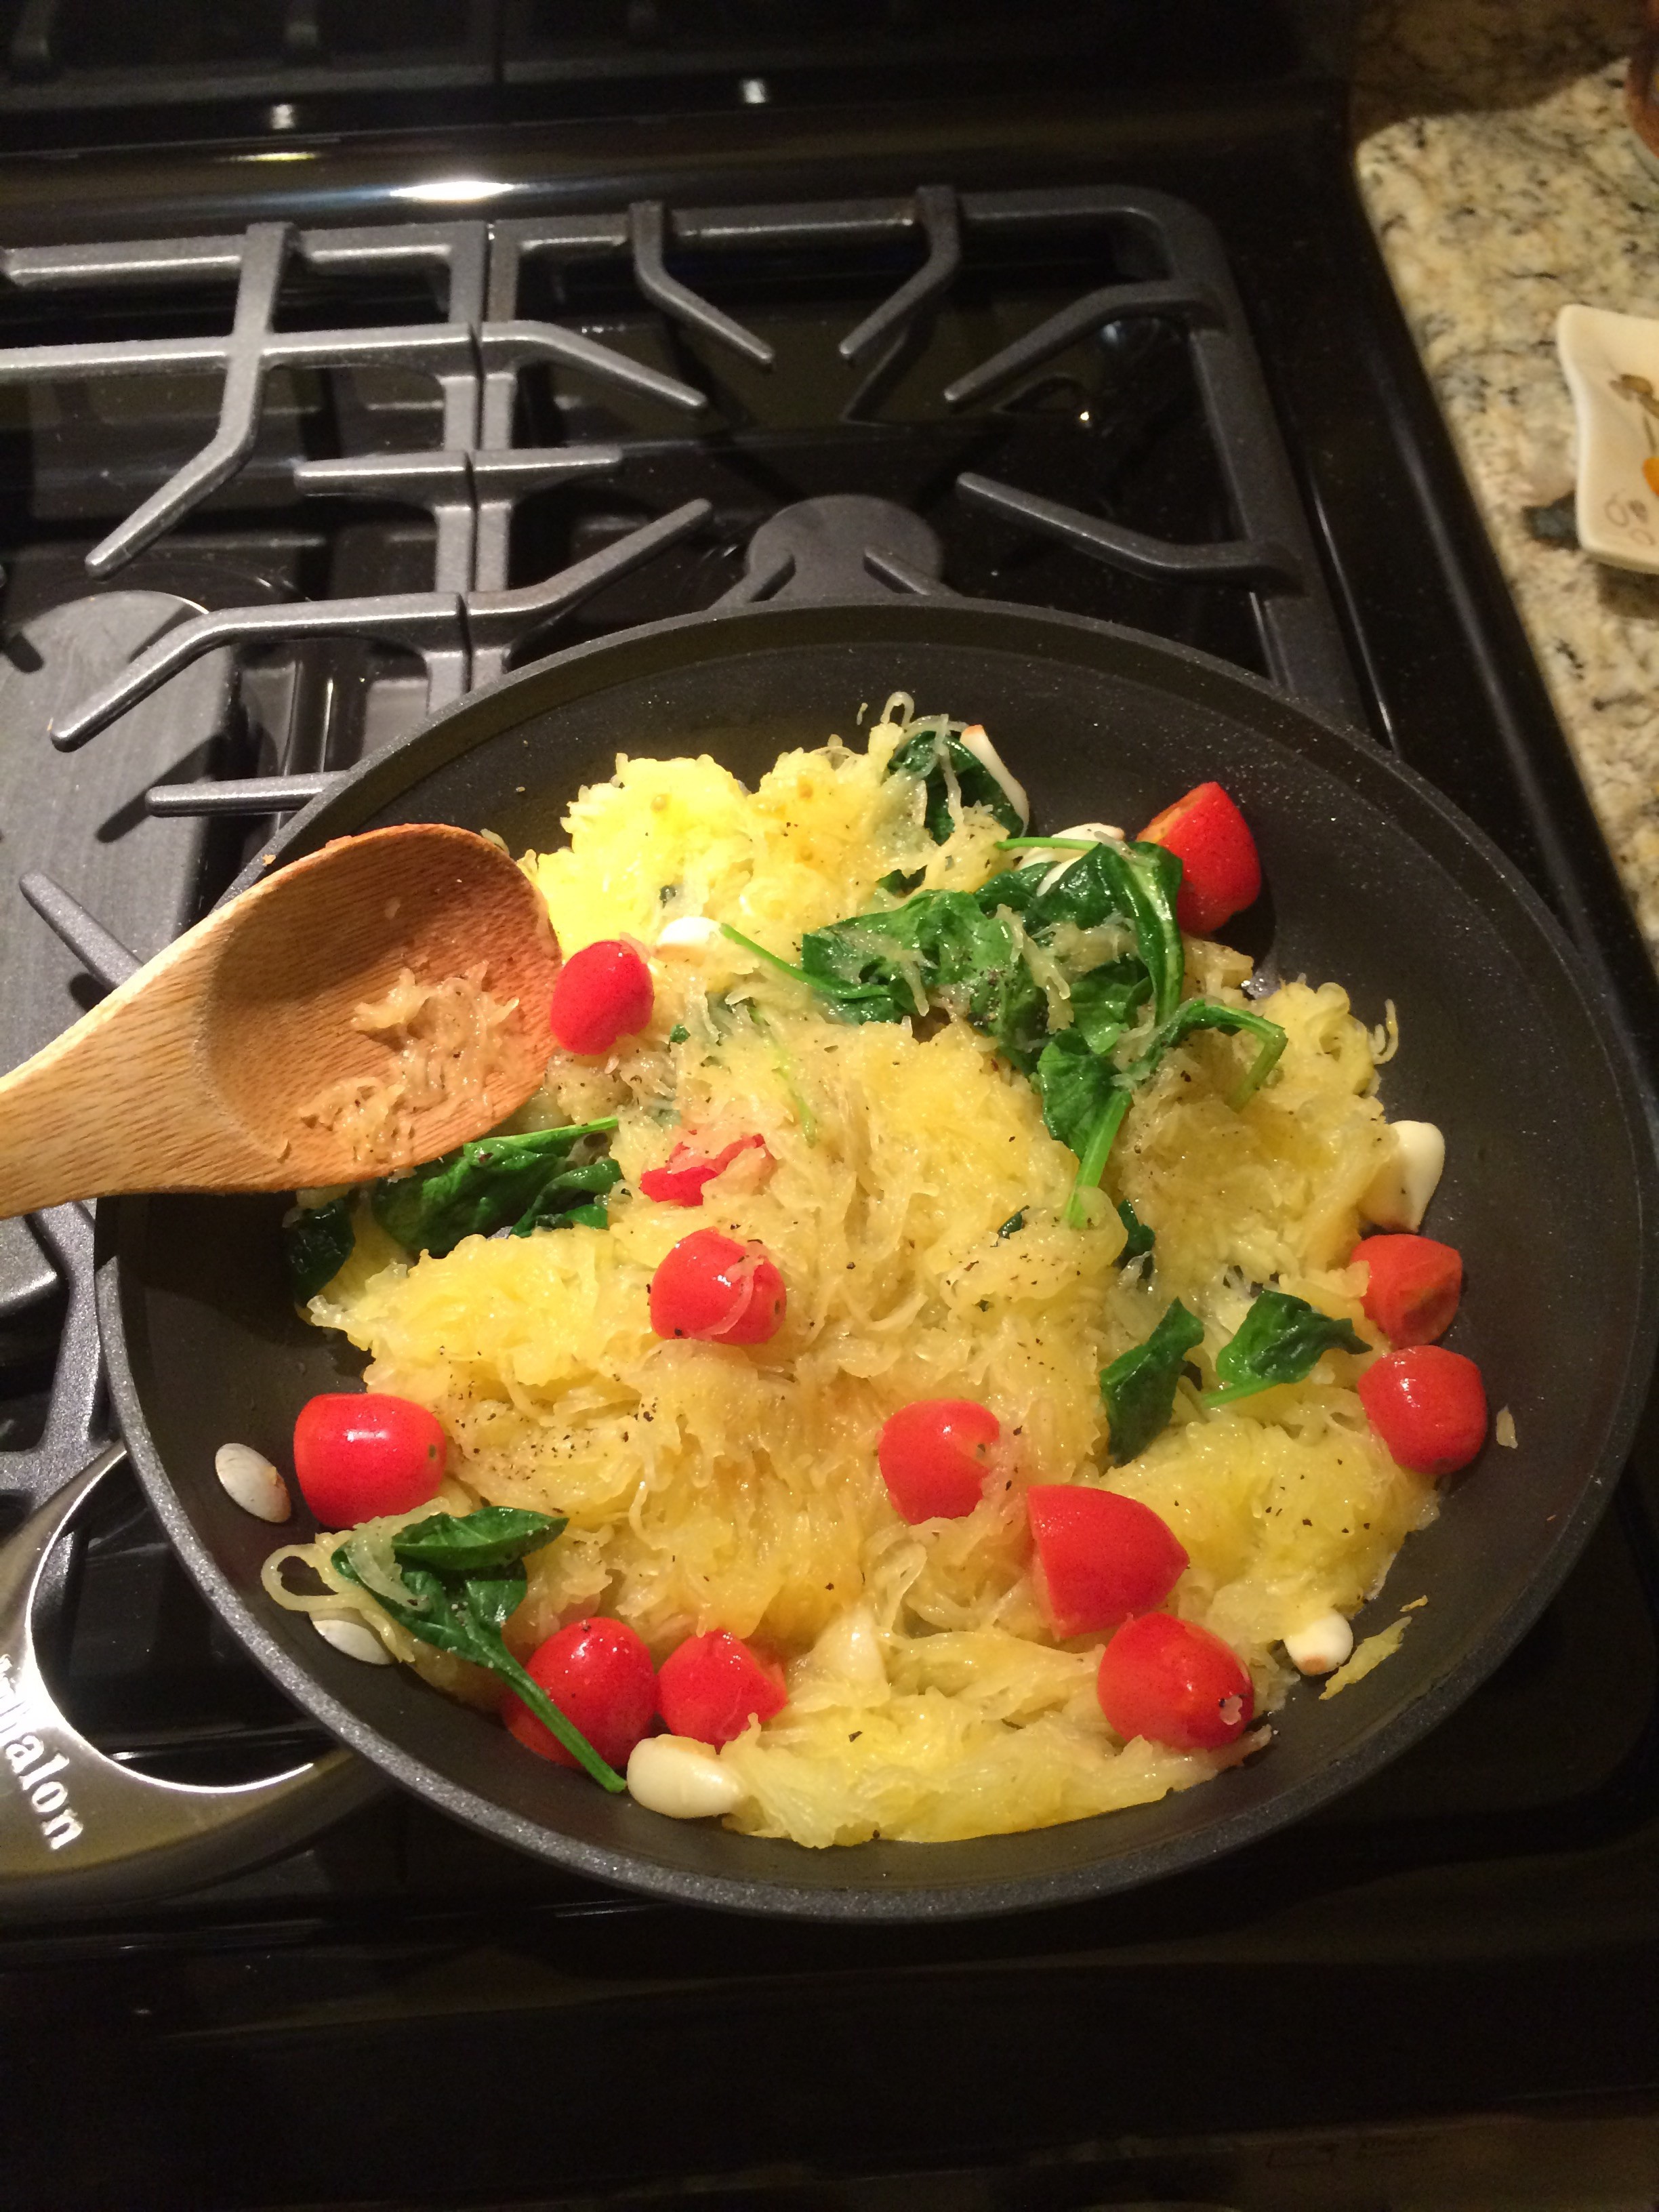
This past week a friend of mine prepared it with cherry tomatoes and spinach which when I saw her post it on Facebook drove me to do the same the very next day. LOL  So, I sautéed some garlic and oil then threw in halved cherry tomatoes, spinach and then the squash.  Mix it all together and then enjoy!  I added some grated cheese too.  It was a nice, healthy dish!  This is low cal and great for the diet so enjoy it whenever you can.

RHC

Easy Sunday Morning Coffee Cake!

image

Good Morning Housewives!

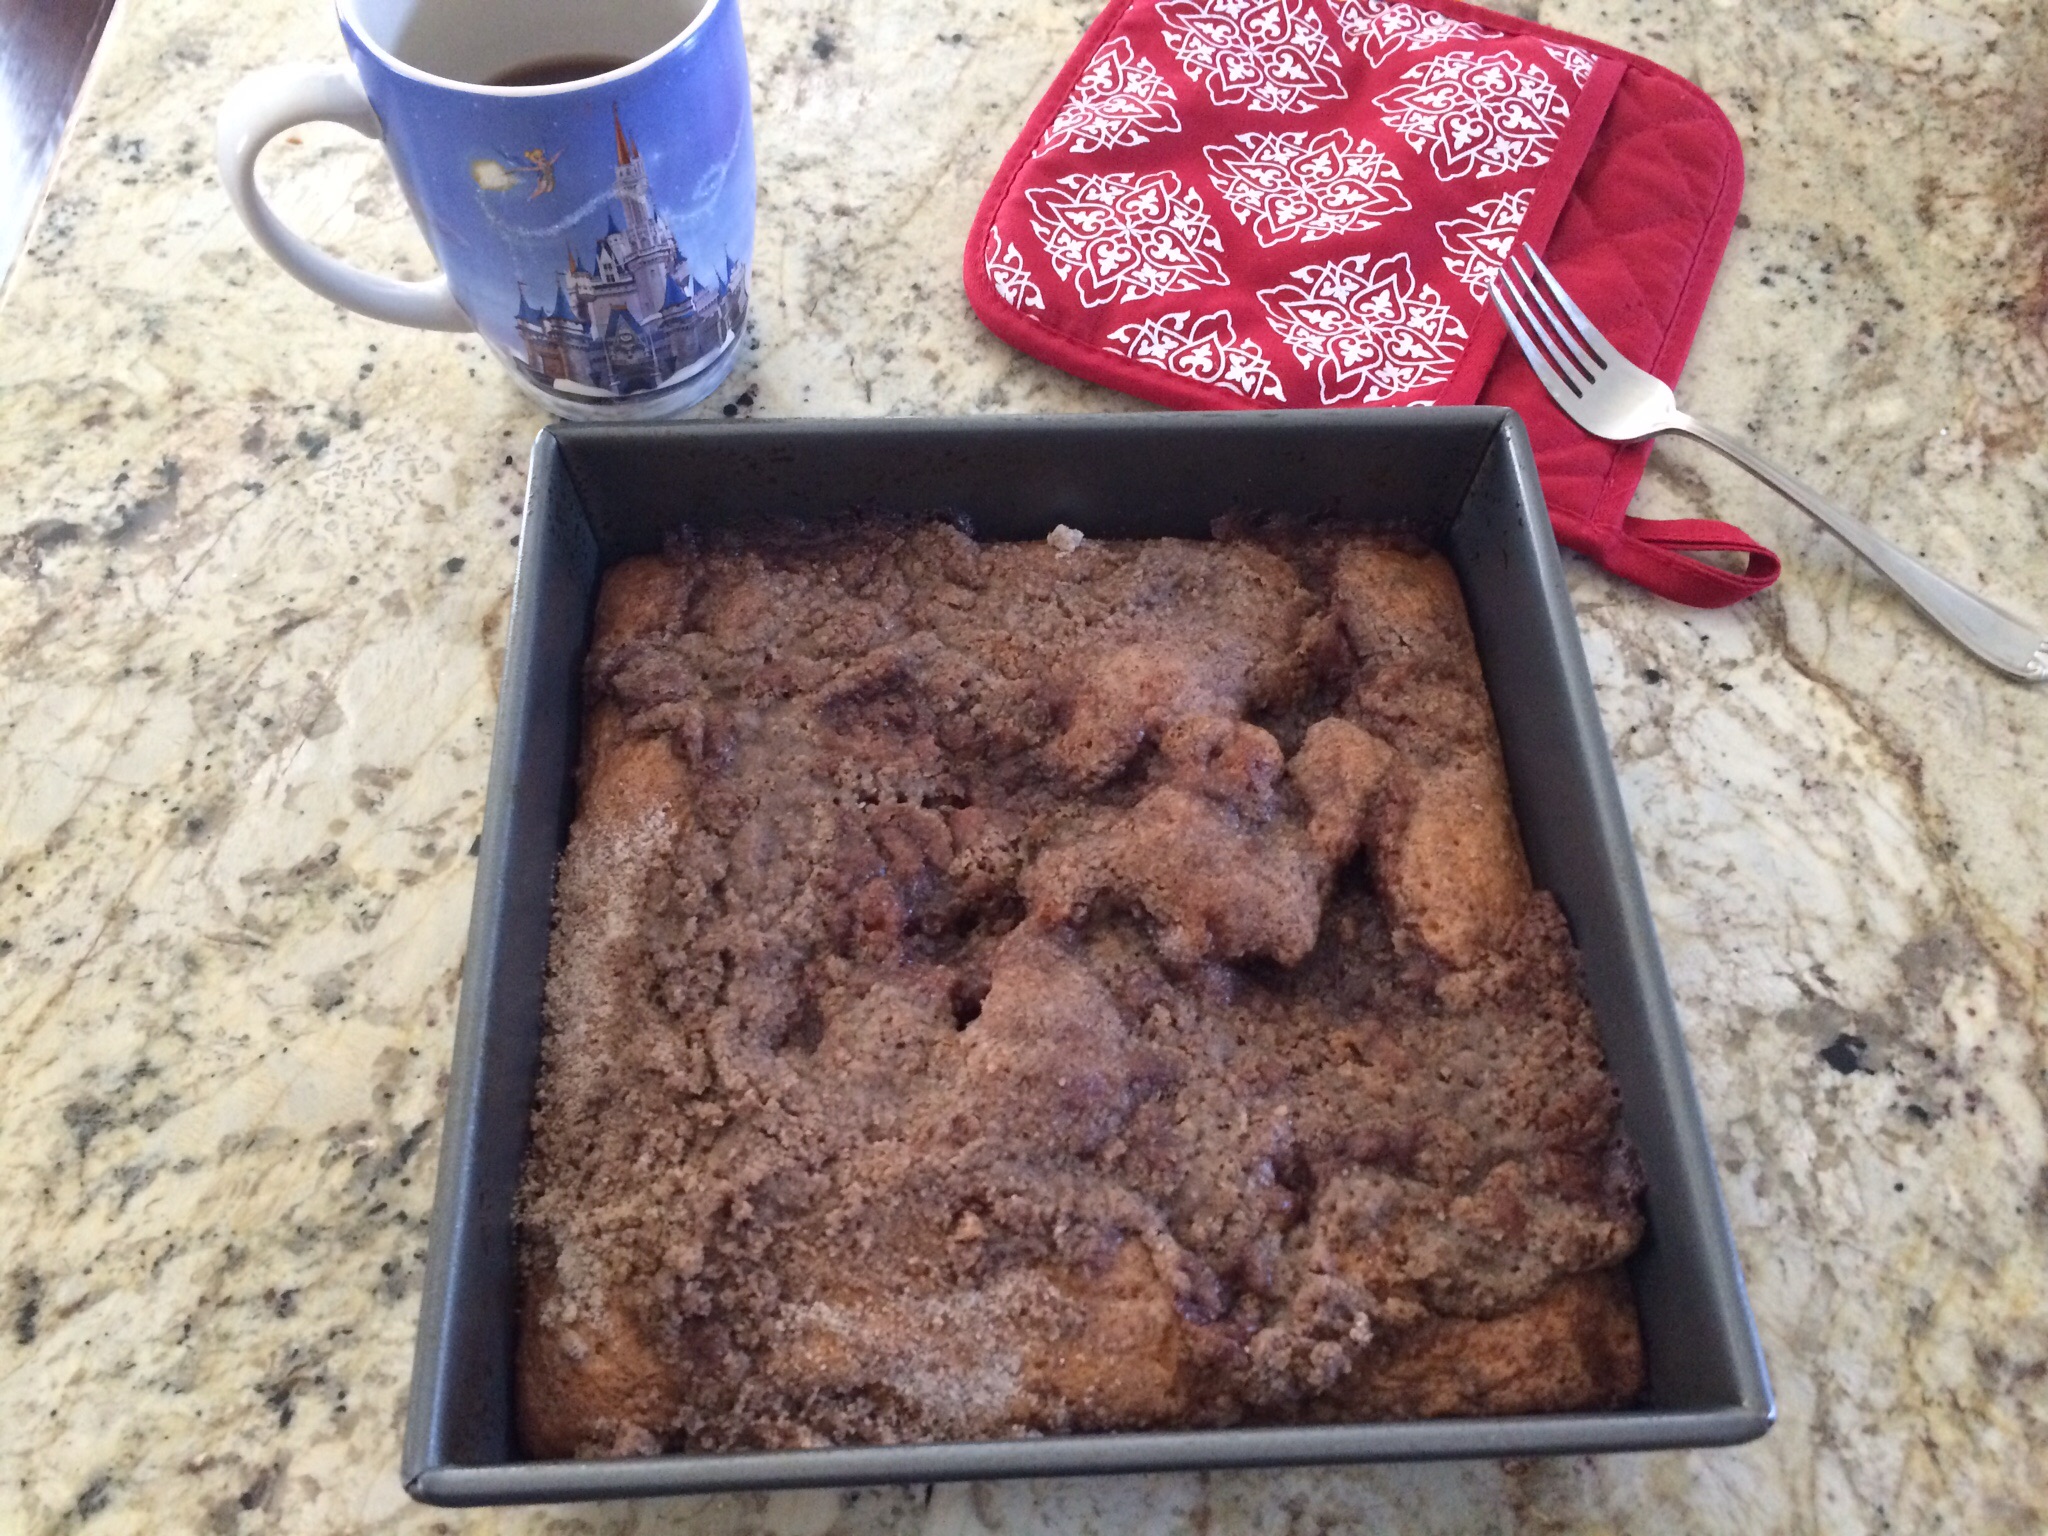
Sunday mornings are great for being lazy.  You wake up and just want to relax with a nice cup of coffee and some breakfast.  I love the smell of something baking on a Sunday morning and coffee cake is perfect for that.  The sweet alluring smell of cinnamon wafting through the house will wake everyone with a smile.

  • 1 egg
  • 2 teaspoons of baking powder
  • 1 teaspoon ground cinnamon
  • 1/2 cup of milk
  • 1/2 cup of sugar
  • 4 tablespoons of butter softened
  • 2 cups of flour
  • 2 teaspoons of vanilla extract
  • 1/2 teaspoon of salt

Preheat oven to 350 degrees.  For the Streusel topping, in a small bowl, combine 1/4 cup flour, 2/3 cup of sugar and cinnamon.  Stir in butter until mixture looks like coarse crumbs and set aside.

In a large bowl, mix the flour, sugar, baking powder, egg, milk, vanilla and salt and pour into greased 8×8 inch pan.  Then sprinkle top with streusel topping and bake for about 30 minutes.  Insert a toothpick into center of cake if comes out clean your cake is done!  Allow to cool and enjoy!

RHC